Pompeii Street View. Via di Nola. West to East.
Part 6 Part 7
Part 8 Part 9 Part 10 Part 1 Part 2 Part 3 Part 4 Part 5
South side of roadway, IX.14
Looking towards south side, IX.14
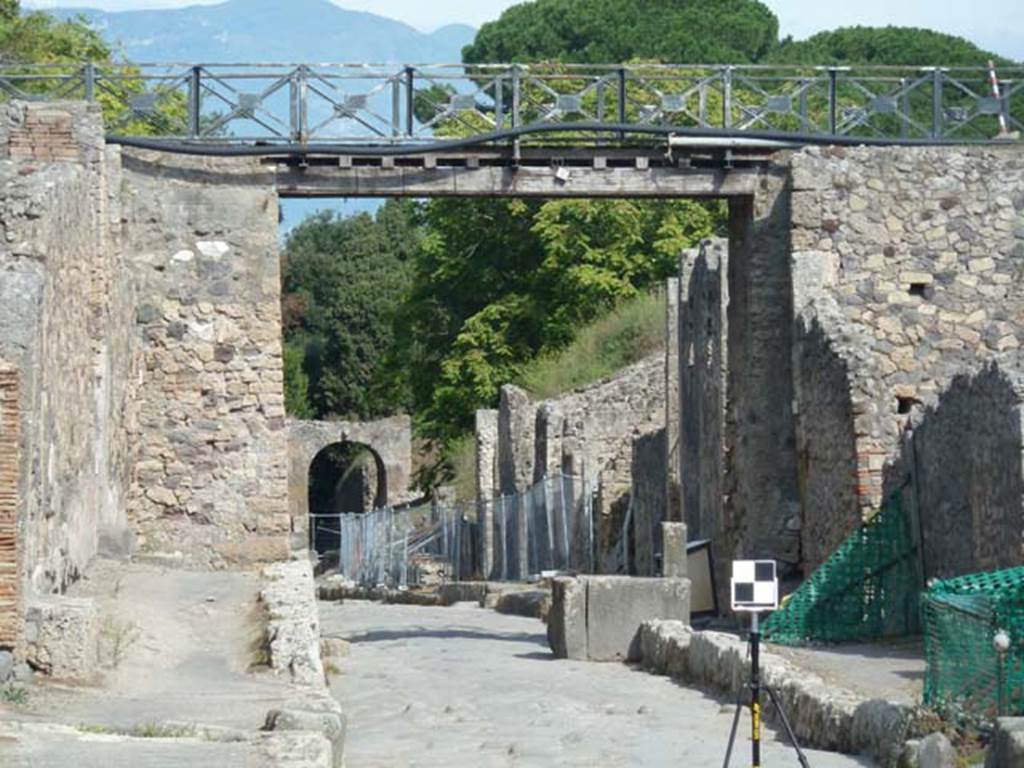
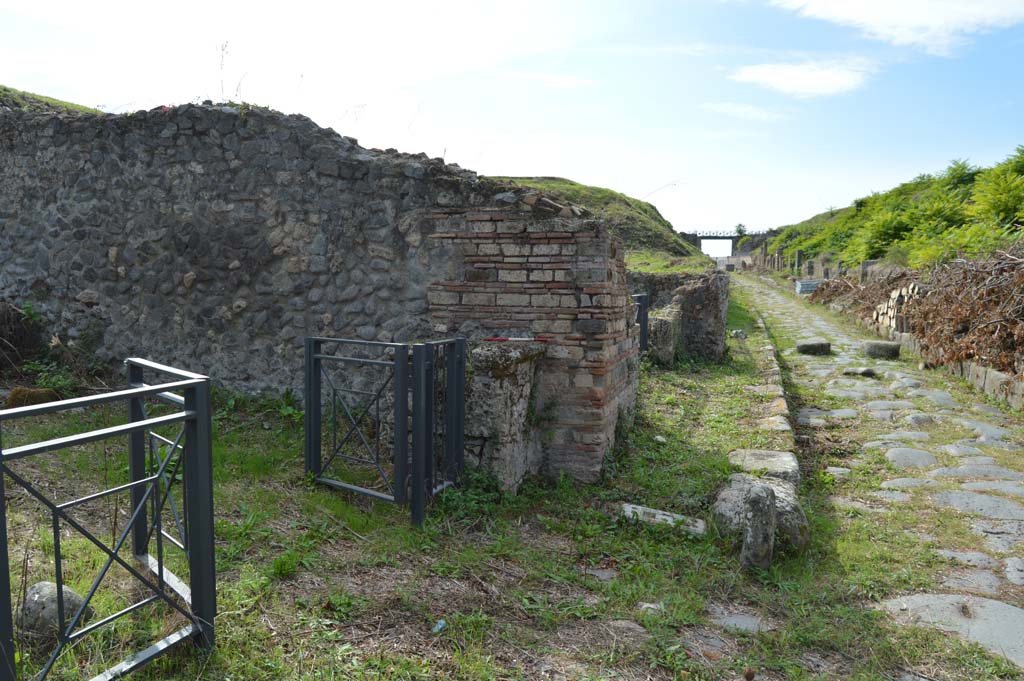
Via di Nola, May 2010. Looking west under modern road bridge, towards IX.9 and V.5.
The ramp entrance on the left (south side) would have led to the small unnamed vicolo that is under the modern road bridge.
There would have been another vicolo on the other side of the Via di Nola under where the large bridge buttress is shown.
Unnamed vicolo on the west side of IX.14.c, with the modern road bridge on top of it at the Via Nola end, Pompeii. May 2010.
Site of small unexcavated vicolo, showing the west side of IX.14, and the east rear unexcavated side of IX.10. Looking north.
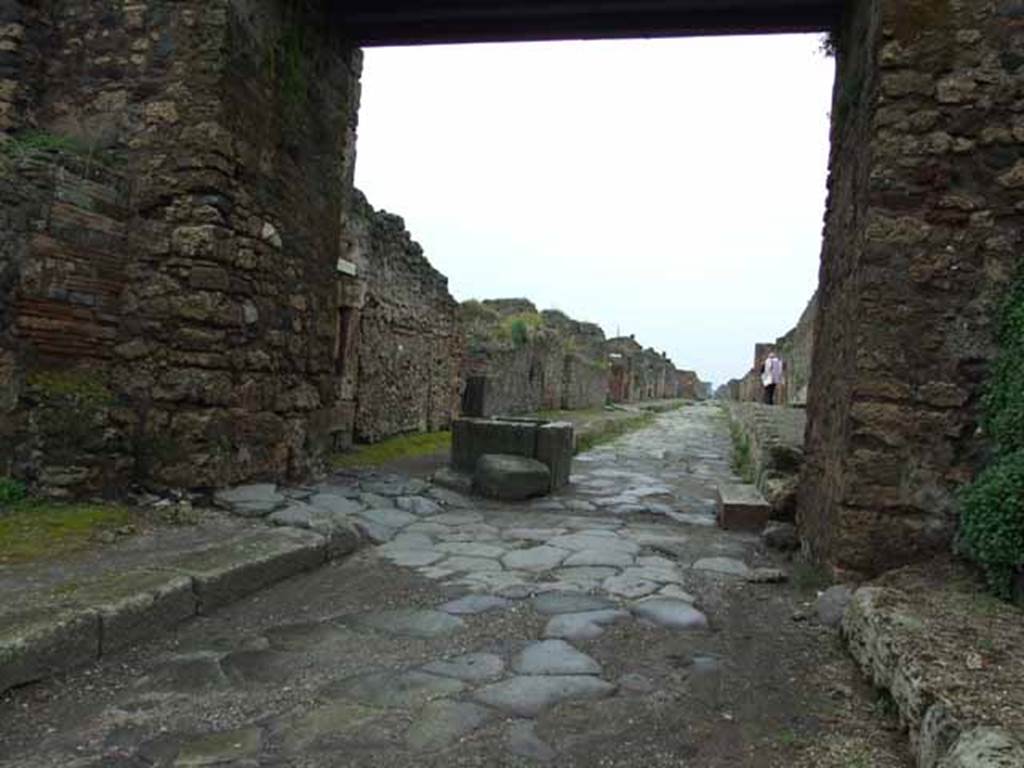
Via di Nola, south side. September 2015. Looking east from V.5.4 through the modern bridge towards IX.14 and the Nola Gate.
Via di Nola, south side. September 2004. Looking east from V.5.4 through the modern bridge towards IX.14.
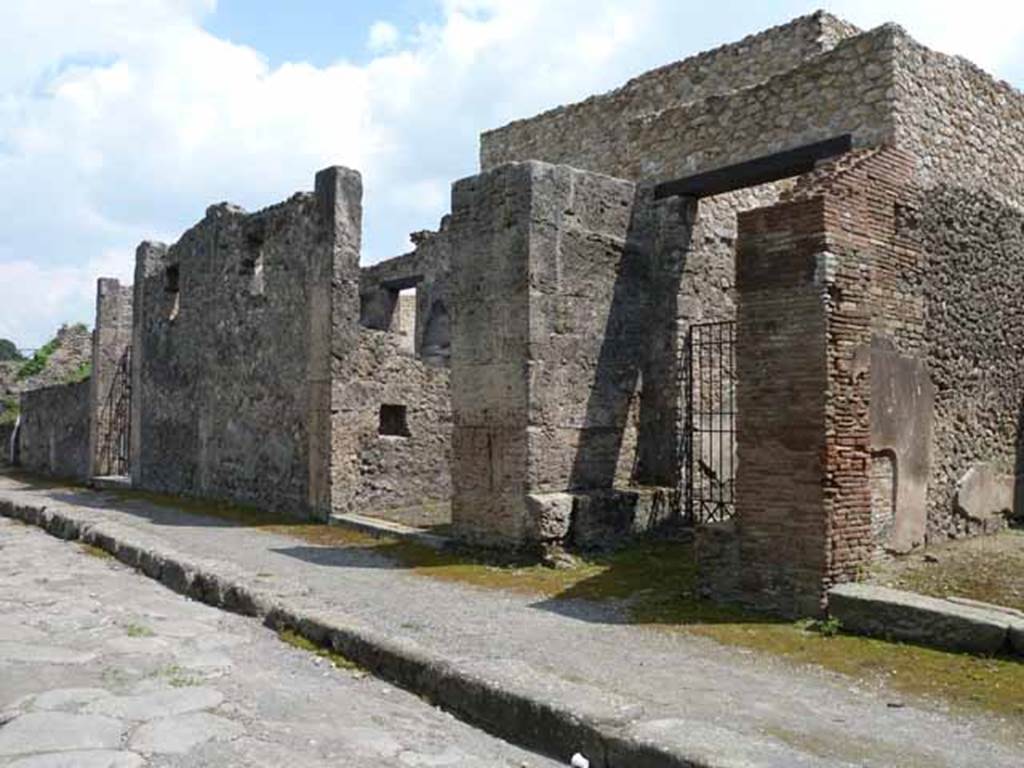
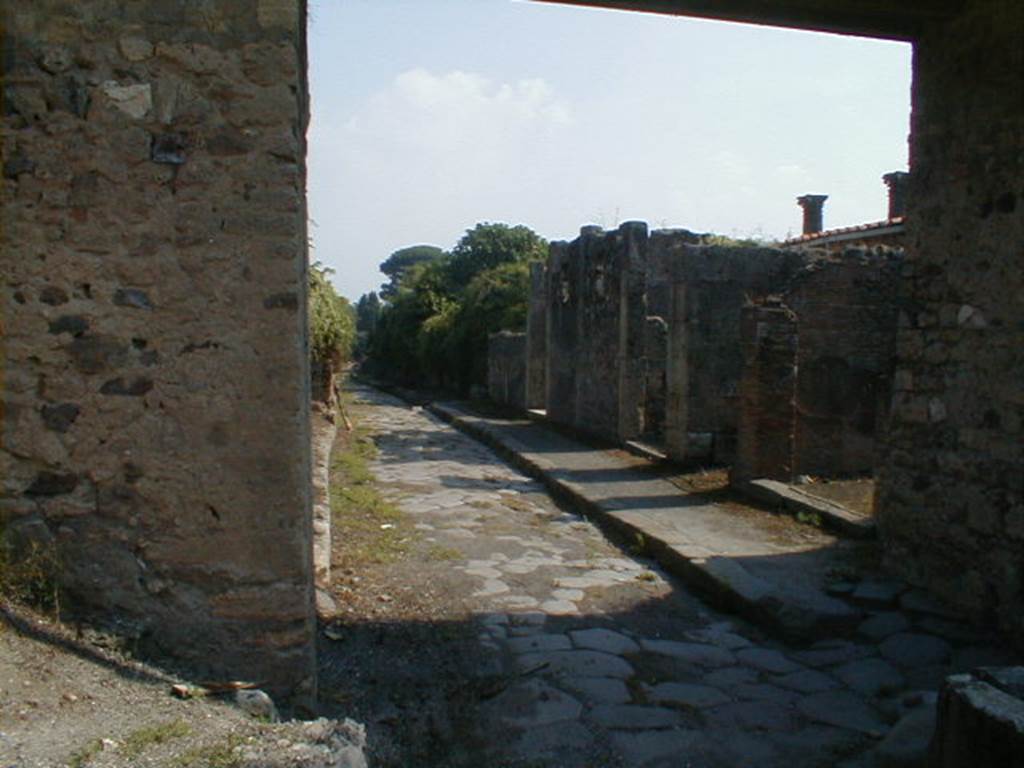
Via di Nola, south side, May 2010. Looking east along IX.14, from IX.14.1.
Via di Nola, south side, Pompeii. July 2024.
Looking east along front façade towards entrance doorway of IX.14.4. Photo courtesy of Johannes Eber.

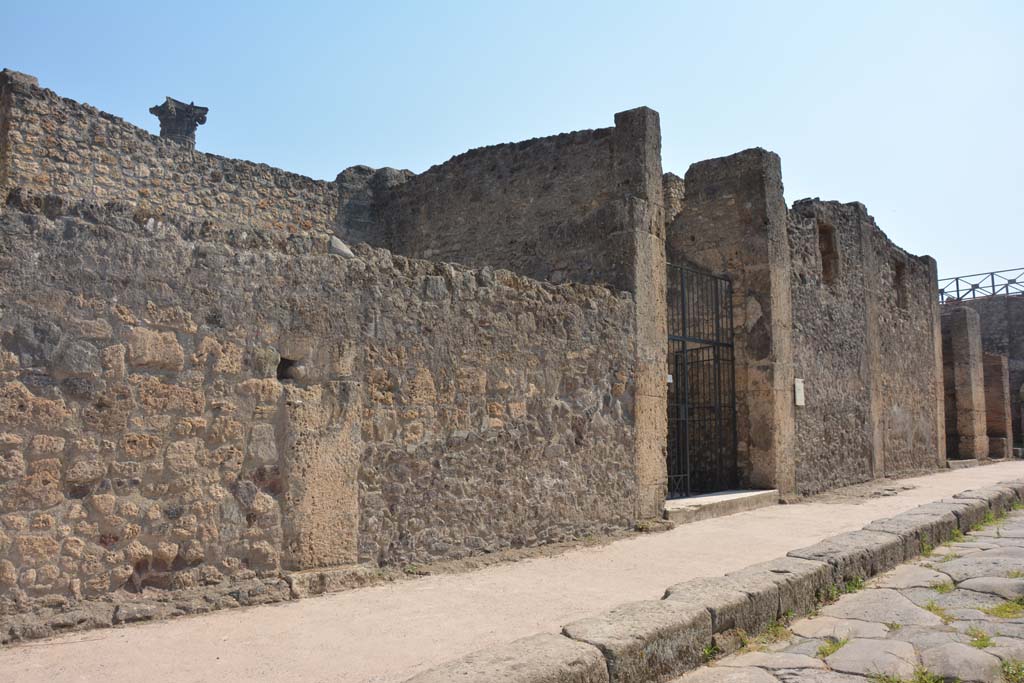
Via di Nola,
south side, Pompeii. July 2017. Looking west along front façade
towards IX.14.4, in centre.
Foto Annette Haug, ERC Grant 681269 DÉCOR.

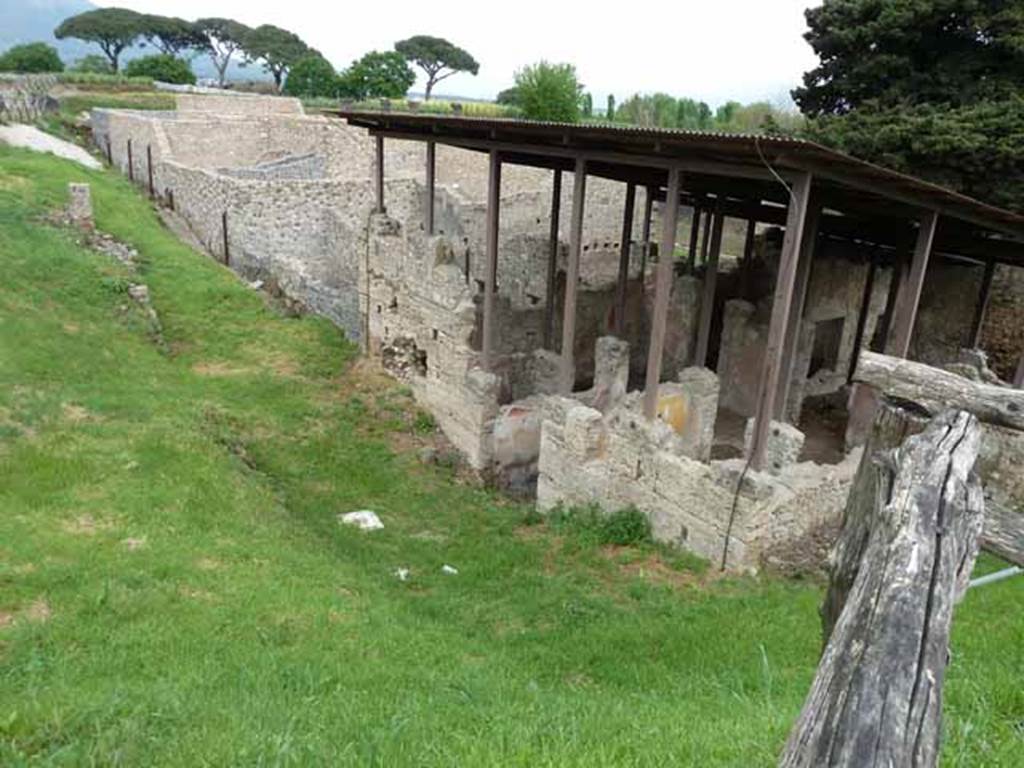
Via di Nola, south side, May 2010. Looking east towards IX.14, from above.

Via di Nola, south side March 2009. Junction with unnamed vicolo between III.8 and IX.14.

Via di Nola, south side, May 2010. Looking east along III.8, from near III.8.1 and junction with unexcavated unnamed vicolo.

Via di Nola, south side, May 2010. Looking west along III.8 from near unexcavated vicolo.
Via di Nola, south side, May 2010. Looking east from III.8.8, towards unexcavated roadway between III.9 and III.8.
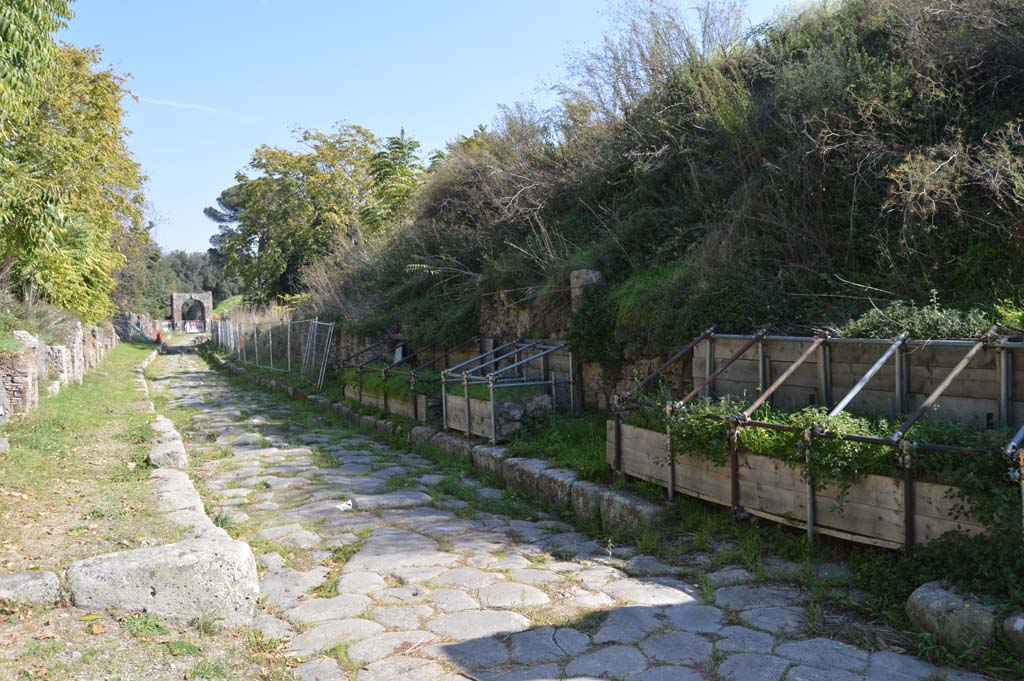
Via di Nola, south side, Pompeii. October 2017. Looking east along III.9, from unexcavated roadway, on right.
Foto Taylor Lauritsen, ERC Grant 681269 DÉCOR.

Via di Nola, south side, Pompeii. October 2017. Looking west along Insula III.9 from III.9.3 towards IX.14, and road-bridge, on right.
Foto Taylor
Lauritsen, ERC Grant 681269 DÉCOR.

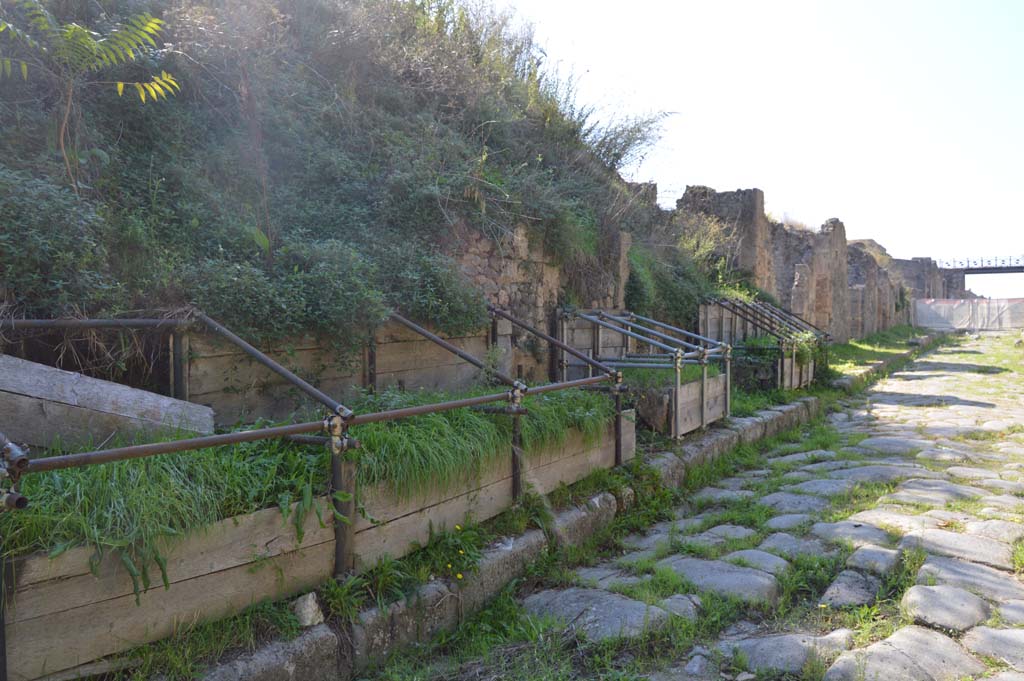
Via di Nola, south side. September 2011.
Looking west from near III.9.3, towards unexcavated vicolo, and III.8. Photo courtesy of Michael Binns.

Via di Nola, south side. March 2009. Looking south at unexcavated, unnamed vicolo between III.9 and III.8.

Via di Nola, south side. May 2005. Looking east from III.9.3.

Via di Nola, south side. September 2011. Looking west from near III.9.6. Photo courtesy of Michael Binns.

Via di Nola, south side. September 2011.
Looking west from near III.9.4, towards unexcavated vicolo, and III.8. Photo courtesy of Michael Binns.

Via di Nola, south side, May 2010. Looking west along III.9 from junction between III.10 and III.9.

Via di Nola, south side. May 2005. Looking west to the junction between III.10 and III.9.

Via di Nola, south side. May 2005. Looking east along III.9, to junction with unnamed vicolo.

Via di Nola, south side. September 2011. Looking west along III.10, to junction with unnamed vicolo. Photo courtesy of Michael Binns.

Via di Nola, south side. March 2009. Junction with unnamed vicolo between III.10 and III.9.

Via di Nola, south side. May 2006. Looking east from III.10 to the junction with an unnamed vicolo.

Via di Nola, south side, May 2010. Looking east along III.10.

Via di Nola, south side. May 2006. Looking east from III.10.6, to junction with unnamed vicolo.

Via di Nola, south side. March 2009. Looking south from junction between III.11 and III.10.

Via di Nola, south side, May 2010. Looking east along III.11.

Via di Nola, south side. March 2009. Looking east along III.11 to the Nola Gate.

Via di Nola, south side, September 2011.
Looking south towards III.11.1 on left, fountain, unexcavated vicolo, and III.10.6 on right. Photo courtesy of Michael Binns.
Via di Nola, south side, September 2011.
Looking south-west towards III.11.1 on left, fountain, unexcavated vicolo with street altar, and III.10.6 on right. Photo courtesy of Michael Binns.

Via di Nola, south side, Pompeii. October 2018.
Looking west on Via di Nola towards street altar, behind gate on side wall of III.10.6, on north-east corner of Insula III.10.
Foto Taylor
Lauritsen, ERC Grant 681269 DÉCOR.

Via di Nola, south side, September 2011.
Looking west towards unexcavated vicolo with street altar, on left, and III.10.6 on right. Photo courtesy of Michael Binns.

Via di Nola, south side. May 2006. Looking west along III.11 to the fountain between III.11 and III.10.

Via di Nola, south side. May 2006. Looking west along III.11, from junction with unnamed vicolo.

Via di Nola, south side, May 2010. Looking west along site of III.12 (behind modern wall) and III.11.

Via di Nola, September 2011.
Looking east towards Nola Gate, from dividing pilaster between III.11.5-6. Photo courtesy of Michael Binns.

Via di Nola, south side, May 2010. Looking east along III.11.6 with ramp, to blocked junction with III.12.

Via di Nola, south side, May 2010. East wall of III.11.7, and junction, behind wall, with III.12.

Via di Nola, south side. May 2006.
Looking west to junction with unnamed vicolo between III.12 and III.11, this used to be seen behind the modern built wall.
Part 7 Part 8 Part 9
Part 10 Part 1 Part 2
Part 3 Part 4 Part 5