V.1.3 Pompeii. House. Linked to V.1.7. Excavated 1836, 1875.
For extra detailed information see Swedish Pompeii Project web site
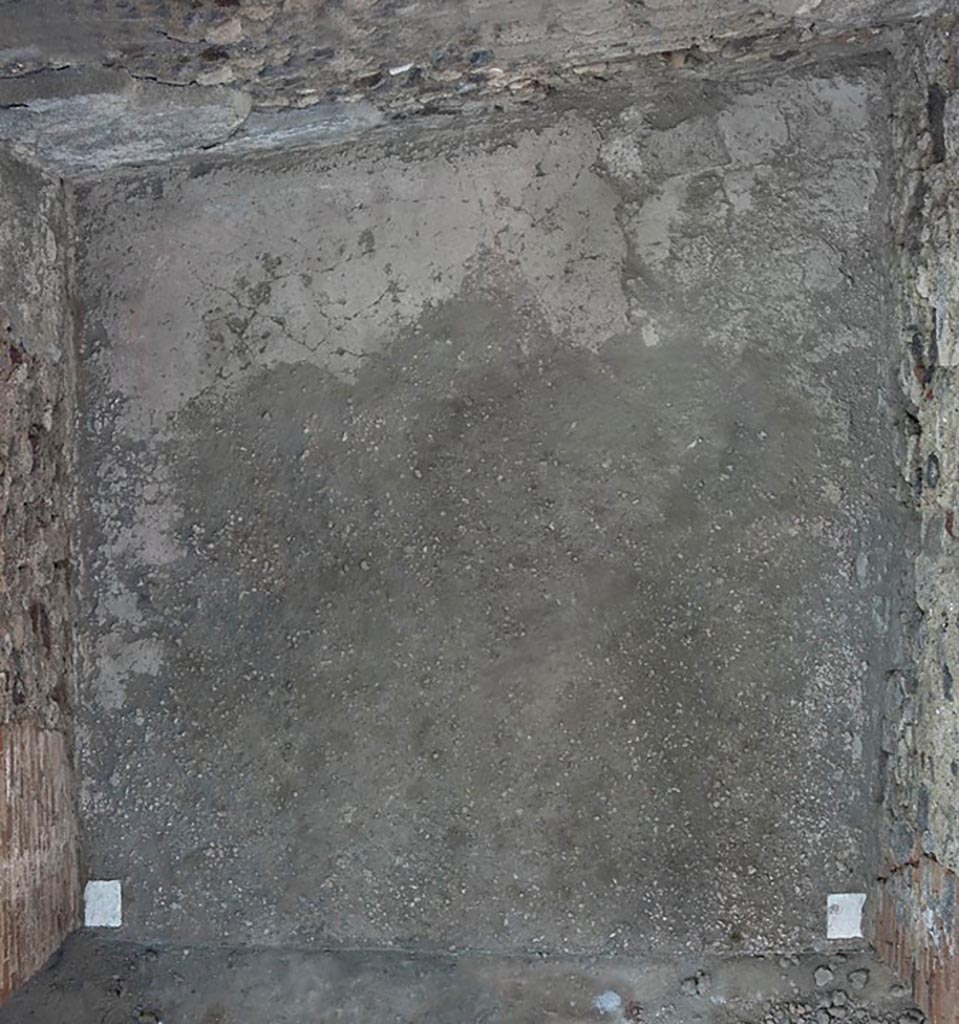
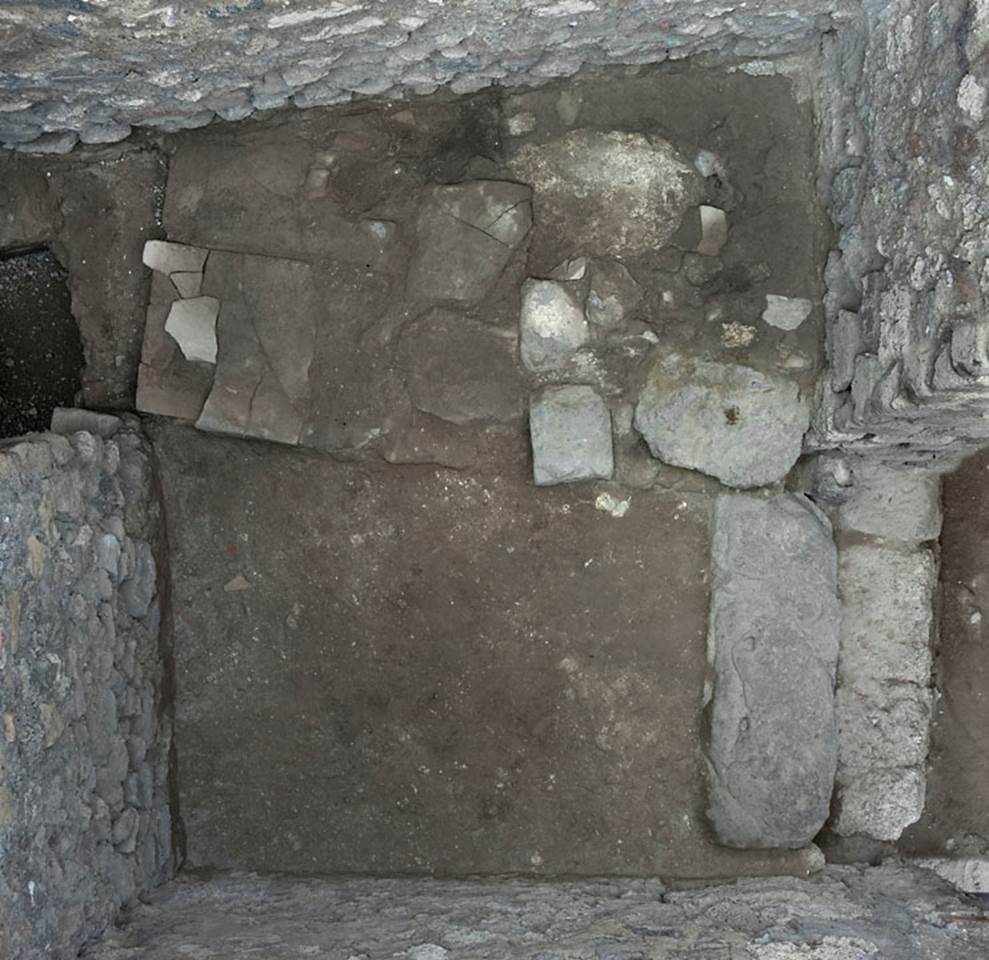
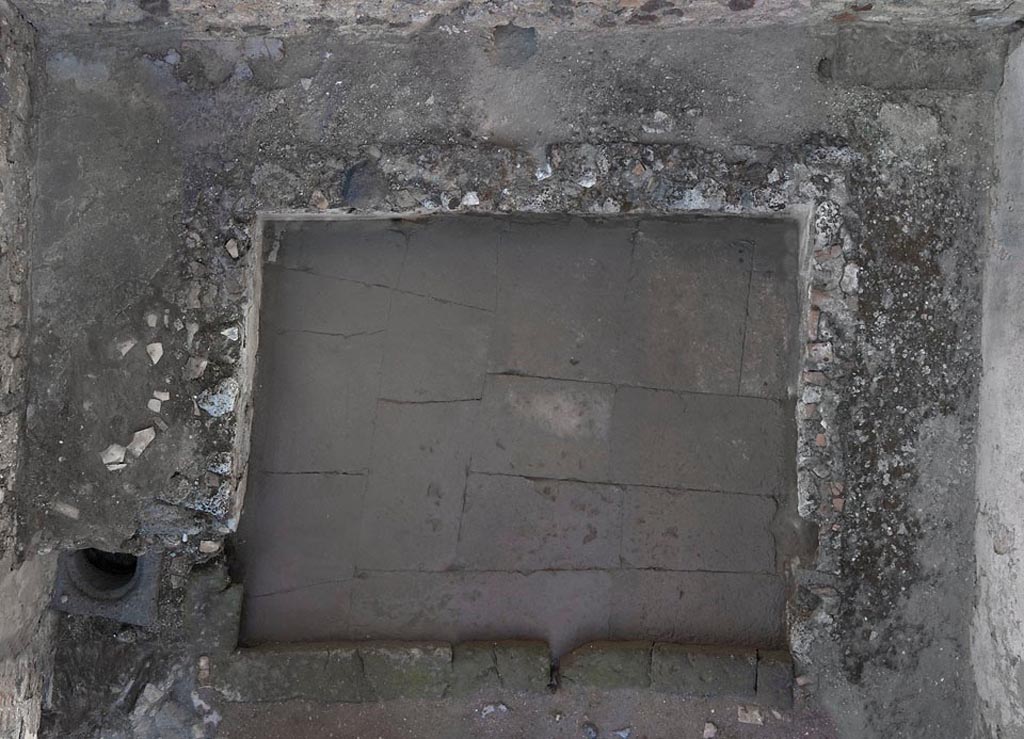
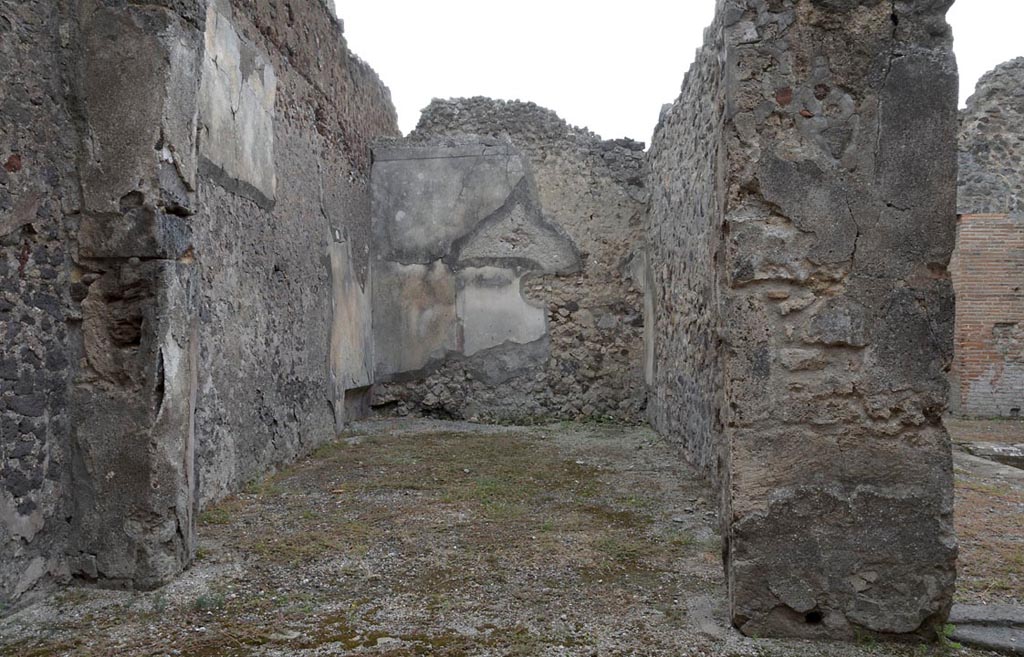
V.1.3 Pompeii. c.2008-10.
Room “a”, tablinum. Looking down onto flooring. Photo by Hans Thorwid.
Photo courtesy of the Swedish Pompeii Project.
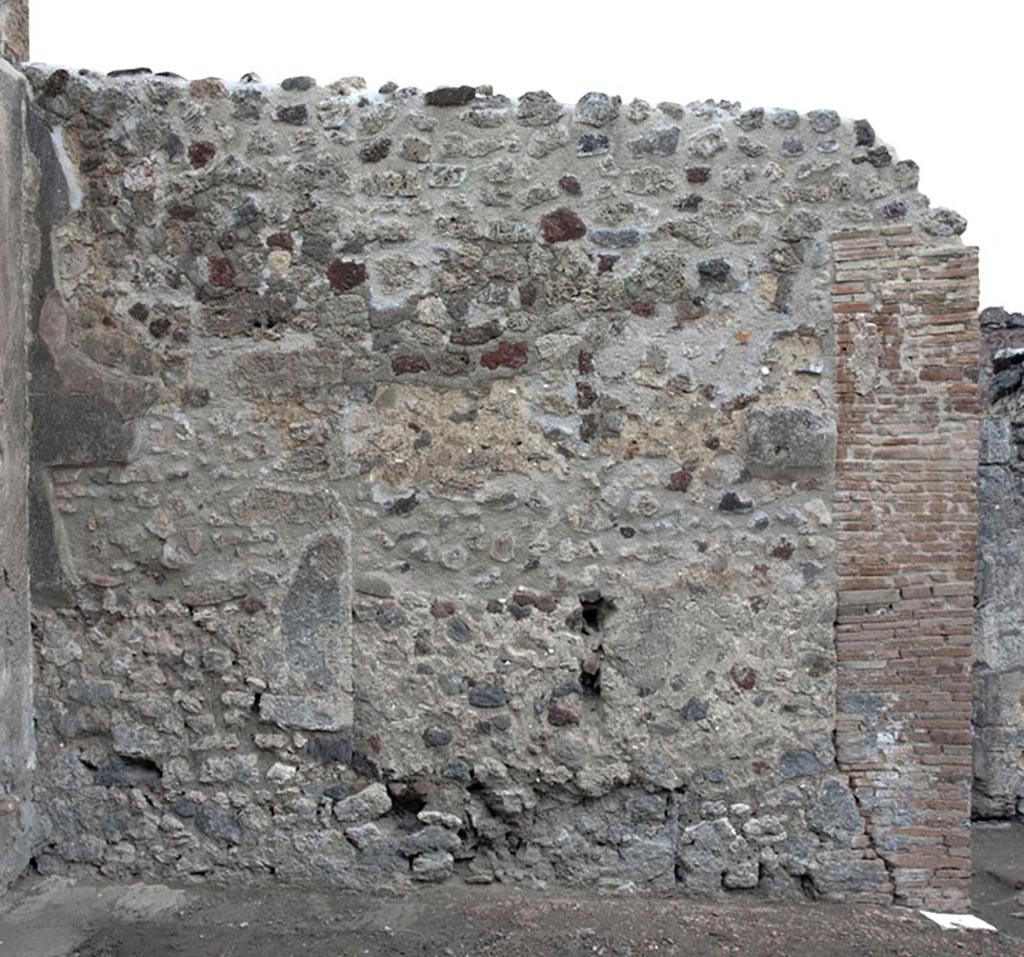
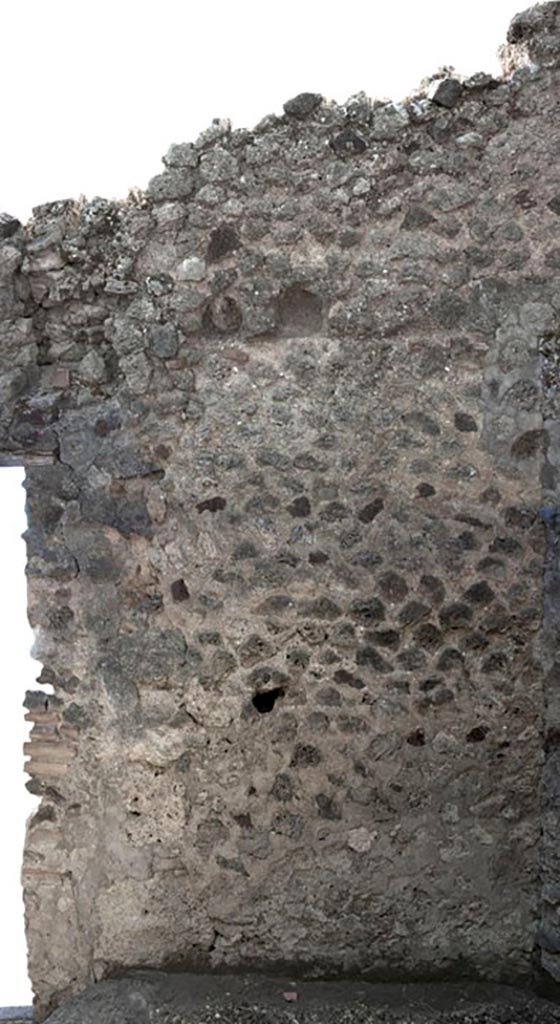
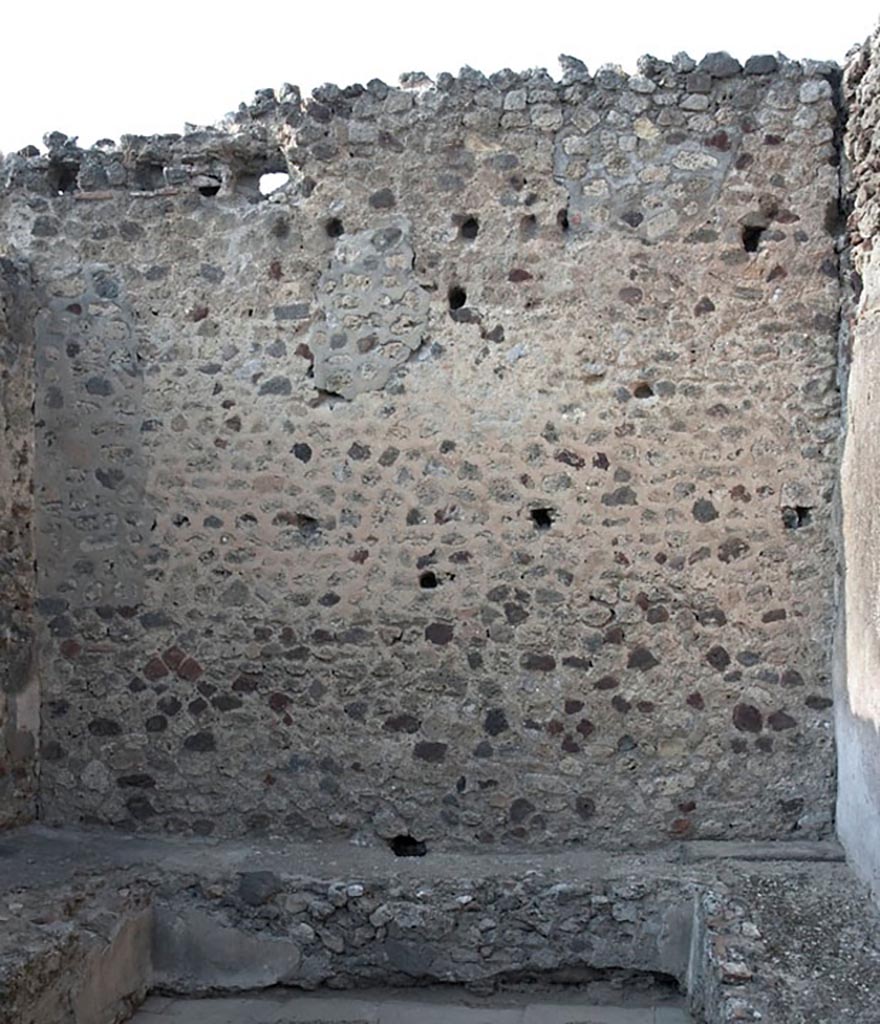
V.1.3 Pompeii. c.2012.
Room “a”, west wall of tablinum. Photo by Hans Thorwid.
“W wall in 2012. Restored parts of the wall photographed and merge with the lower part and floor line of earlier photos from 2005-7.”
Photo and words courtesy of the Swedish Pompeii Project.
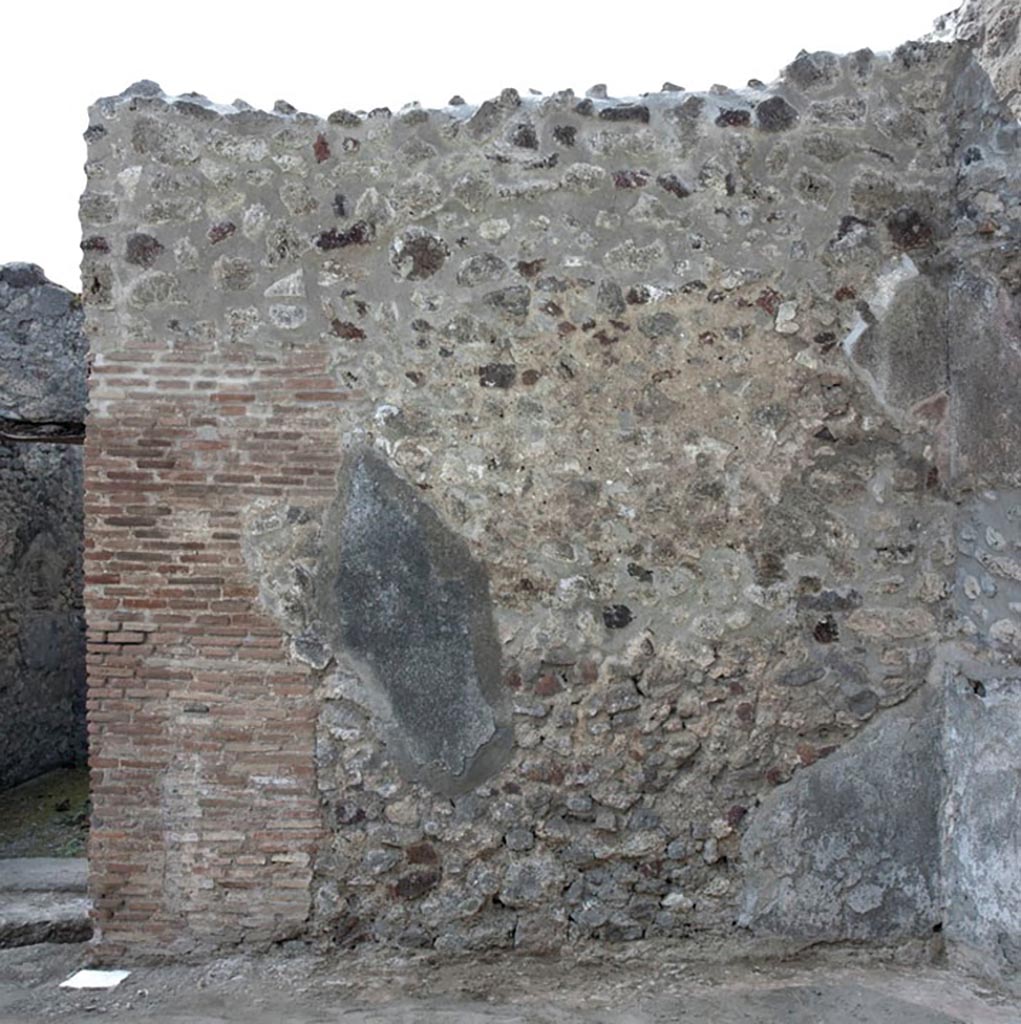
V.1.3 Pompeii. c.2012.
Room “a”, north wall of tablinum. Photo by Hans Thorwid.
“N wall in 2012. Restored parts of the wall photographed and merge with the lower part and floor line of earlier photos from 2005-7.”
Photo and words courtesy of the Swedish Pompeii Project.
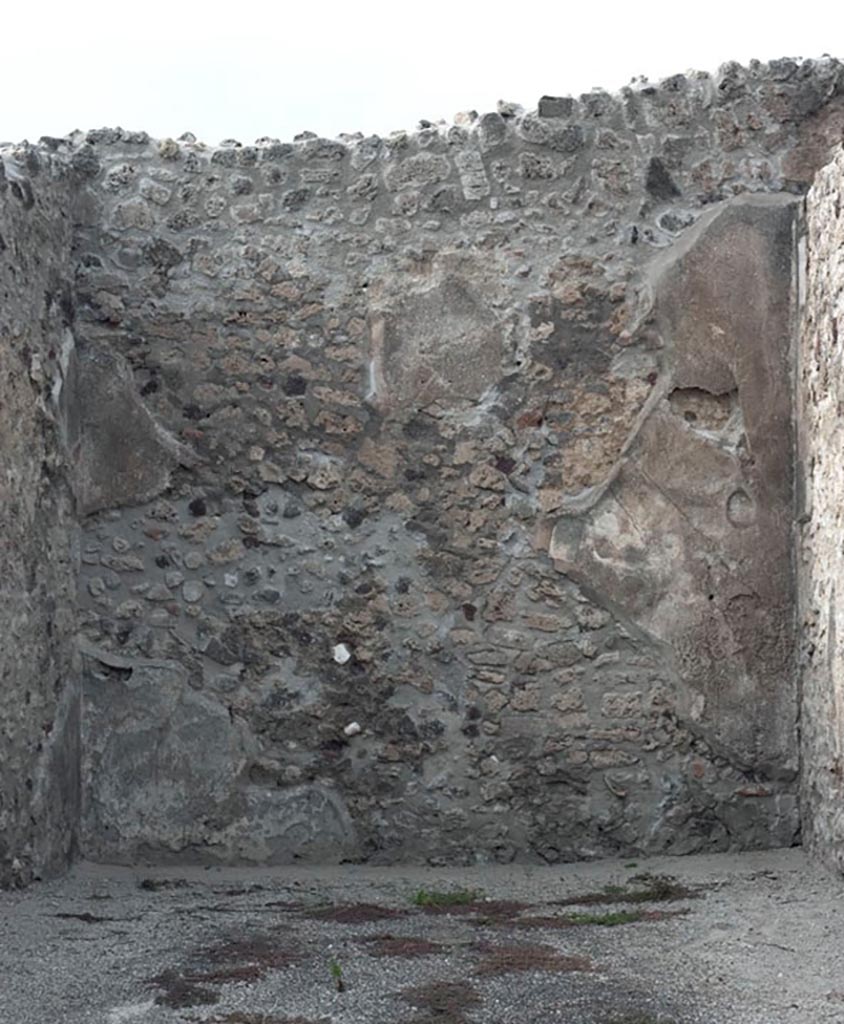
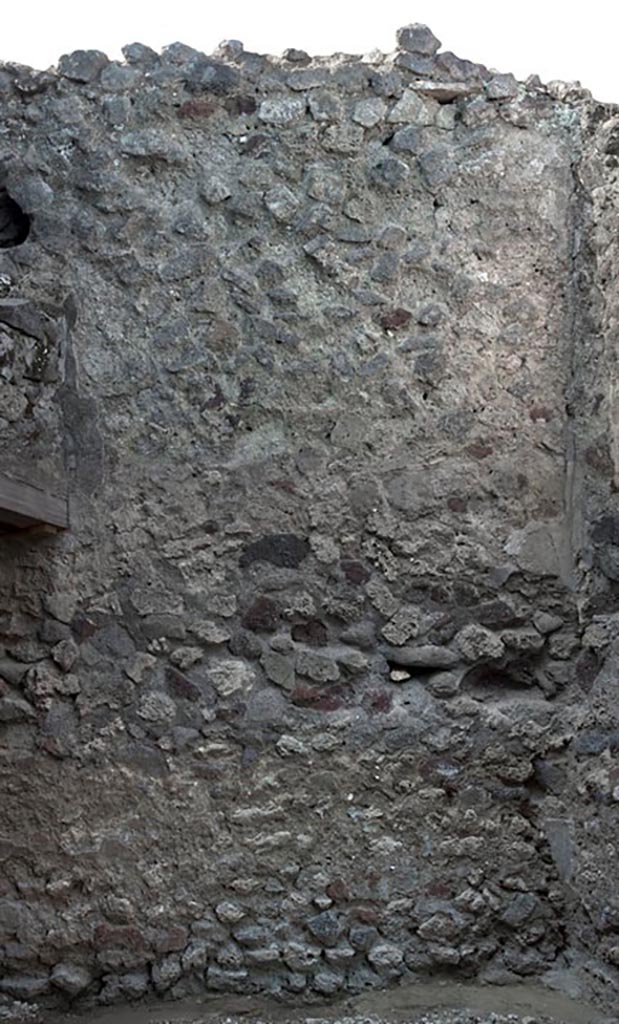
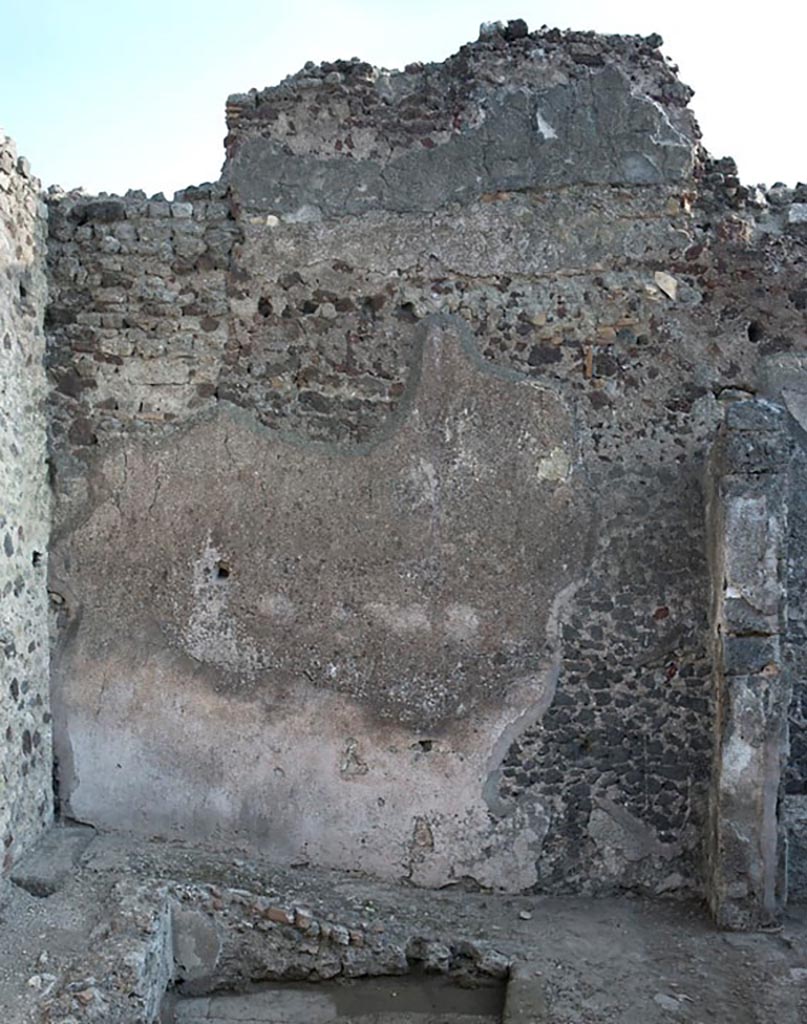
V.1.3 Pompeii. c.2012.
Room “a”, east wall of tablinum. Photo by Hans Thorwid.
“E wall in 2012. Restored parts of the wall photographed and merge with the lower part and floor line of earlier photos from 2005-7.”
Photo and words courtesy of the Swedish Pompeii Project.
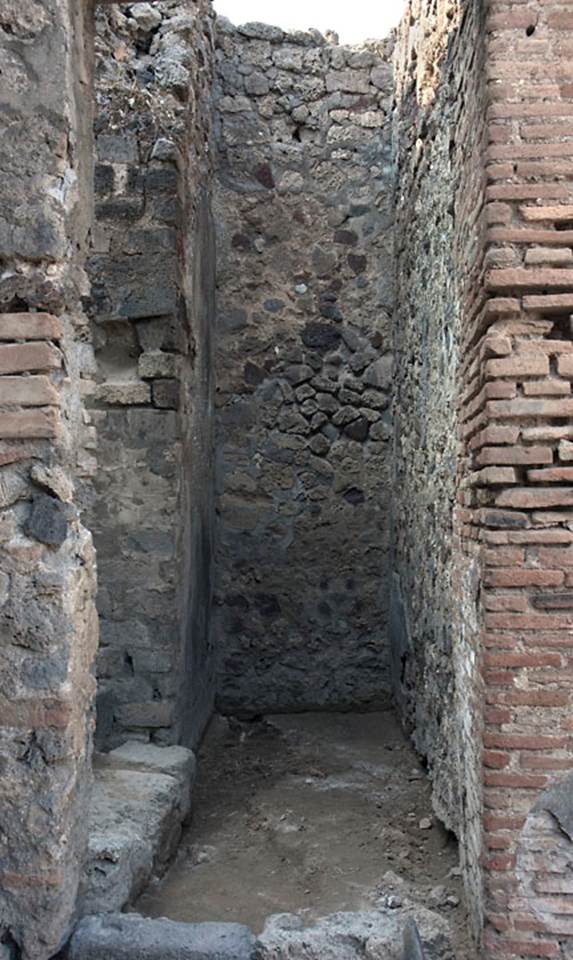
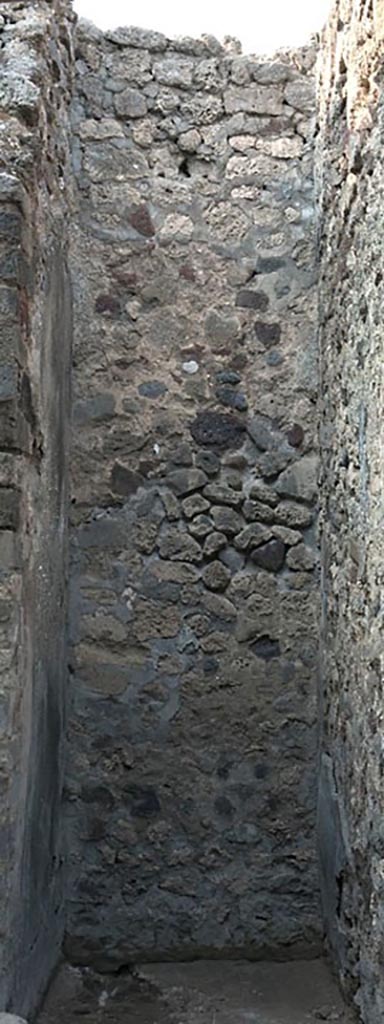
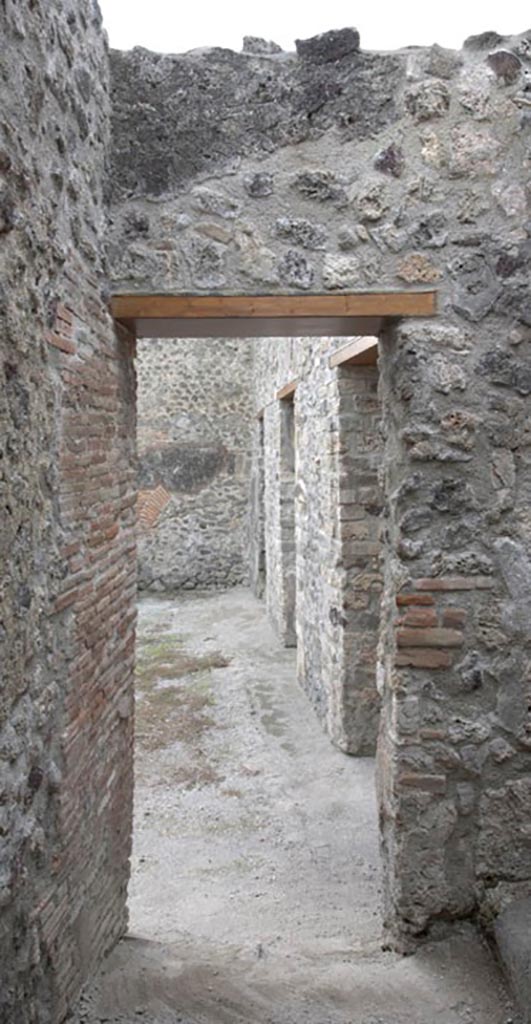
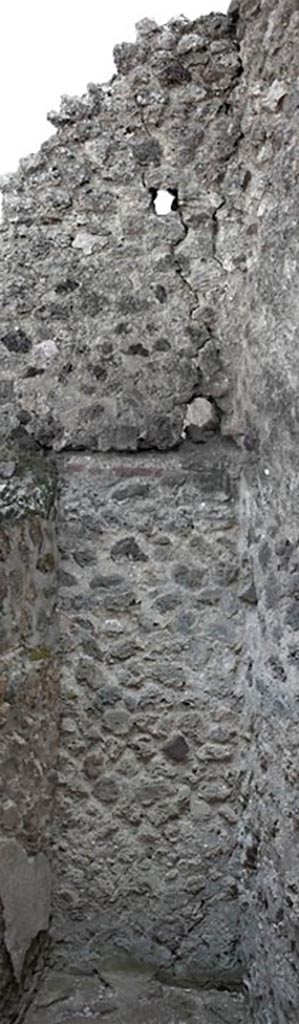
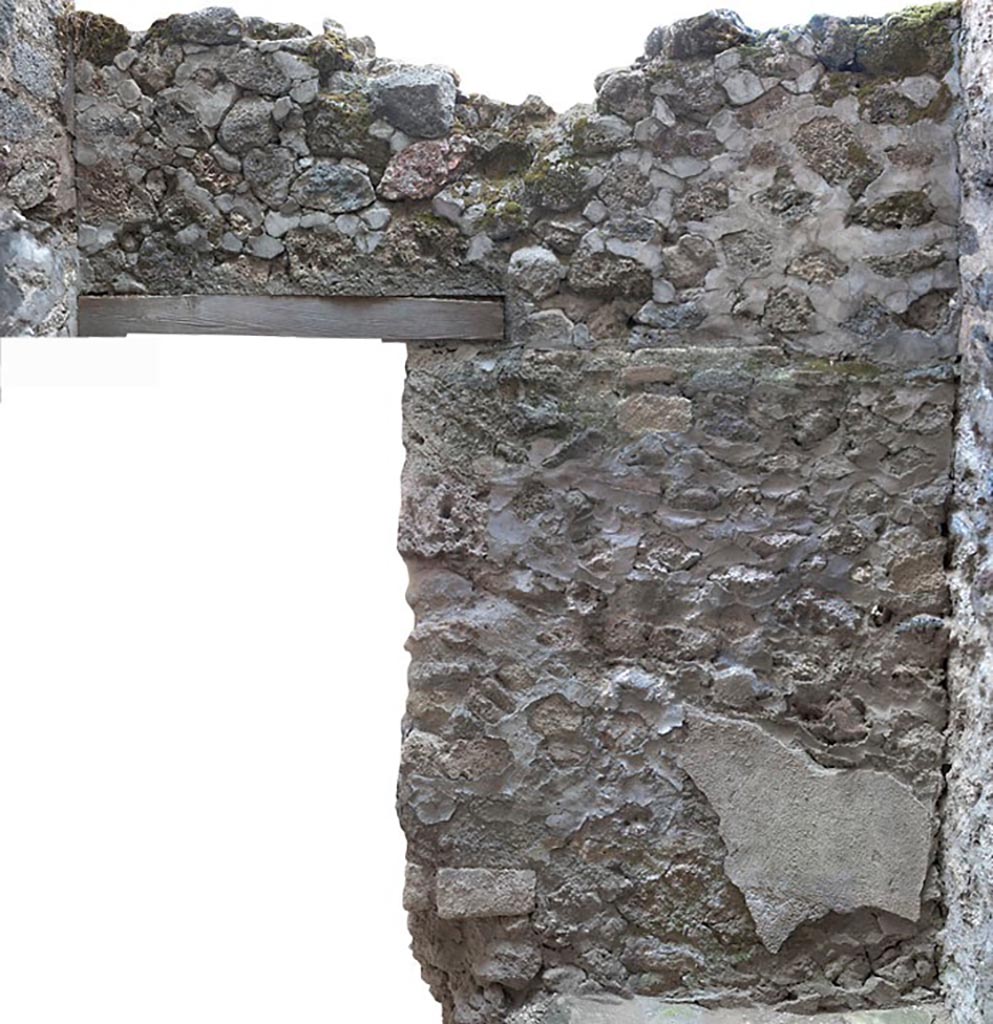
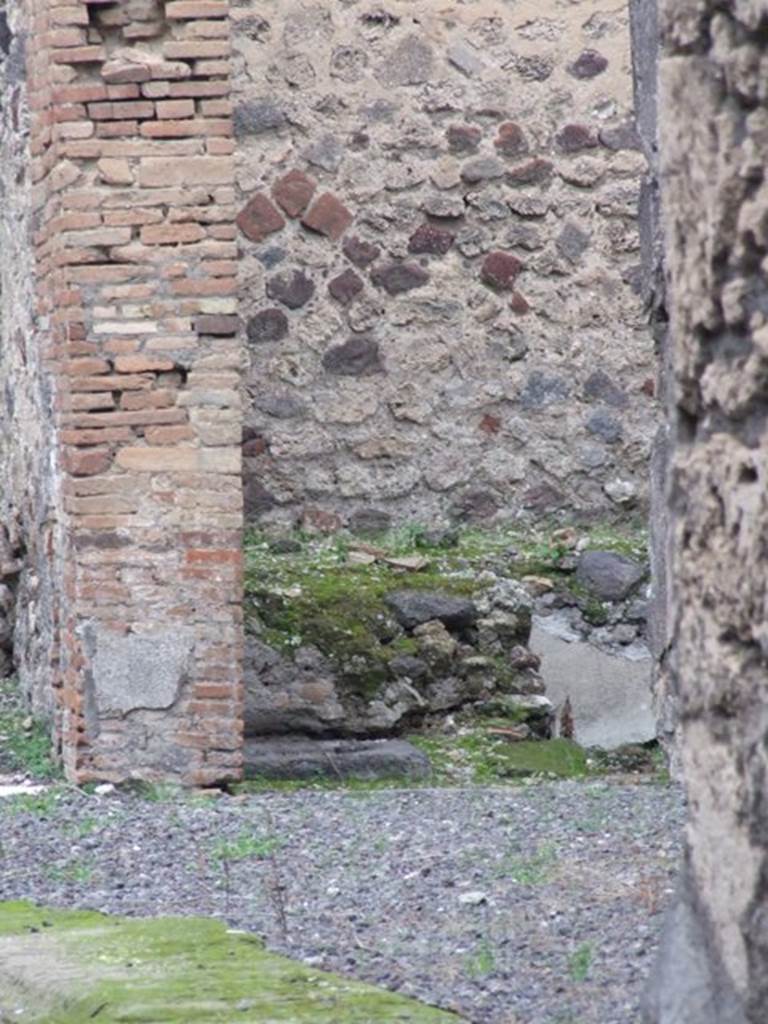
V.1.3 Pompeii. c.2008-10.
Room “b”, looking north into corridor from atrium. Photo by Hans Thorwid.
“The narrow corridor opens in the S towards the atrium.
Another door opening, leading to room “c”, the latrine, is located in the S part of the W wall.
Originally the corridor led to the kitchen area of the Casa del Torello V 1,7 in the north and was later closed.”
Photo and words courtesy of the Swedish Pompeii Project.
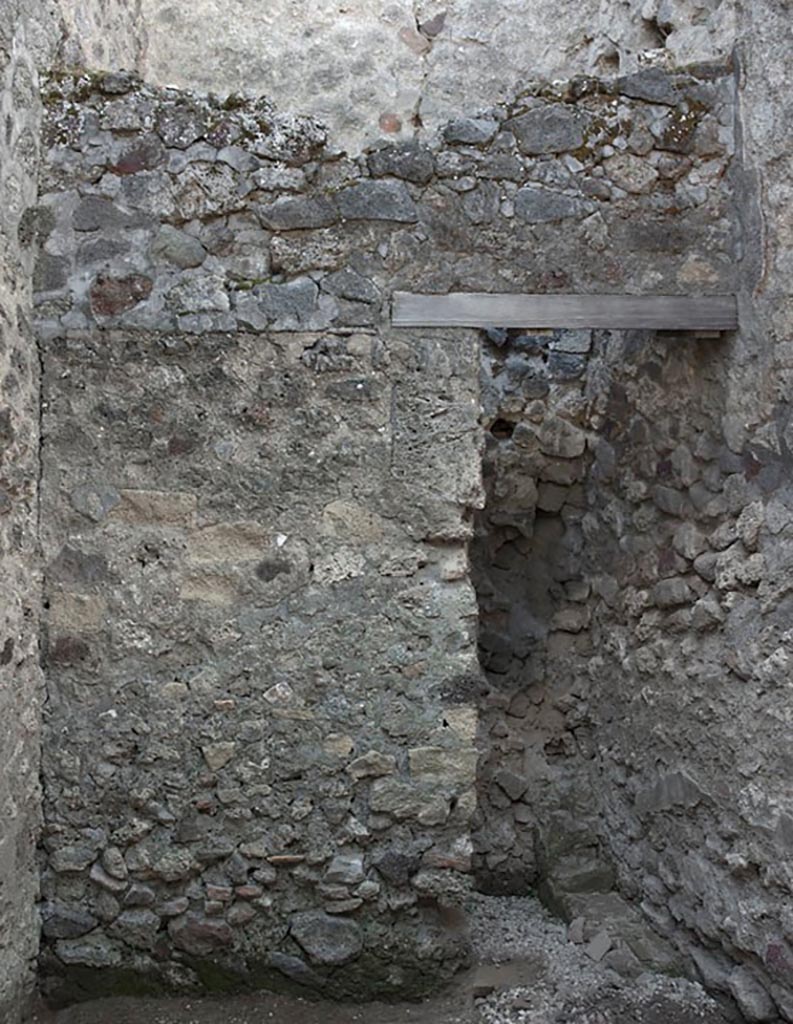
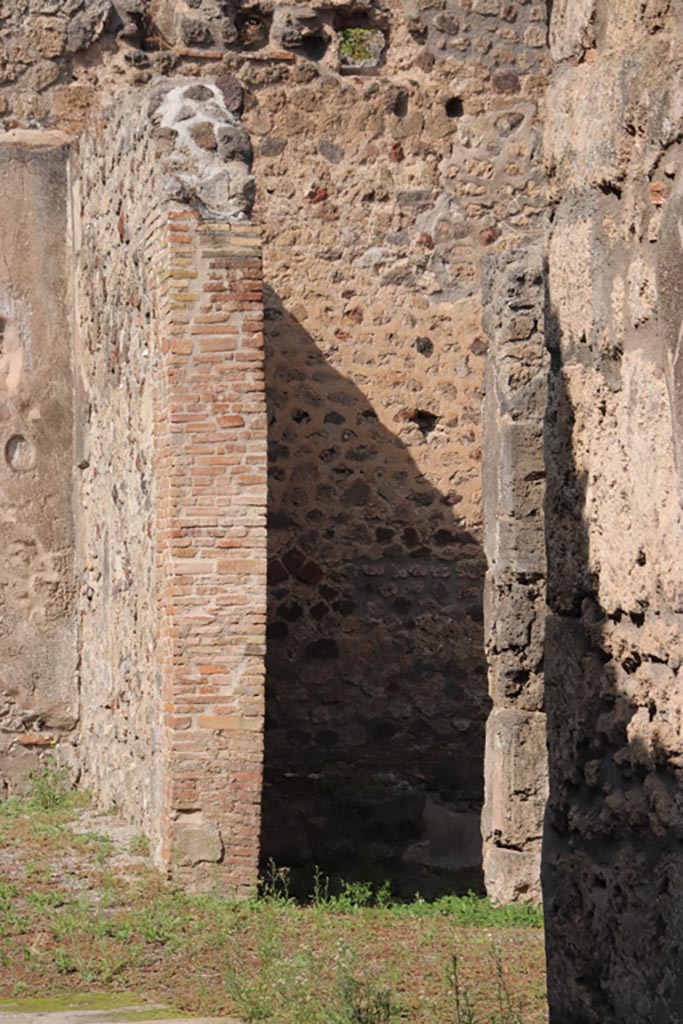
V.1.3 Pompeii. c.2012.
Room “b”, west wall of corridor, with doorway into latrine. Photo by Hans Thorwid.
E wall in 2012. Restored parts of the wall photographed and merge with the lower part and floor line of earlier photos from 2005-7.”
Photo and words courtesy of the Swedish Pompeii Project.
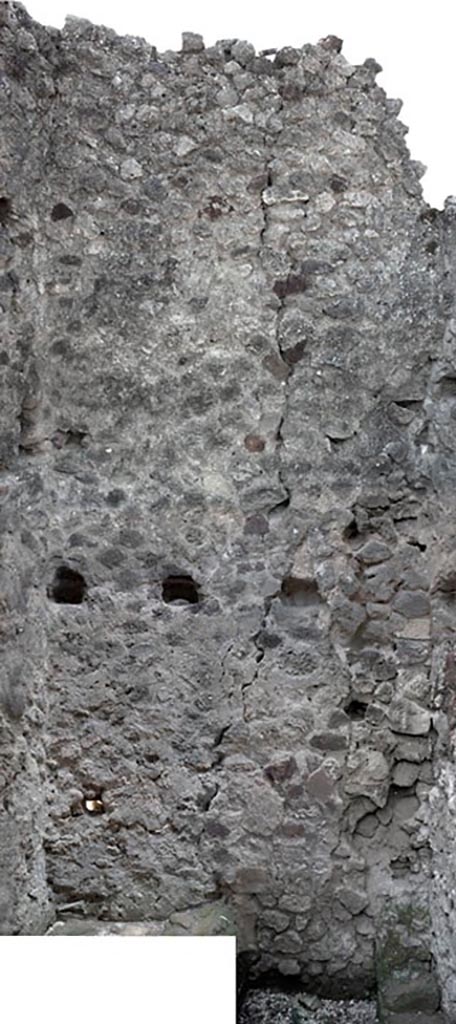
V.1.3 Pompeii. c.2008-10.
Room “b”, north wall of corridor. Photo by Hans Thorwid.
Photo courtesy of the Swedish Pompeii Project.
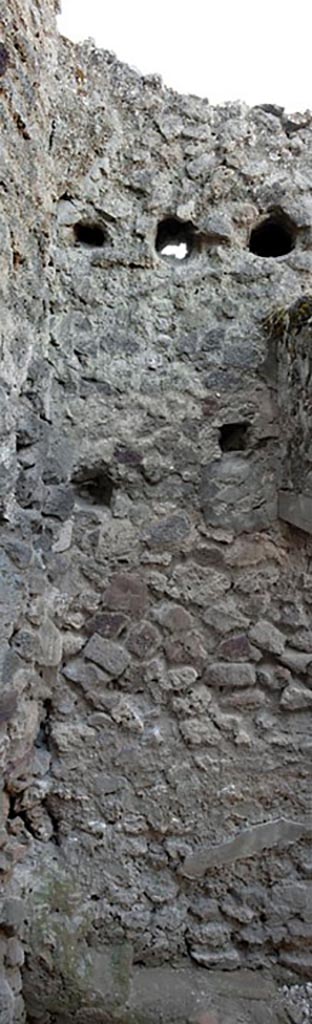
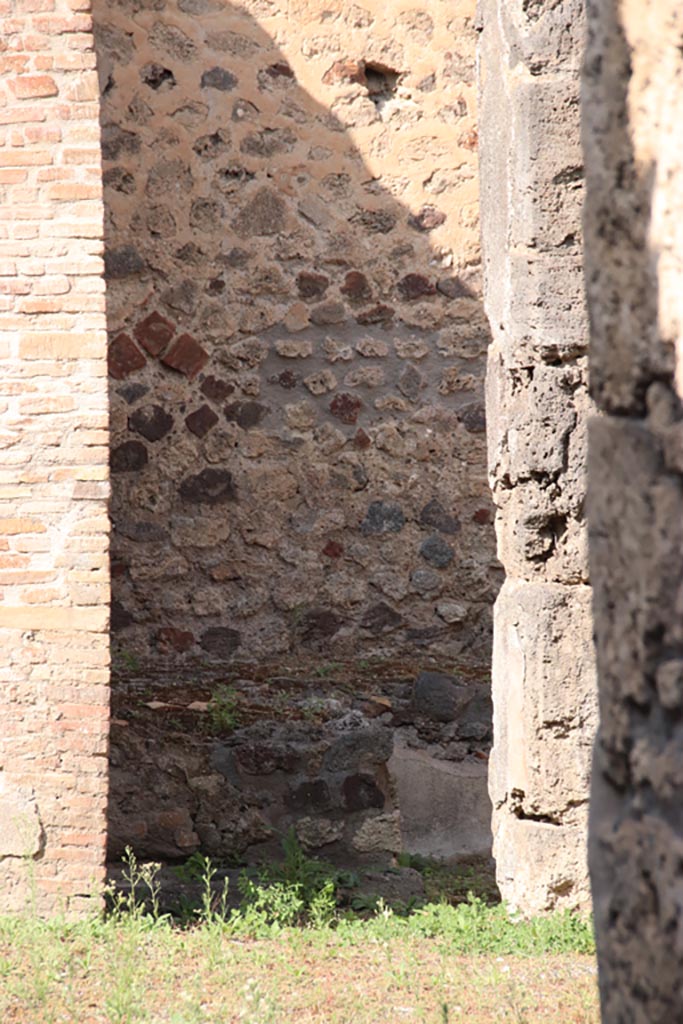
V.1.3 Pompeii. c.2012.
Room “b”, east wall of corridor, with doorway into atrium, on right. Photo by Hans Thorwid.
“E wall in 2012. Restored parts of the wall photographed and merge with the lower part and floor line of earlier photos from 2005-7.”
Photo and words courtesy of the Swedish Pompeii Project.
V.1.3 Pompeii. c.2012.
Room “b”, south wall of corridor, with doorway into atrium. Photo by Hans Thorwid.
“S wall in 2012. Restored parts of the wall photographed and merge with the lower part and floor line of earlier photos from 2005-7.”
Photo and words courtesy of the Swedish Pompeii Project.
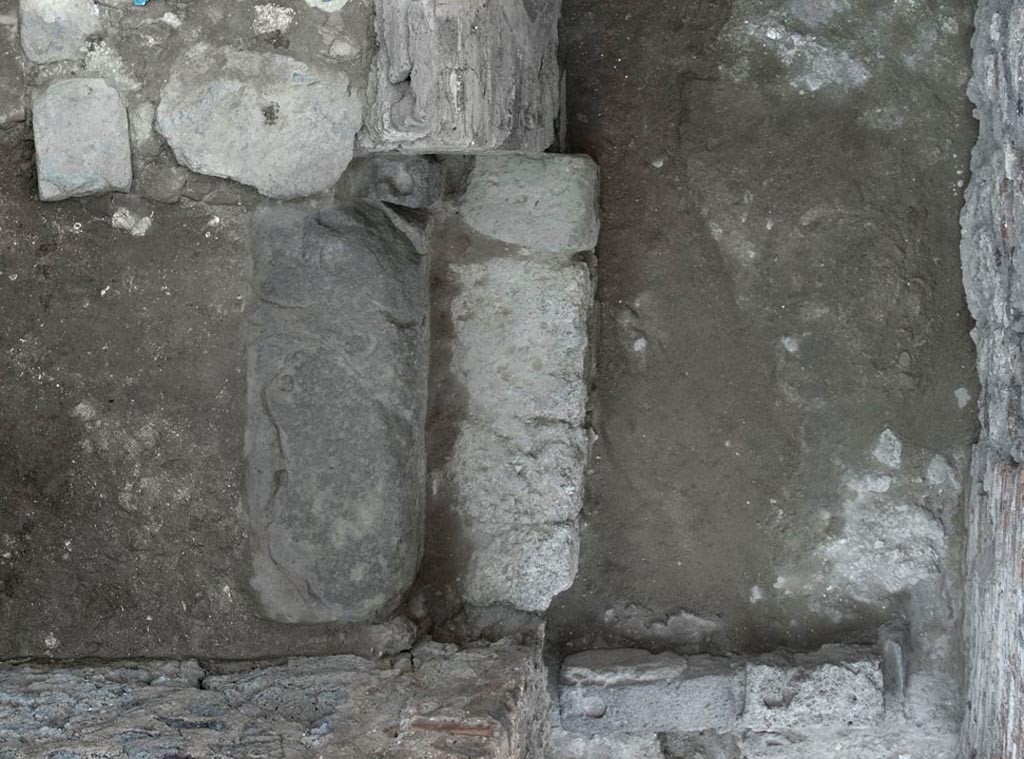
V.1.3 Pompeii. c.2008-10.
Room “b”, flooring in corridor. Photo by Hans Thorwid.
Photo courtesy of the Swedish Pompeii Project.
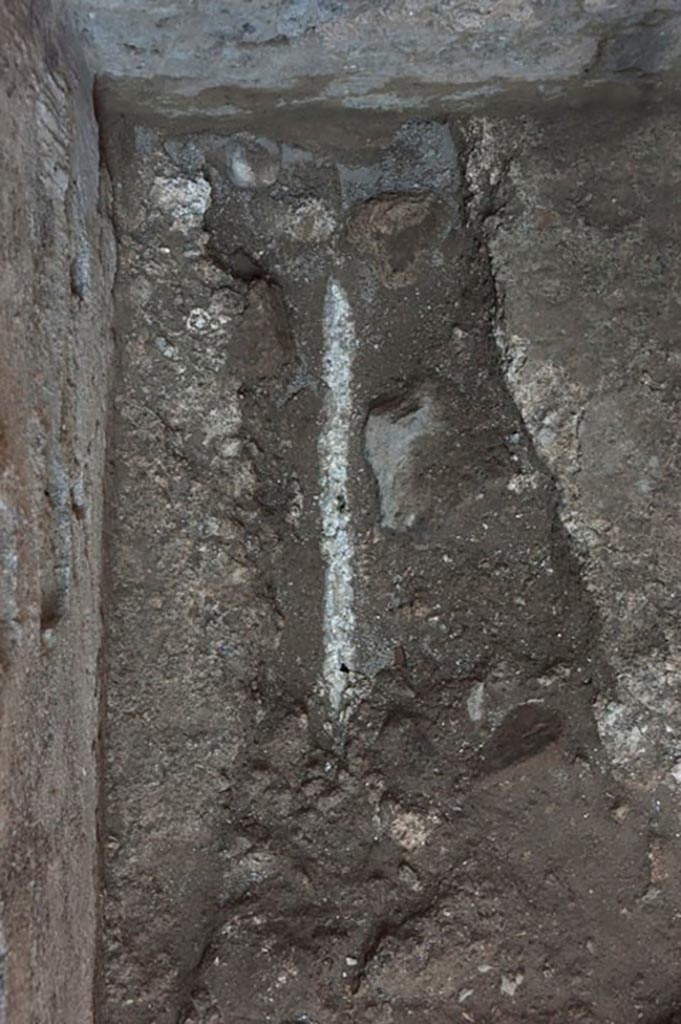
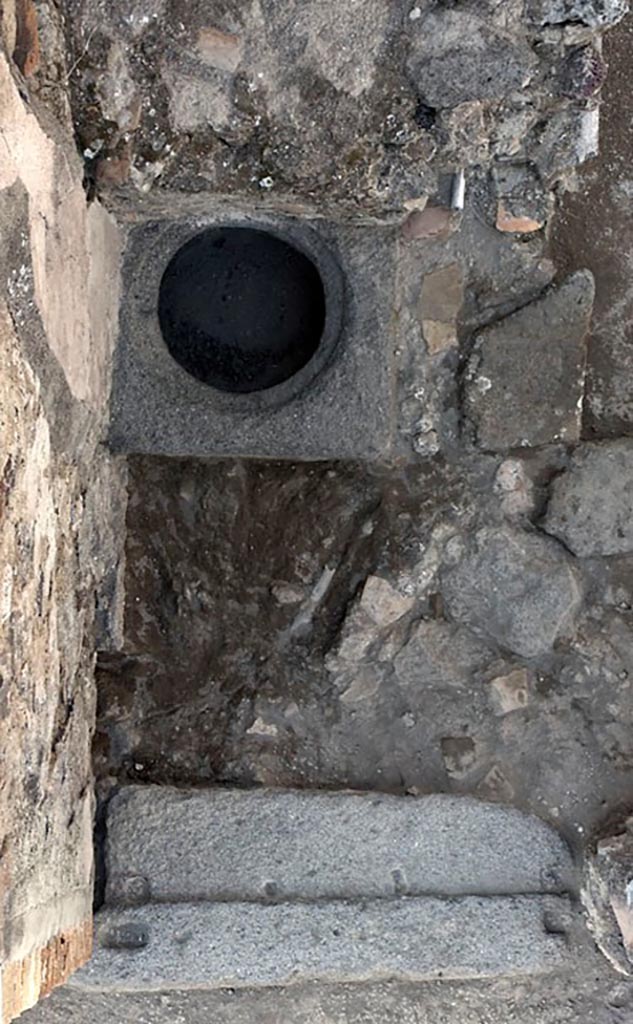
V.1.3 Pompeii. c.2008-10.
Room “b”, flooring in corridor, detail of lead pipe. Photo by Hans Thorwid.
Photo courtesy of the Swedish Pompeii Project.
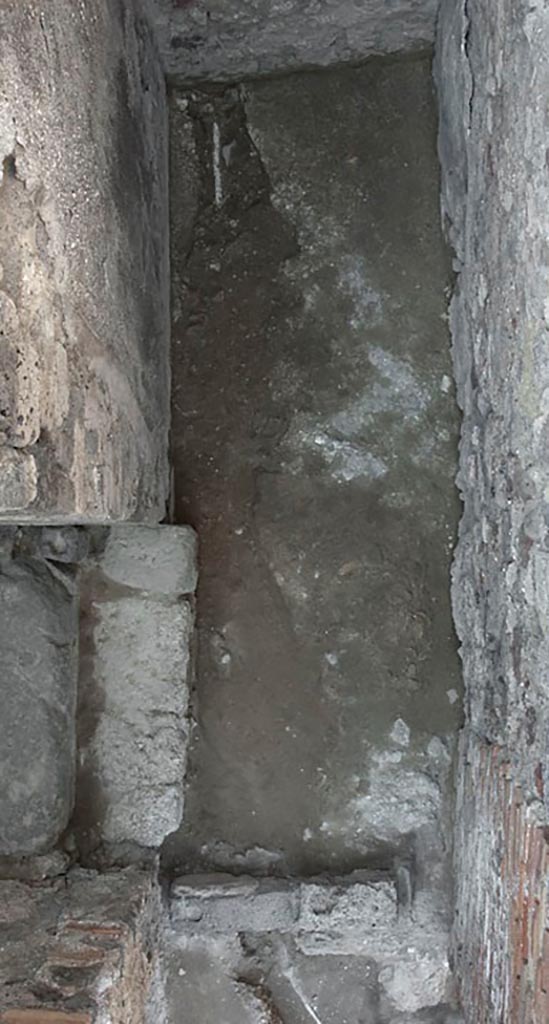
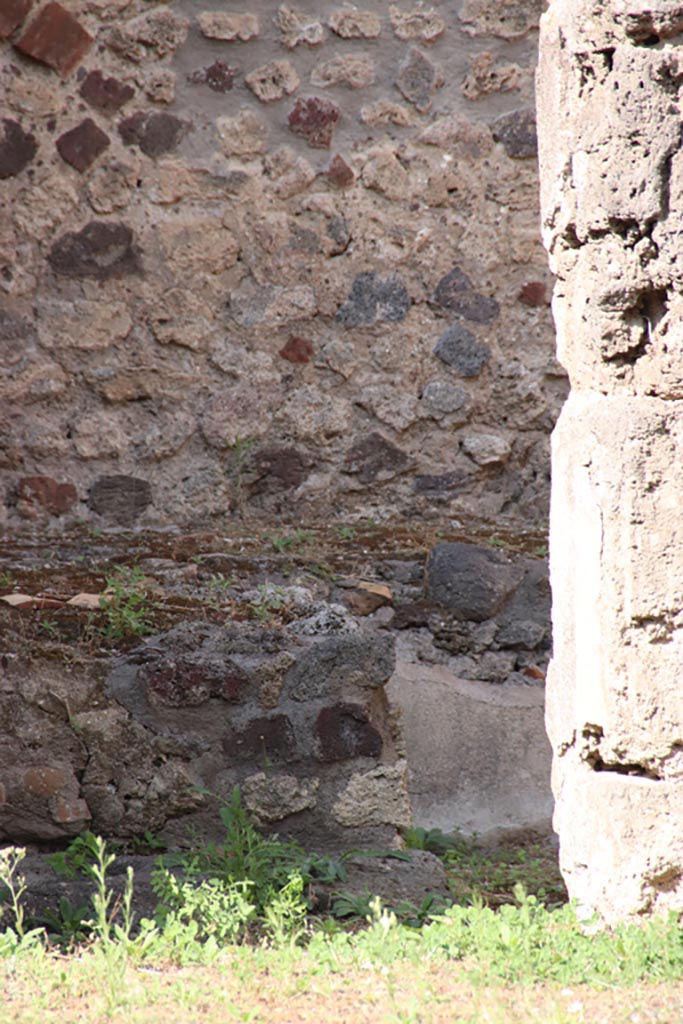
V.1.3 Pompeii. c.2008-10.
Room “c”, threshold to doorway on west side of corridor “b”. Photo by Hans Thorwid.
Photo courtesy of the Swedish Pompeii Project.
V.1.3 Pompeii. c.2008-10.
Room “c”, south wall of outer room. Photo by Hans Thorwid.
Photo courtesy of the Swedish Pompeii Project.
V.1.3 Pompeii. c.2008-10.
Room “c”, west wall of outer room with doorway into latrine.
Photo by Hans Thorwid.
Photo courtesy of the Swedish Pompeii Project.
V.1.3 Pompeii. c.2008-10.
Room “c”, north wall of outer room with doorway into latrine, on left.
Photo by Hans Thorwid.
Photo courtesy of the Swedish Pompeii Project.
V.1.3 Pompeii. c.2008-10.
Room “c”, east wall of outer room with doorway into corridor “b”, on right.
Photo by Hans Thorwid.
Photo courtesy of the Swedish Pompeii Project.
V.1.3 Pompeii. c.2008-10.
Room “c”, flooring of outer room with doorway into latrine, on left, and into corridor “b”, on right.
Photo by Hans Thorwid.
Photo courtesy of the Swedish Pompeii Project.
V.1.3 Pompeii. c.2008-10.
Room “c”, south wall of inner room, the latrine. Photo by Hans Thorwid.
Photo courtesy of the Swedish Pompeii Project.
V.1.3 Pompeii. c.2008-10.
Room “c”, west wall of latrine. Photo by Hans Thorwid.
Photo courtesy of the Swedish Pompeii Project.
V.1.3 Pompeii. c.2008-10.
Room “c”, north wall of latrine. Photo by Hans Thorwid.
Photo courtesy of the Swedish Pompeii Project.
V.1.3 Pompeii. c.2008-10.
Room “c”, east wall of latrine with doorway into outer area. Photo by Hans Thorwid.
Photo courtesy of the Swedish Pompeii Project.

V.1.3 Pompeii. c.2008-10.
Room “c”, flooring of latrine with doorway into outer area, on right. Photo by Hans Thorwid.
Photo courtesy of the Swedish Pompeii Project.
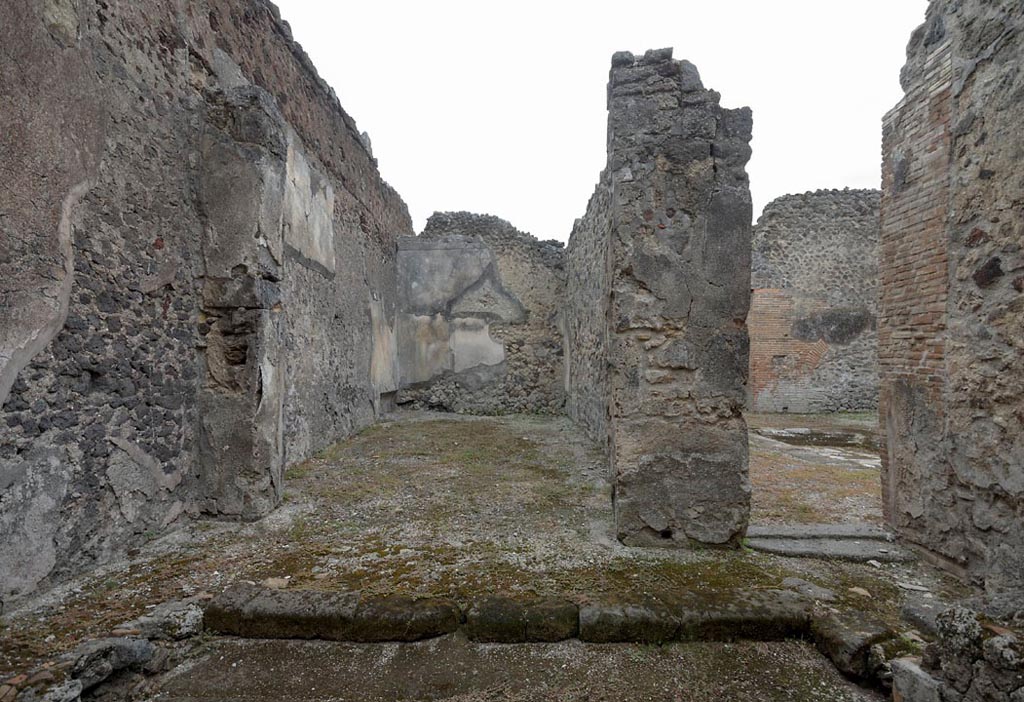
Looking
from entrance doorway towards doorway on east side of tablinum into room “d”.
Photo
courtesy of Klaus Heese.
Room
“d”, looking through doorway towards west side with remains of bench. Photo
courtesy of Klaus Heese.
V.1.3 Pompeii. October 2023.
Room “d”, looking into nymphaeum from doorway in atrium. Photo
courtesy of Klaus Heese.
V.1.3 Pompeii. December 2007.
Room “d”, looking north from the entrance towards room used as a nymphaeum, which had benches on three sides of it and a small pool in the middle.
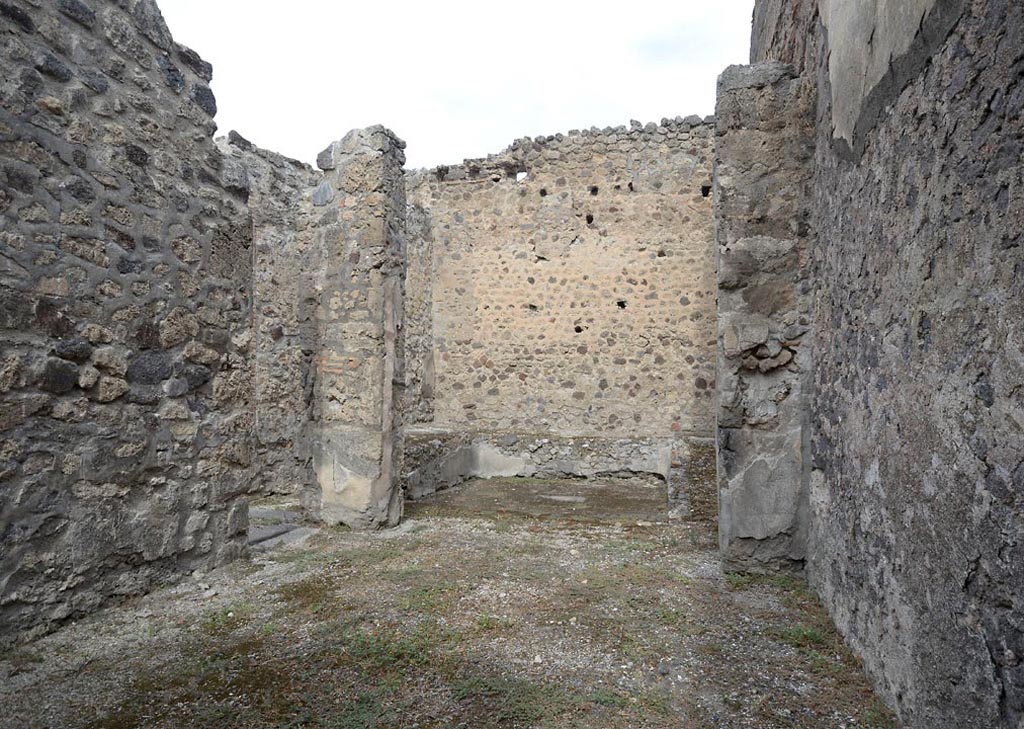
V.1.3 Pompeii. 2013.
Looking north from triclinium 3 towards room “d”, an area converted to nymphaeum. Photo by Hans Thorwid.
Photo courtesy of the Swedish Pompeii Project.
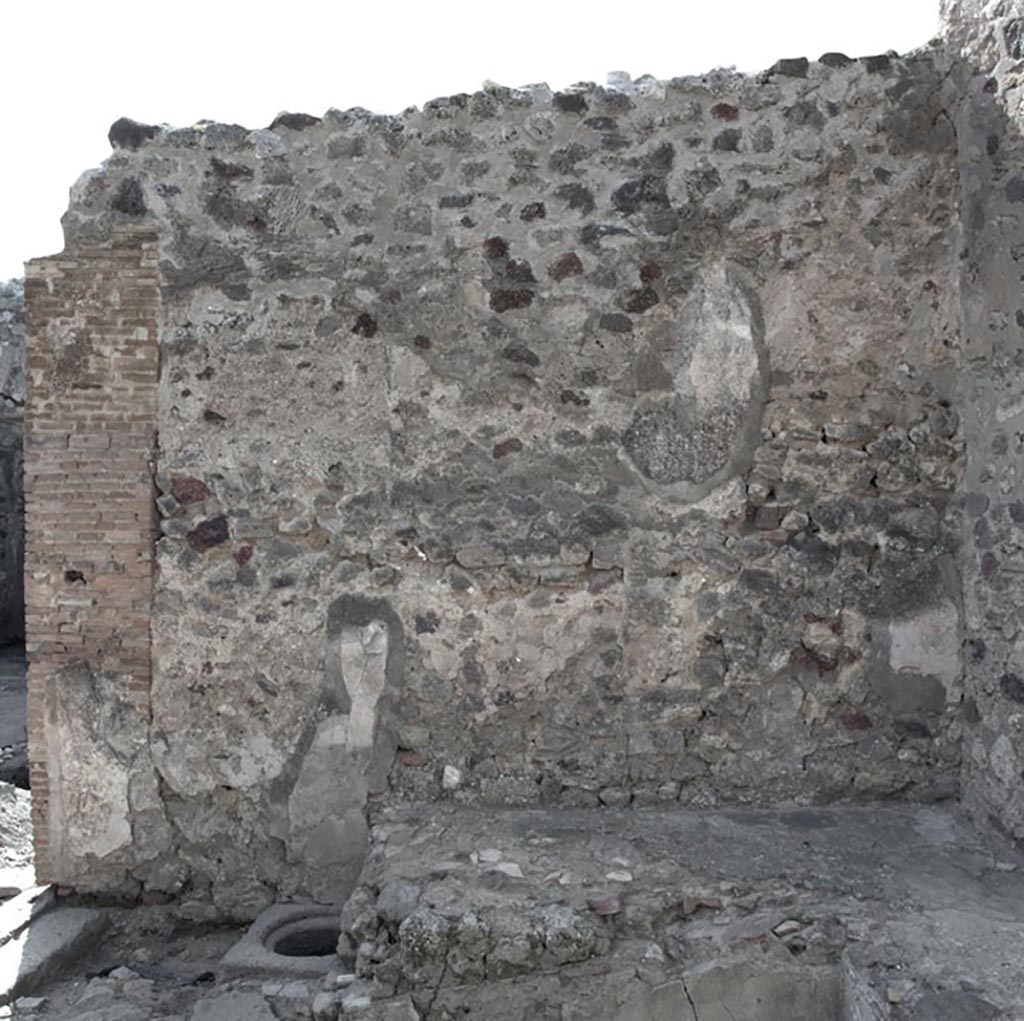
V.1.3 Pompeii. 2010.
Room “d”, west side, looking down onto doorway threshold and with cistern mouth.
Photo by Hans Thorwid.
Photo and words courtesy of the Swedish Pompeii Project.
V.1.3 Pompeii. c.2012.
Room “d”, west wall, with cistern mouth and bench. Photo by Hans Thorwid.
“W wall in 2012. Restored parts of the wall photographed and merge with the lower part and floor line of earlier photos from 2005-7.”
Photo and words courtesy of the Swedish Pompeii Project.
V.1.3 Pompeii. c.2008-10. Room “d”, north wall with bench. Photo by Hans Thorwid.
Photo courtesy of the Swedish Pompeii Project.
V.1.3 Pompeii. c.2008-10. Room “d”, east wall with bench. Photo by Hans Thorwid.
Photo courtesy of the Swedish Pompeii Project.
V.1.3 Pompeii. 2010.
Room “d”, looking down towards centre of flooring with benches around it. Photo by Hans Thorwid.
Photo courtesy of the Swedish Pompeii Project.
Room “d”, looking south across area of pool/fountain towards triclinium 3, and doorway to atrium, on right.
Photo by Hans Thorwid.
Photo courtesy of the Swedish Pompeii Project.
V.1.3 Pompeii. c.2013. Room “d”, south side, looking towards triclinium 3. Photo by Hans Thorwid.
Photo courtesy of the Swedish Pompeii Project.
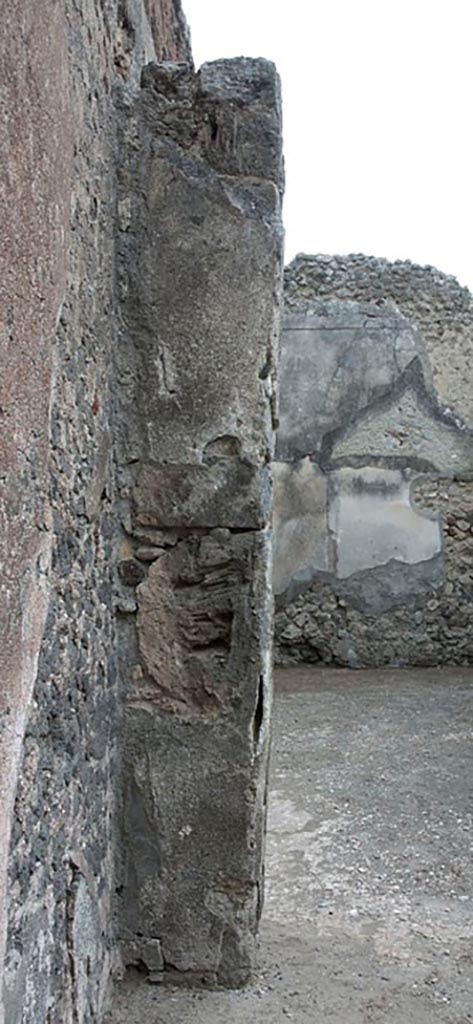
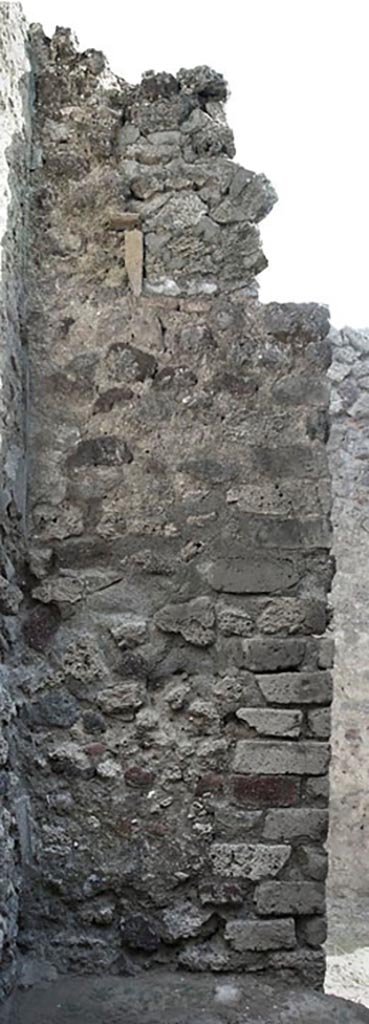
V.1.3 Pompeii. c.2013.
Room “d”, pilaster on east end of south side. Photo by Hans Thorwid.
Photo courtesy of the Swedish Pompeii Project.
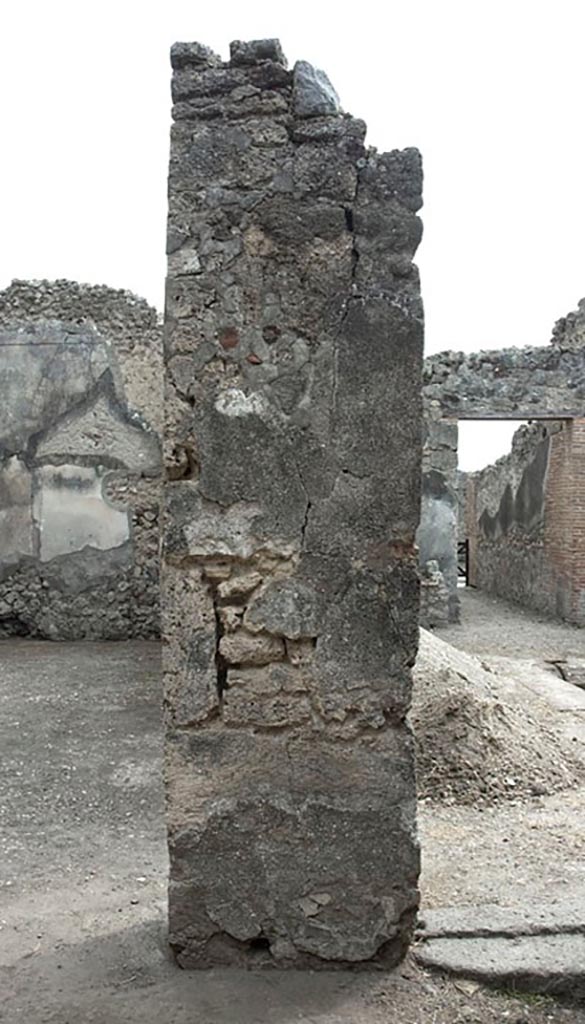
V.1.3 Pompeii. c.2013.
Room “d”, pilaster on west end of south side, with doorway to atrium, on right. Photo by Hans Thorwid.
Photo courtesy of the Swedish Pompeii Project.