VIII.2.21 Pompeii. House of L. Aelius Magnus.
Entrance to House, later converted to Sarno Baths and gymnasium.
Linked to VIII.2.23. First excavated 1808.
Other parts of the baths: VIII.2.17 VIII.2.18 VIII.2.19 VIII.2.20 VIII.2.21
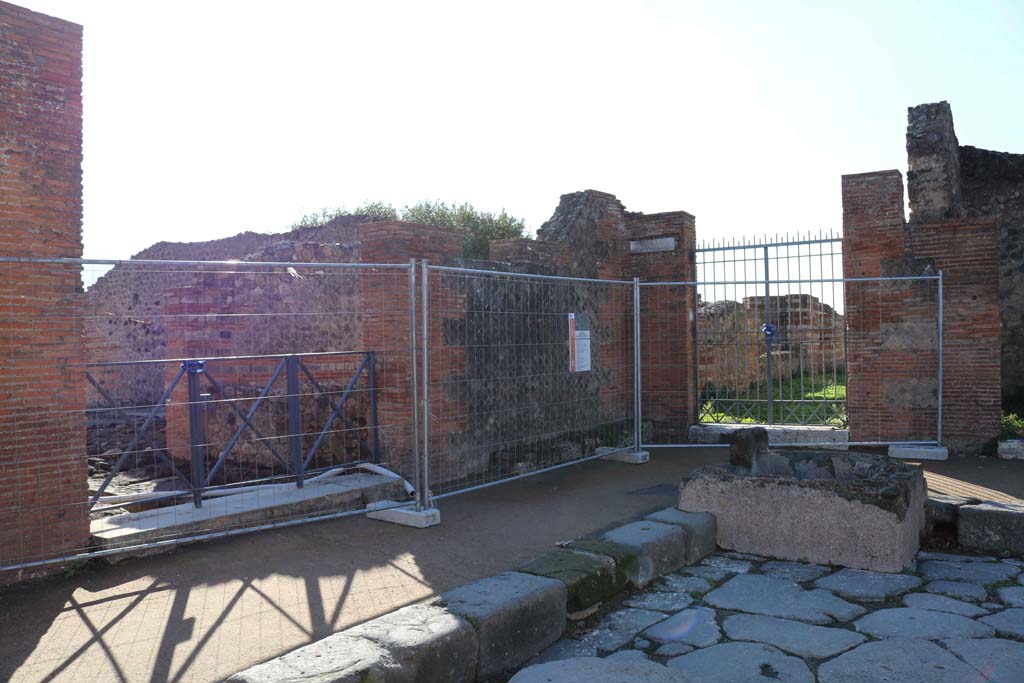
VIII.2.21 Pompeii, on left, and VIII.2.20, on
right. December 2018.
Looking towards entrances at south end of Via
delle Scuole, at junction with Vicolo della Regina. Photo courtesy of Aude
Durand.
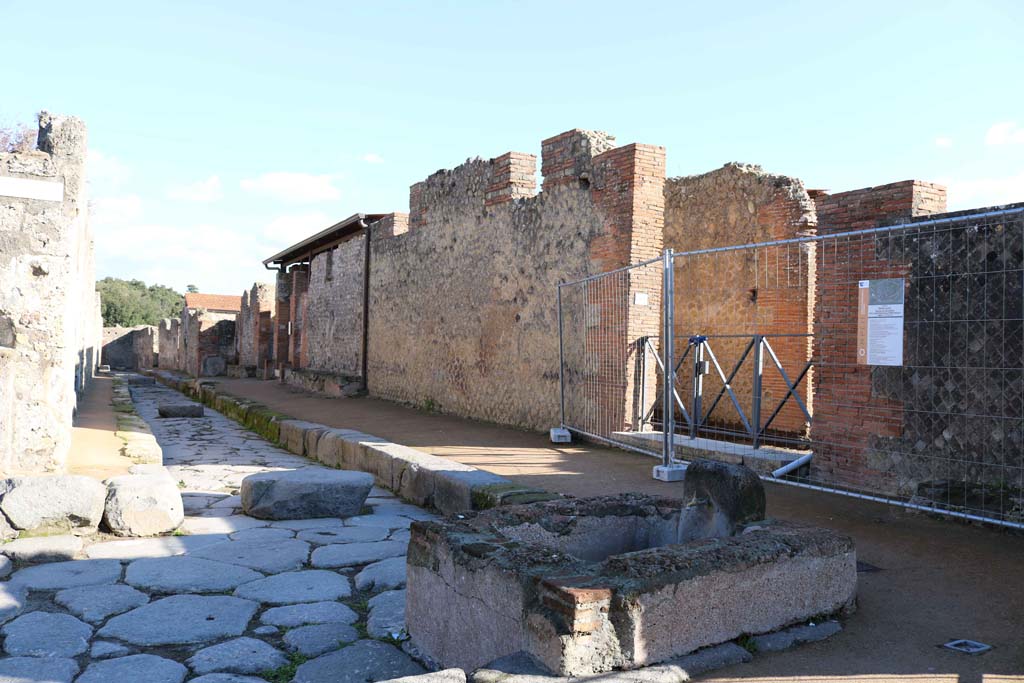
VIII.2.21 Pompeii, on right.
December 2018.
Entrance
doorway on Vicolo della Regina, at junction with Via del Scuola. Photo courtesy
of Aude Durand.
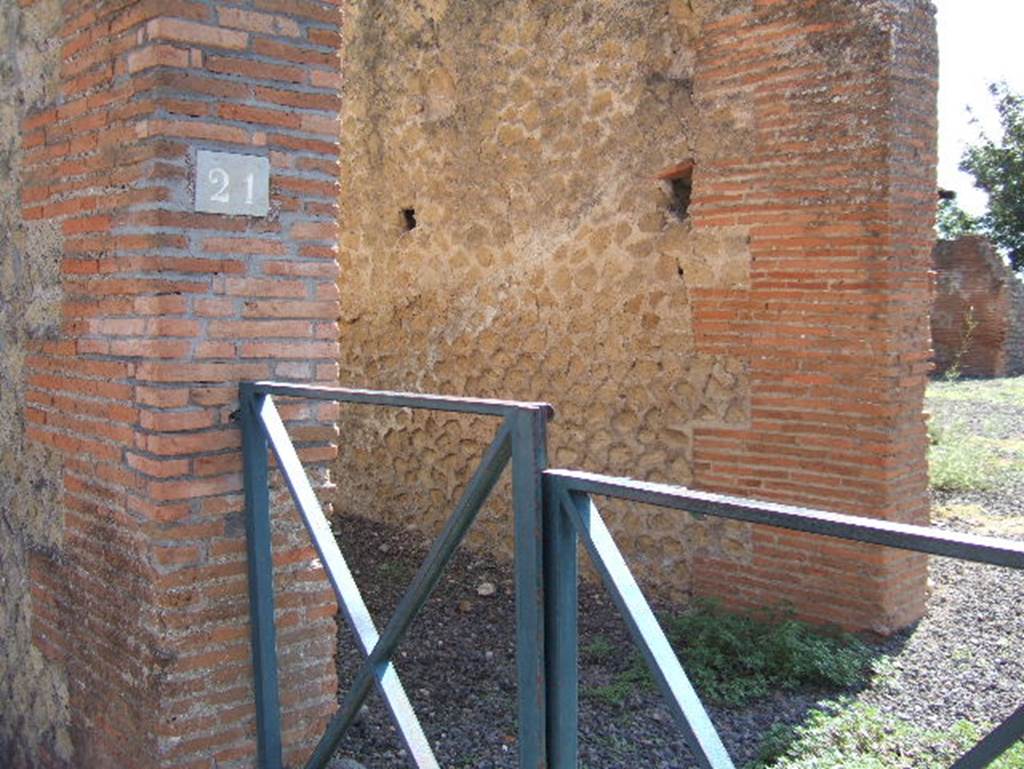
VIII.2.21 Pompeii. September 2005. Looking east from entrance doorway.
According to Garcia y Garcia, the plan “Pompeii bomb damage 1943” showed that a bomb fell in the area of this house.
See Garcia y
Garcia, L., 2006. Danni di guerra a Pompei. Rome: L’Erma di Bretschneider. (p.139)
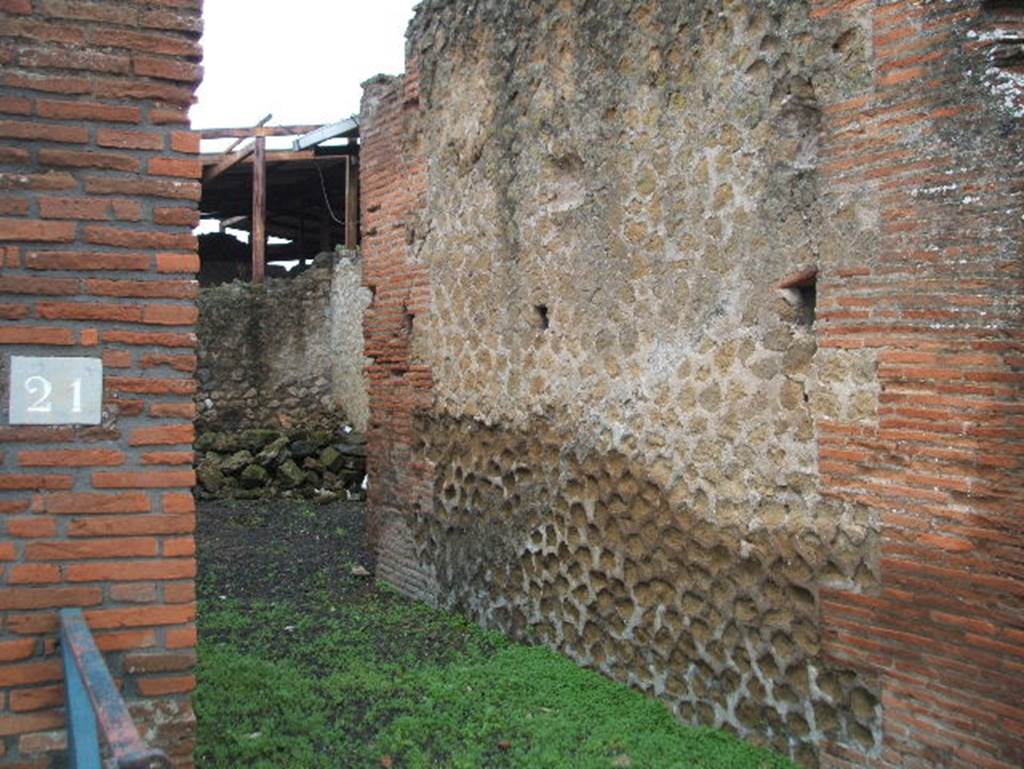
VIII.2.21 Pompeii. December 2004. Looking east from entrance doorway towards large room, a triclinium.
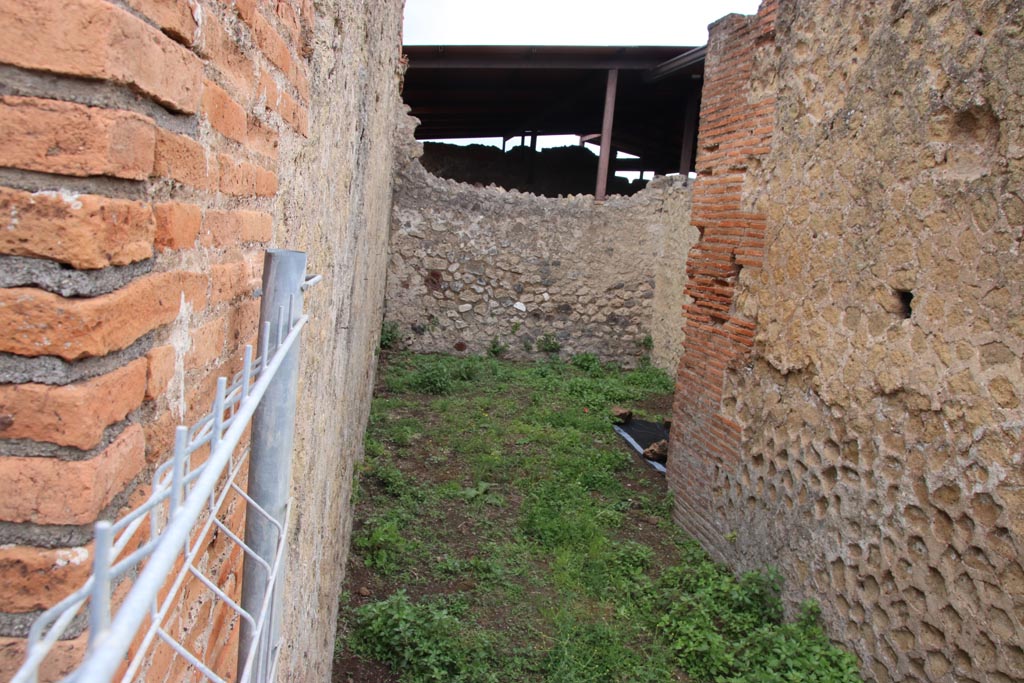
VIII.2.21 Pompeii. May 2024. Looking east from entrance doorway towards triclinium. Photo courtesy of Klaus Heese.
VIII.2.21 Pompeii. September 2005. Looking east from entrance doorway towards triclinium.
According to Richardson, between the street and the atrium, the fauces and the rooms flanking the fauces had been destroyed to make a lobby.
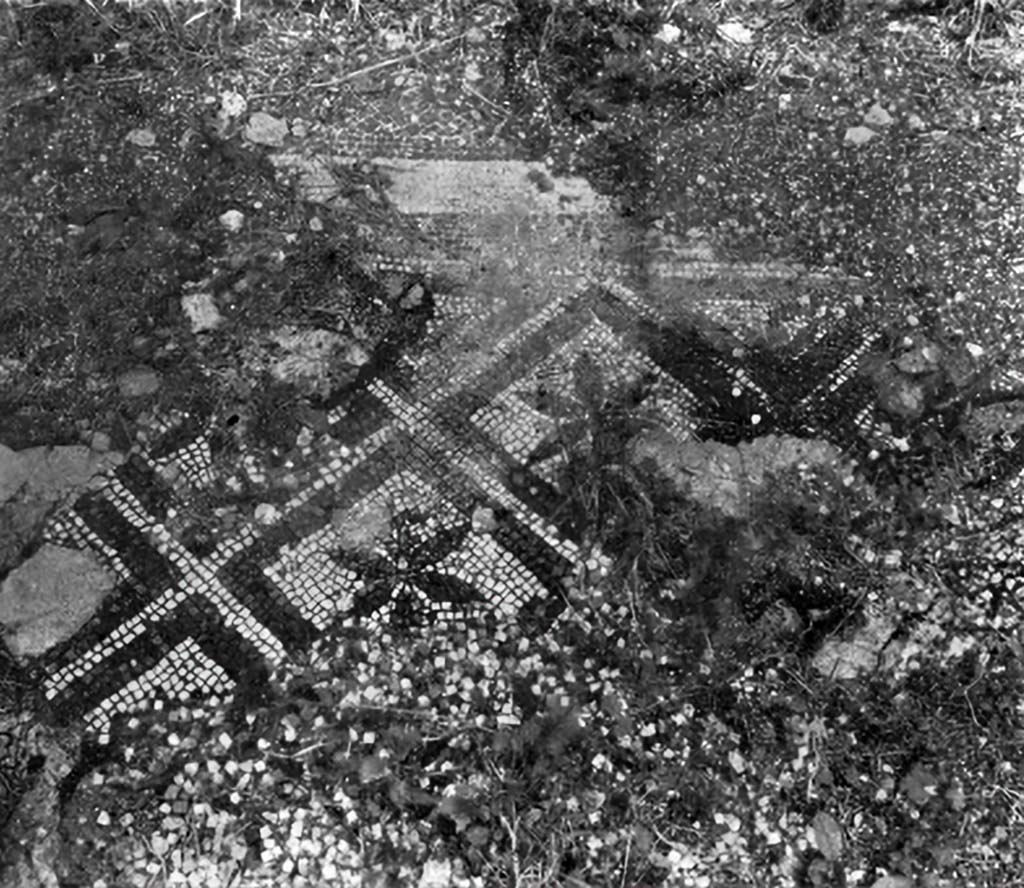
VIII.2.21 Pompeii. c.1930.
Mosaic
flooring in triclinium of a pattern of white squares with black edges, each
containing a rosette with 6 petals in its centre.
Mosaic
flooring showing partly the effects of weed roots penetrating the gaps between
the tesserae, and partly of frost.
See Blake, M., (1930). The pavements of the Roman Buildings of the
Republic and Early Empire. Rome, MAAR, 8, (p.12, ftn.7, & Pl.1, tav.3).
VIII.2.21 Pompeii. October 2023.
Looking south from
entrance doorway into atrium, with large tablinum, on right. Photo
courtesy of Klaus Heese.

VIII.2.21 Pompeii. September 2005.
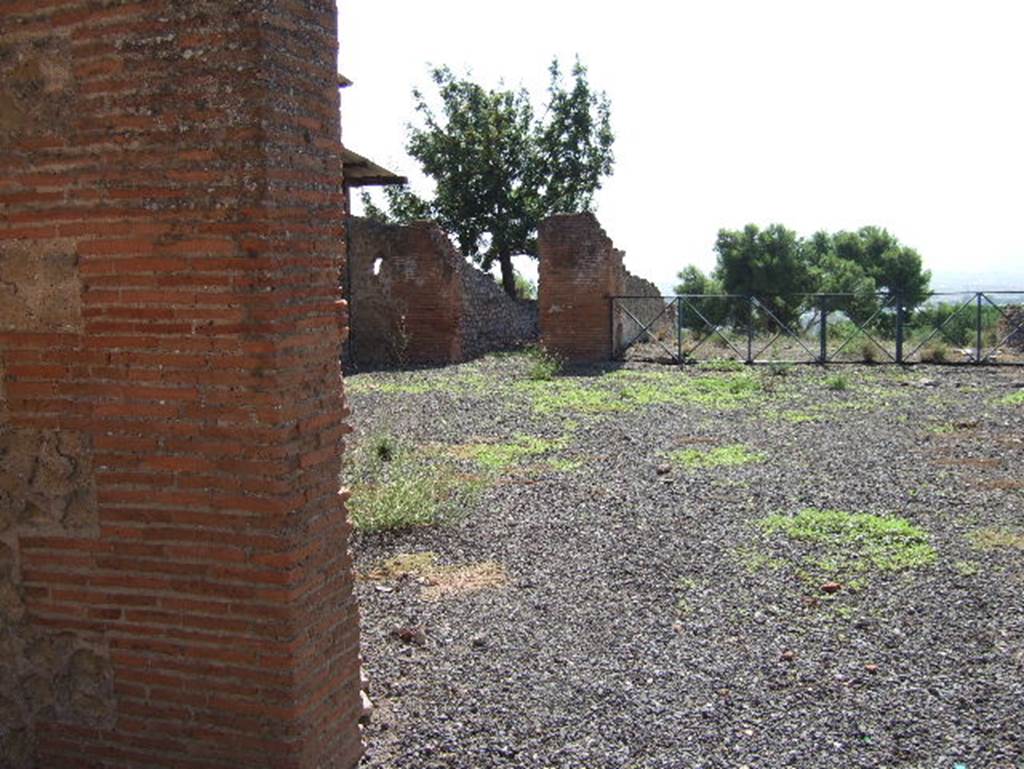
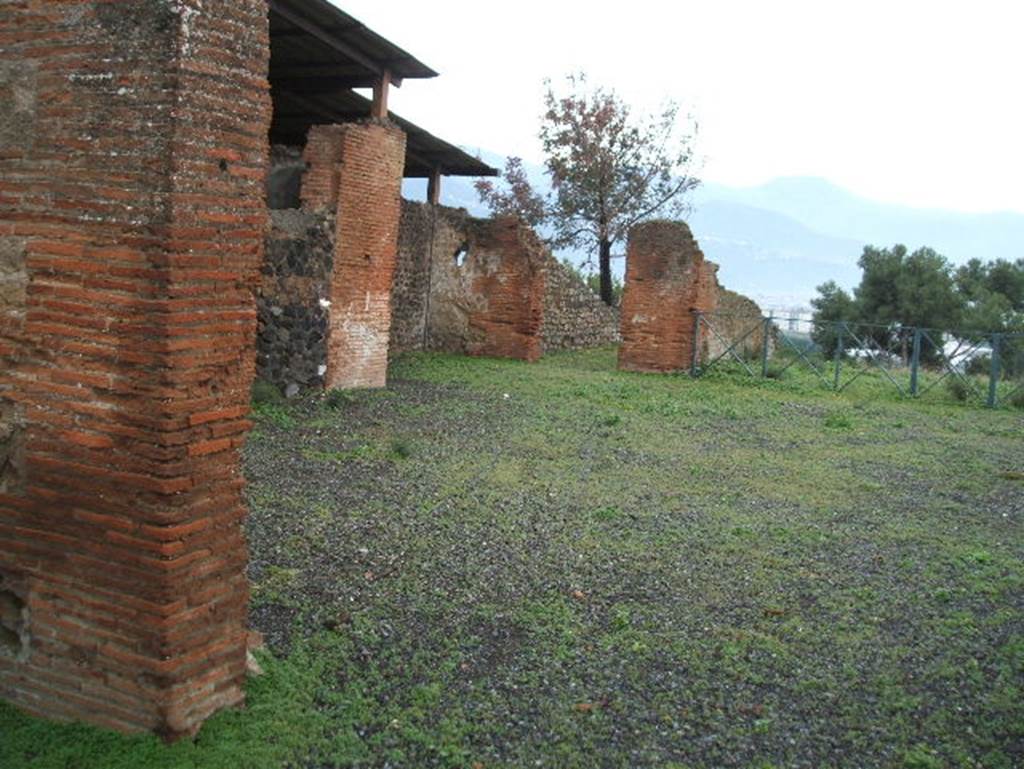
Looking south from entrance into large atrium, with shallow alae and a large tablinum completely open at both ends.
VIII.2.21 Pompeii. October 2020. Looking south-east from entrance doorway. Photo courtesy of Klaus Heese.
VIII.2.21 Pompeii. December 2004. Looking south-east from entrance doorway.
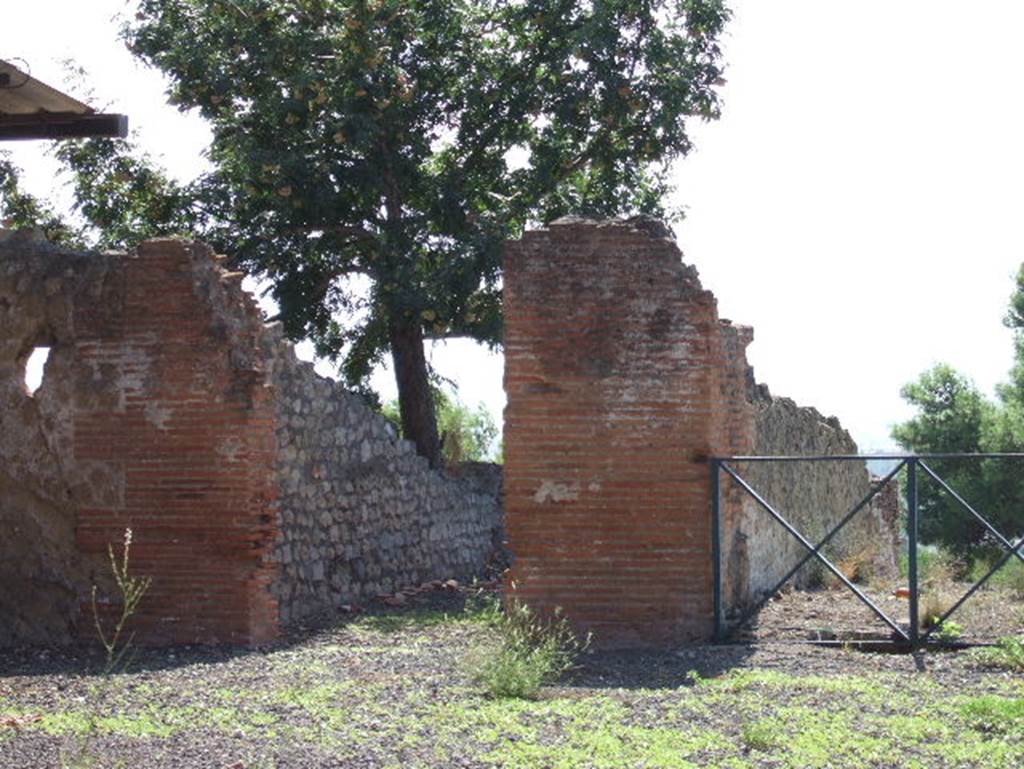
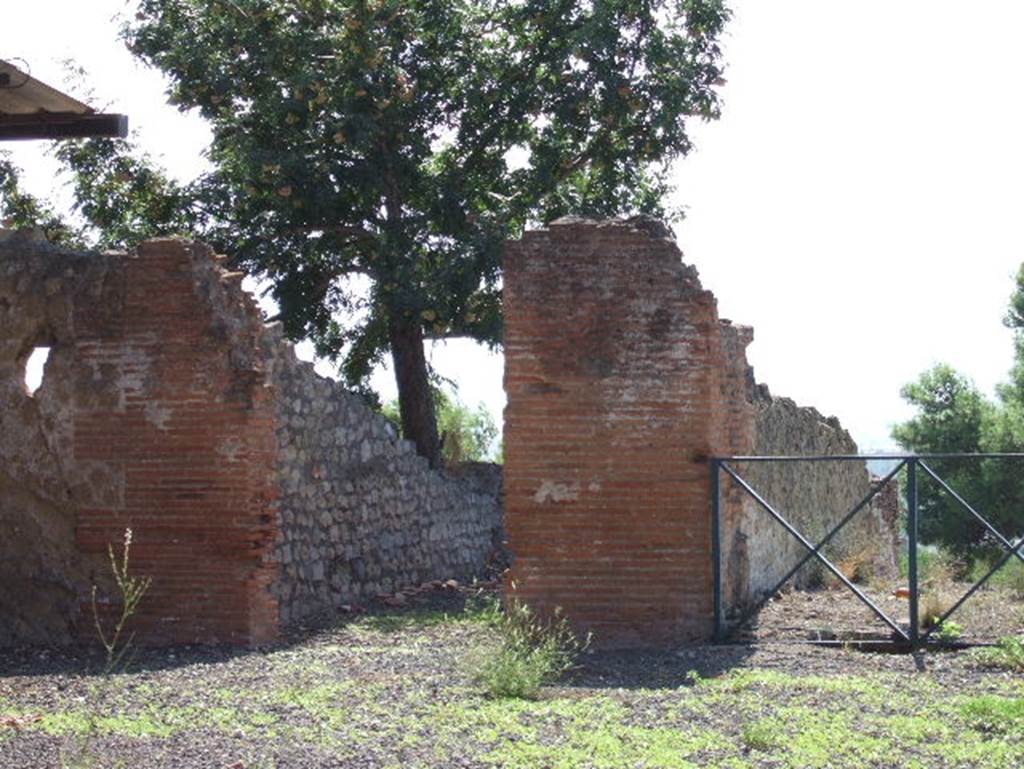
VIII.2.21 Pompeii. September 2005. South side of atrium, with doorway to room on left, and remains of tablinum, on right.
According to Richardson, flanking the tablinum were two rather narrow rooms, much of that on the west having collapsed.
Beyond these must have run a terrace at least as deep as the tablinum, probably with rooms at either end to judge from bits of masonry that survive and the thickness of the walls in the lower storey.
Perhaps these rooms may have been the most splendid triclinia in the house, but how they would have been remodelled there is no way of telling.
See Richardson, L., 1988. Pompeii: an Architectural History. Baltimore: John Hopkins University Press. (p.303-7)
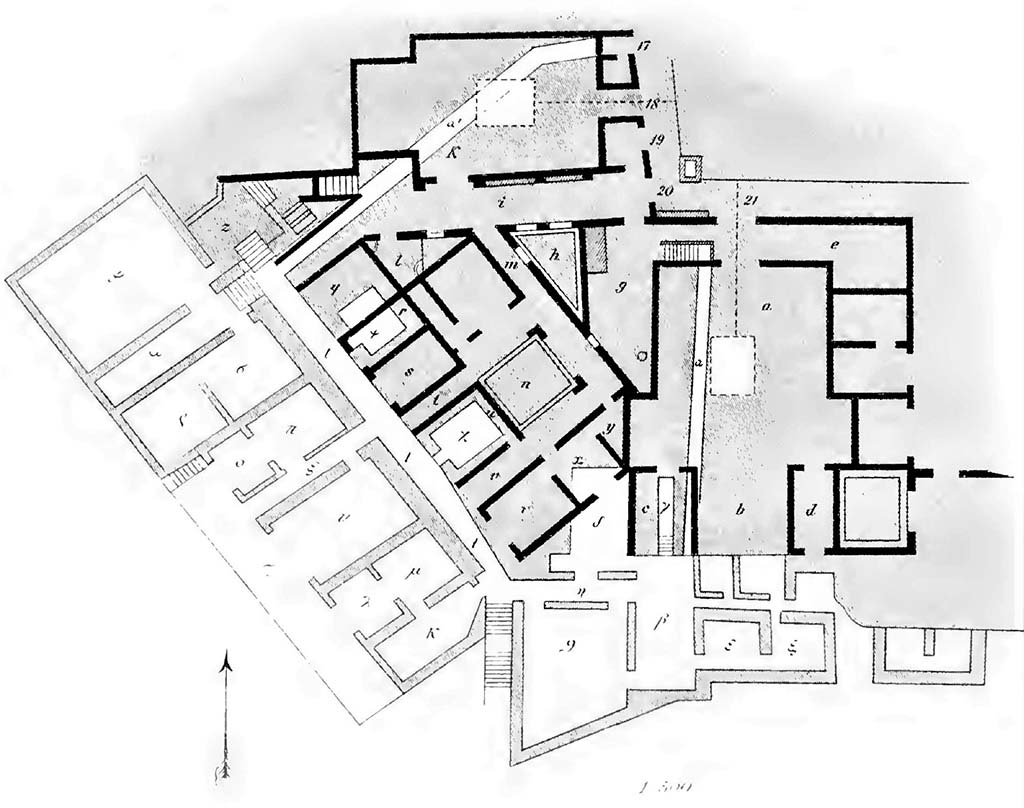
VIII.2.21 Pompeii, on right. Tav 5, no.2, as from BdI, 1890, showing rooms (i) and (k), lower right.
Room “i” would appear to be room 96, on level 3. (Room ε in
PPM and BdI)
Room “k” would appear to be room 95, on level 3. (Room ζ in
PPM and BdI)
See Bullettino dell’Instituto di Corrispondenza
Archeologica (DAIR), 5, 1890, (p.206-207).
VIII.2.21 Pompeii. 1896. Level 3 room 95, east wall, west face.
See Koloski Ostrow, A., 1990. The Sarno Bath Complex. Roma: L’Erma di Bretschneider, plate 80.
According to Niccolini it is from VIII.2.18, level 3, room 95.
See Niccolini F, 1896. Le case ed i monumenti di Pompei: Volume Quarto. Napoli. NS Tav. VIII.
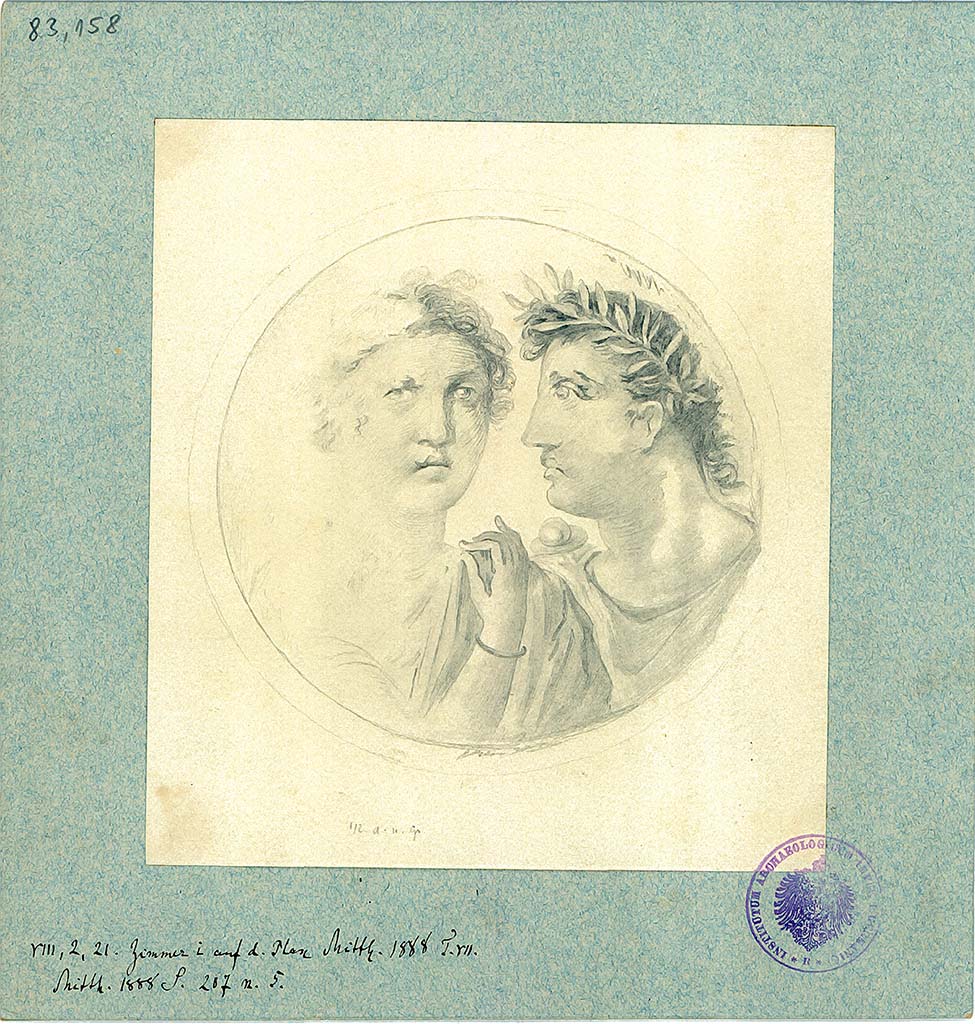
VIII.2.21 Pompeii. 1888. According to the label, lower left, this
a drawing of painting from room “i” of the plan BdI 1888, Tav. VII.
DAIR 83.158. Photo ©
Deutsches Archäologisches Institut, Abteilung Rom, Arkiv.

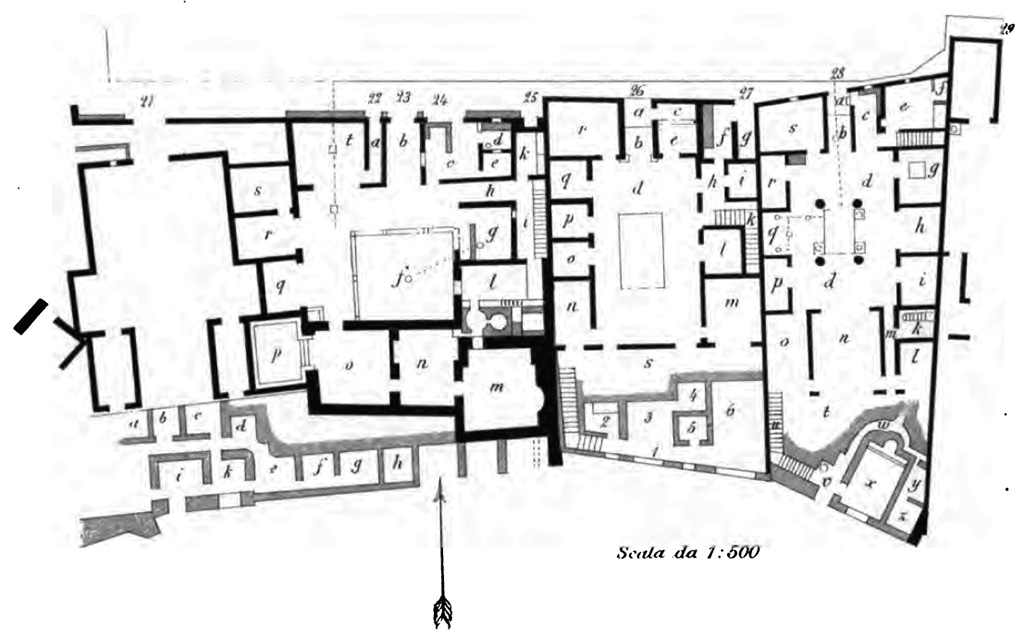
VIII.2.21 Pompeii, on left. Tav.
VII, as from BdI 1888.
Room
“i” would appear to be room 96, on level 3, as in Koloski Ostrow, below.
Room
“k” would appear to be room 95, on level 3.
According to Koloski Ostrow –
“The first room (no.96) has its own doorway one step up leading in from hall 83. Marble slabs exist on each side of the doorway but no evidence is visible for hinges for a door.
Room 96 has a large window frame in the south wall with cuttings for a shutter. The room was paved with mosaic, of which only one fragment survives in the south-east corner, showing two black borders on a white ground. (Appendix B, no.36, (fig.58). The wall decoration was elaborate. It survives on the lower portion of the south, west and north walls and consisted of a red dado subdivided by yellow and blue frames between which various motifs such as plants, a dolphin and a female figure appear. (Appendix B, no.17, (figs 83-85).
Room 95, which could be entered both from room 96 and from corridor 88, preserves traces of collapsed vaulting.
It has an unusually wide window from which the water of the Bay of Naples would have been visible.
No mosaic floor has survived, but it too had elaborate painted decoration (Appendix B, no.16) recorded by Niccolini (fig.80) which consisted of a Fourth Style wall.
Its upper white portions have large panels framing small circular portraits.
The uppermost segment has spindly architectural motifs in shallow perspective with small figures and landscapes inserted.
The dado, which is best preserved today but survives well only on the east wall, is mainly red with a yellow central panel on which is a well-executed head of Medusa or Mercury which is flanked by small landscapes on a white ground (figs 81, 82).
The colour scheme of this room recalls the two preserved areas of painting within area 34.
Room 95 connected to the next room to the east by a wide opening which appears not to have housed a door…………………”
See Koloski
Ostrow, A., 1990. The Sarno Bath Complex. SAP Monograph 4. Roma:
L'Erma di Bretschneider, (p. 32).
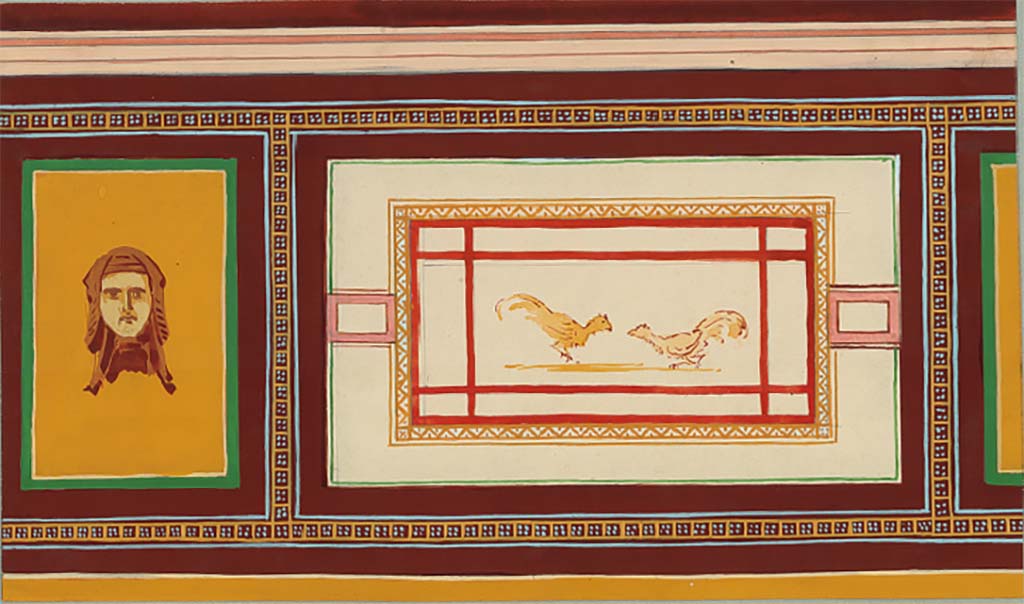
VIII.2.21 Pompeii (?). Undated painting by C. E. Plitt with note “Scavi nuovi”. Possibly from the north wall of room 95.
See DAIR
A-VII-34-103 Pompeji Wandmalerei 34 Seite 103
According
to Mau’s description of the remaining paintings on the walls of rooms “i”
and “k”, there is no mention of one fitting the above description, other
than of the two roosters facing each other from the north
wall of room 95, or “k”.
See
Mau in BdI, 03, 1888, (p.206)
According to Sogliano –
From the cubiculum (96 or “i”, (PPM number ε, one follows into another (95 or k, (PPM number ζ with white mosaic floor, walls with white background and window with marble sill in the south wall.
In the middle of a panel of the west wall there was a medallion (diam m.022) today almost completely vanished and containing two busts, one female facing forwards, the other male in profile.
Of the isolated figures in the panels of the
frieze it was noted that in the centre of the north wall: Dionysius (?) seated
on a throne, naked, holding a thyrsus in his right hand.
In the panels of the zoccolo with a white
background, under the window -
South wall: a cupid, armed with two javelins, raises
one to throw while hunting two hares, chased by a dog.
West wall: a wild boar chased by a dog.
North wall: two roosters facing each other.
East wall: two other birds, (vanished).
All these small representations have a white
background, while in a yellow background panel on the east wall you can see a
gorgon, which certainly would have reflected another, now vanished, on the west
wall.
In the same east wall there was a small rectangular compartment (m.0.35 x 0.30), which also goes out from the rear side of the wall itself, and which certainly was used for a lamp, which thus illuminated the cubicle 95, “k”, or ζ and the adjacent locality 96, “i”, or ε.
See Notizie degli Scavi di Antichità, 1893,
(p.41).
VIII.2.21 Pompeii. May 2024. Looking south across atrium, with steps to lower floors, on right. Photo courtesy of Klaus Heese.
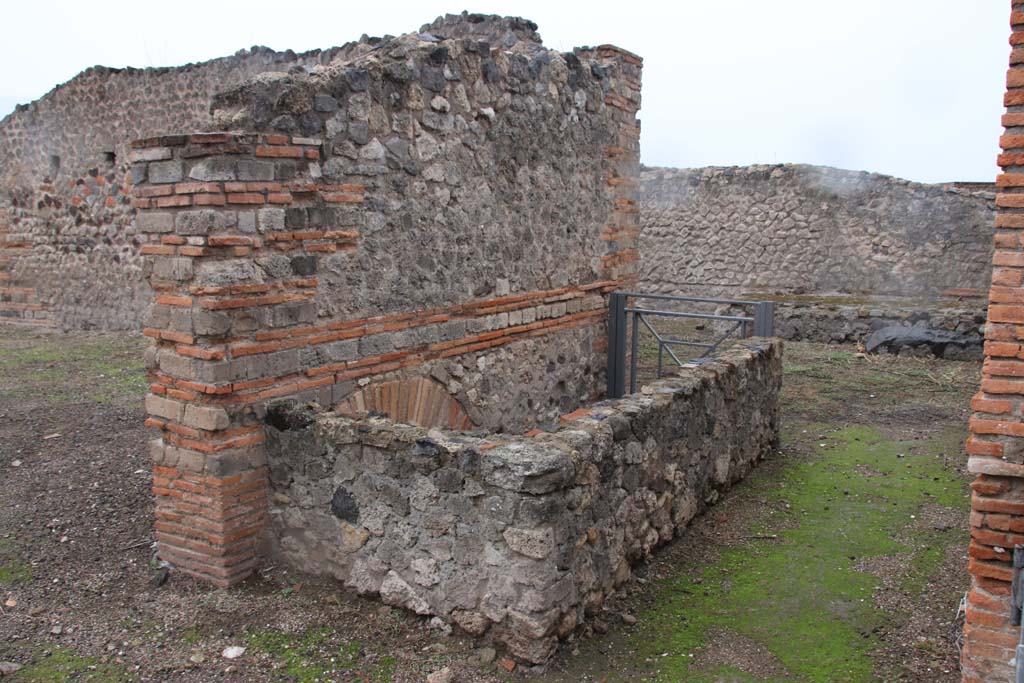
VIII.2.21 Pompeii. October 2020. Looking towards the area of the steps to lower floor. Photo courtesy of Klaus Heese.
VIII.2.21 Pompeii. May 2024. Steps to lower floors. Photo courtesy of Klaus Heese.
VIII.2.21 Pompeii. December 2004. Steps to lower floors.

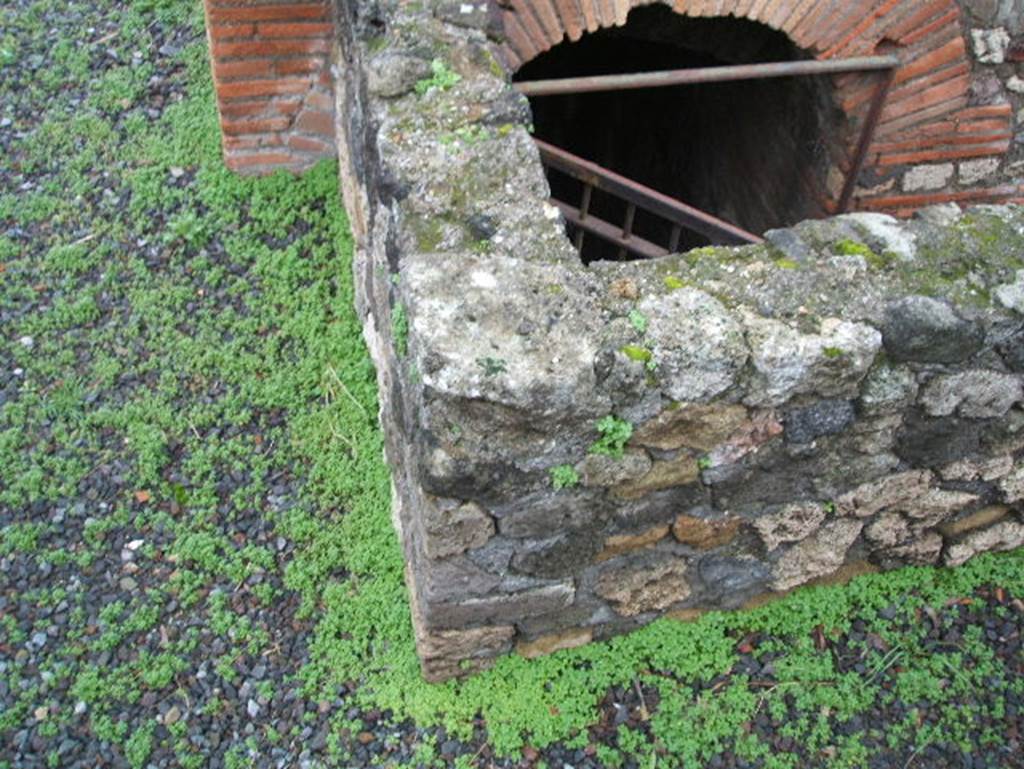
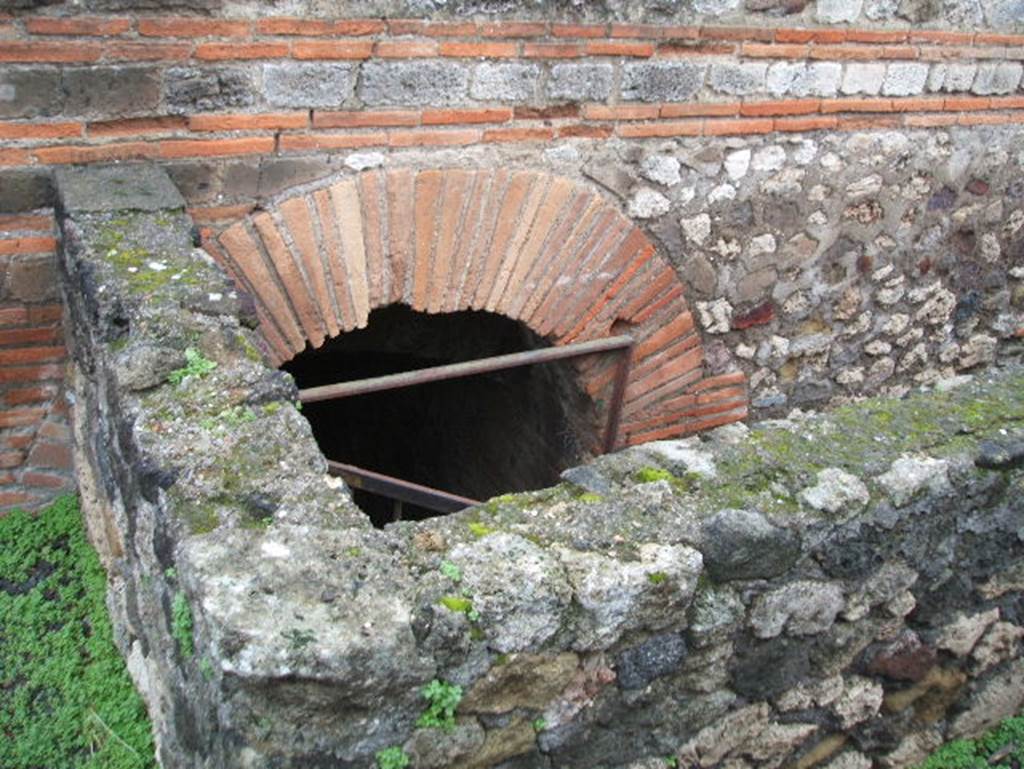
VIII.2.21 Pompeii. December 2004. Arched entrance to steps to lower floors.
![VIII.2.21 Pompeii. Dedication of Gratus to the Annona Augusta. Marble. 1890.
Dedica di Grato all’Annona Augusta. Marmo. 1890.
“All’Annona Augusta del popolo romano diede in dono Grato, liberto di Cesare e ministro, per ordine di Quinto Cotrio duoviro giusdicente e dei d(uoviri) v(iis) a(edficiis) s(acris) p(ublicis) p(rocurandis) Gaio Annio Marulo e Decio Alfidio Hypsa nel consolato di Marco Servilio e Lucio Elio”. [AE 1890, 86]
“Gratus, freedman of Caesar and minister, donated to the Annona Augusta of the Roman people by order of Quintus Cotrius, duovir with judicial powers, and the d(uoviri) v(iis) a(edificiis) s(acris) p(ublicis) p(rocurandis) Gaius Annius Marulus and Decius Alfidius Hypsa during the consulate of Marcus Servilius and Lucius Helius”. [AE 1890, 86]
Now in Naples Archaeological Museum. Inventory number 120035.
Photo courtesy of Giuseppe Ciaramella.](8%2002%2021_files/image034.jpg)
VIII.2.21 Pompeii. Dedication of Gratus to the Annona
Augusta. Marble. 1890.
Dedica di Grato
all’Annona Augusta. Marmo. 1890.
“All’Annona Augusta
del popolo romano diede in dono Grato, liberto di Cesare e ministro, per ordine
di Quinto Cotrio duoviro giusdicente e dei d(uoviri) v(iis) a(edficiis)
s(acris) p(ublicis) p(rocurandis) Gaio Annio Marulo e Decio Alfidio Hypsa nel
consolato di Marco Servilio e Lucio Elio”. [AE 1890, 86]
“Gratus, freedman of Caesar and minister, donated to the Annona
Augusta of the Roman people by order of Quintus Cotrius, duovir with judicial
powers, and the duoviri viis aedificiis
sacris publicis procurandis Gaius Annius Marulus and Decius Alfidius
Hypsa during the consulate of Marcus Servilius and Lucius Helius”. [AE 1890, 86]
Now in Naples Archaeological Museum. Inventory number 120035.
Photo courtesy of
Giuseppe Ciaramella.

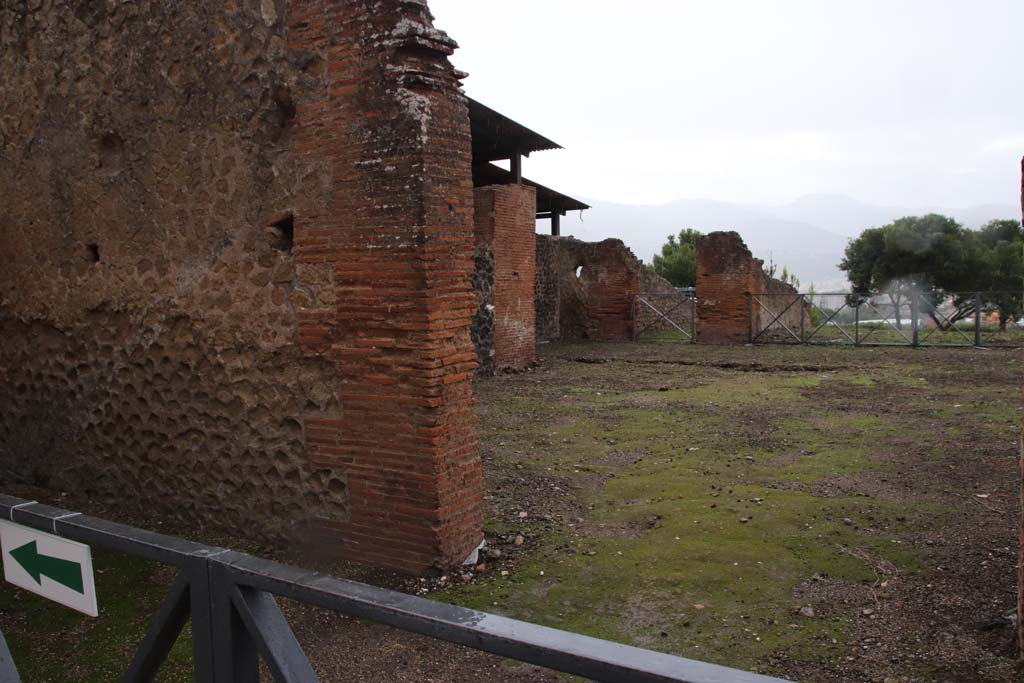
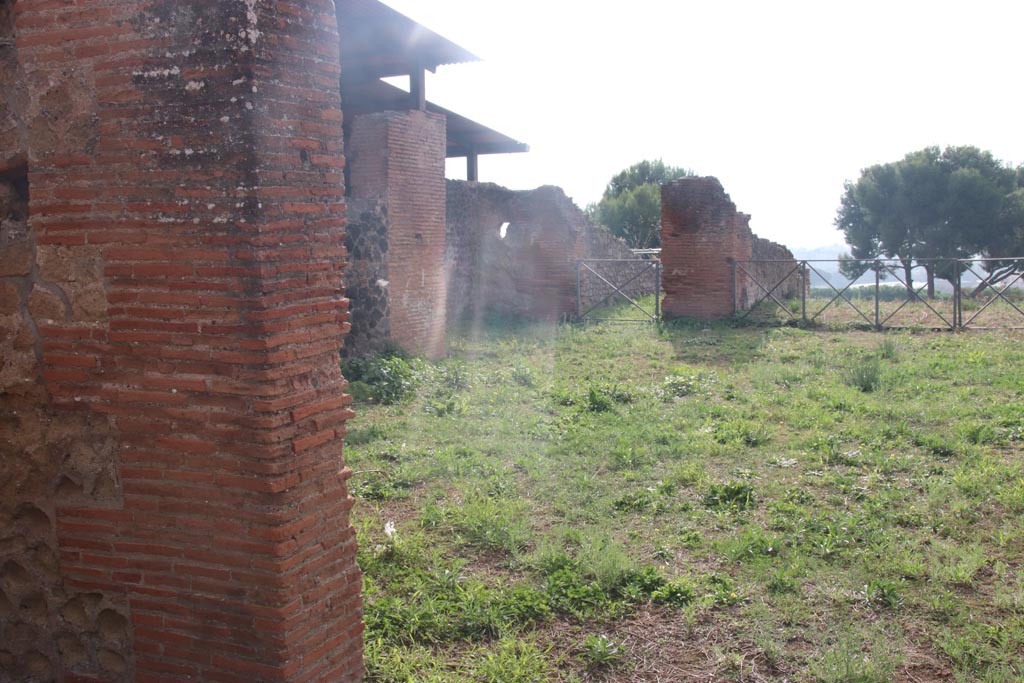
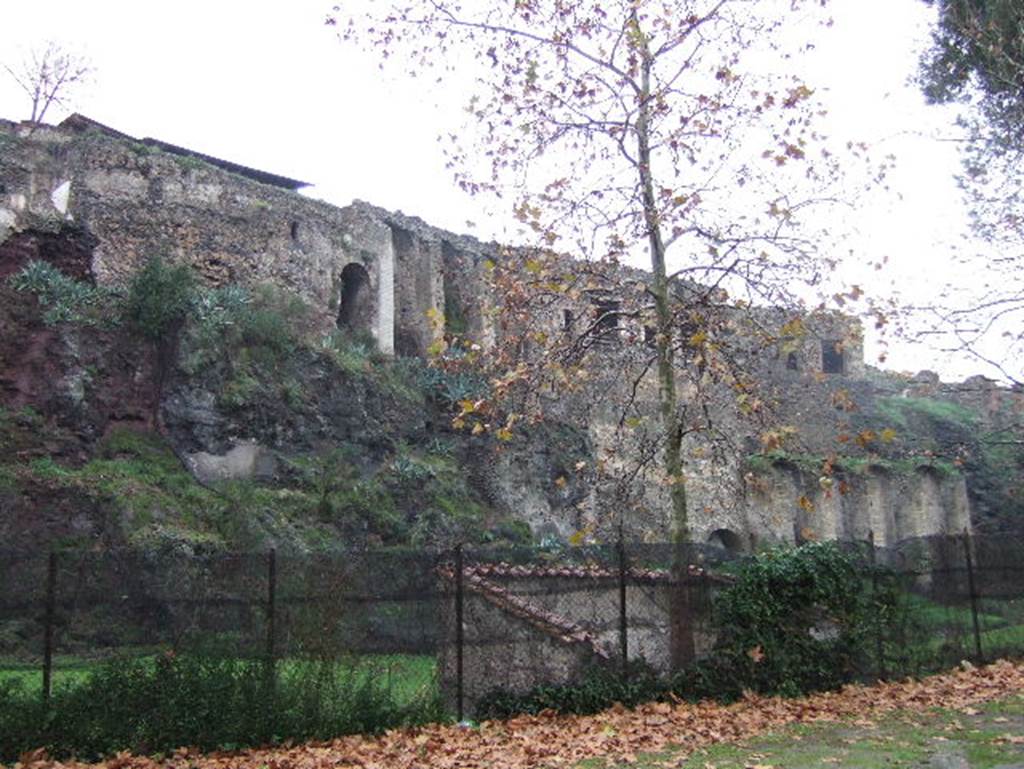
VIII.2.21 to VIII.2.28 Pompeii, from the rear. December 2005. Looking north-east.
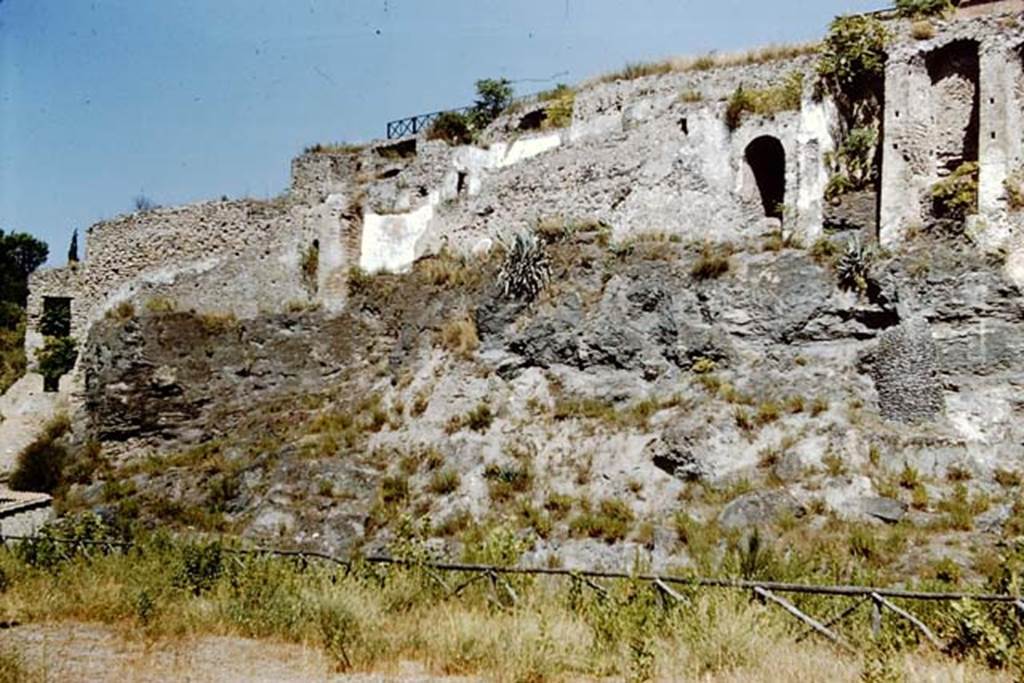
VIII.2.20 to VIII.2.22 Pompeii. 1959. Looking north from rear. Photo by Stanley A. Jashemski.
Source: The Wilhelmina and Stanley A. Jashemski archive in the University of Maryland Library, Special Collections (See collection page) and made available under the Creative Commons Attribution-Non-Commercial License v.4. See Licence and use details.
J59f0407
Other parts of the baths: VIII.2.17 VIII.2.18 VIII.2.19 VIII.2.20 VIII.2.21