V.1.18 Pompeii. Casa degli Epigrammi Greci or House of the Epigrams.
Part 5 Part 1 Part 2
Part 3 Part 4 Plan
For extra detailed information see Swedish Pompeii Project web site
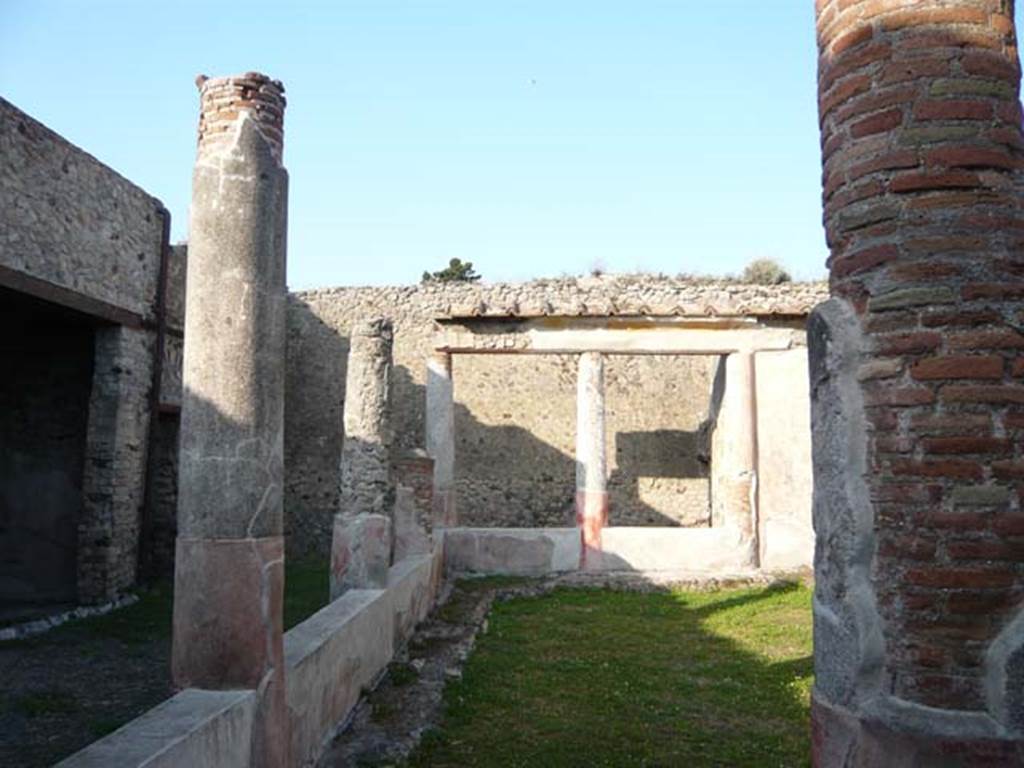
V.1.18 Pompeii. May 2012. Looking east along north portico of peristyle. Photo courtesy of Buzz Ferebee.
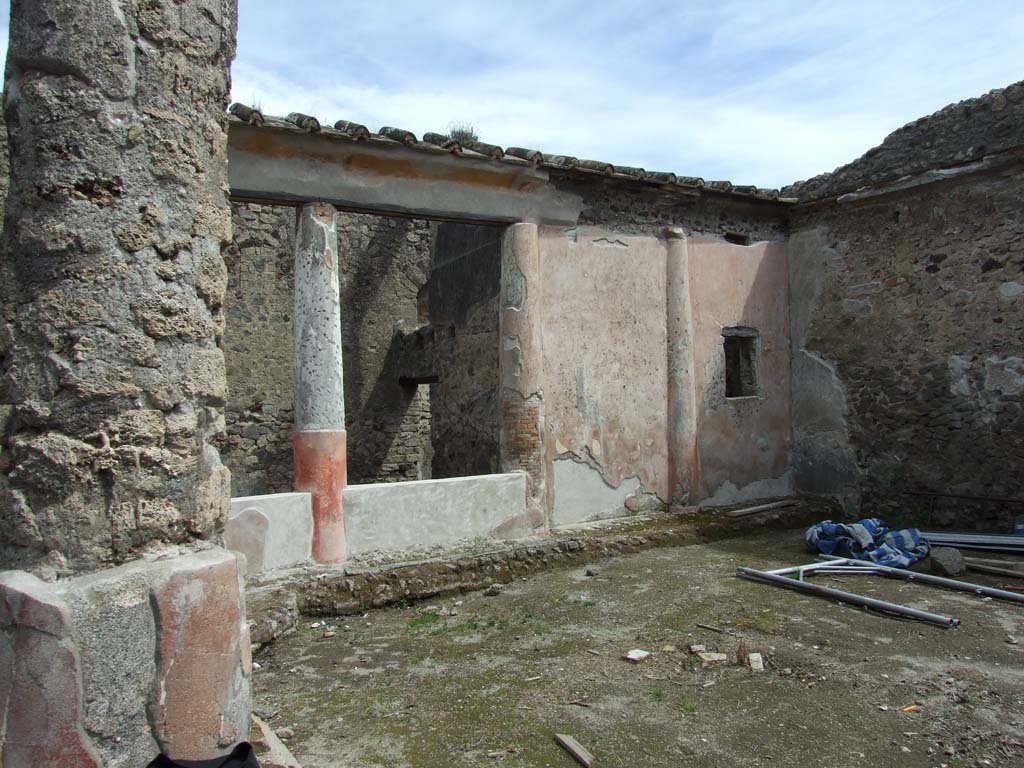
V.1.18 Pompeii. March 2009. Looking towards east wall of peristyle “i” and room “k” in south-east corner.
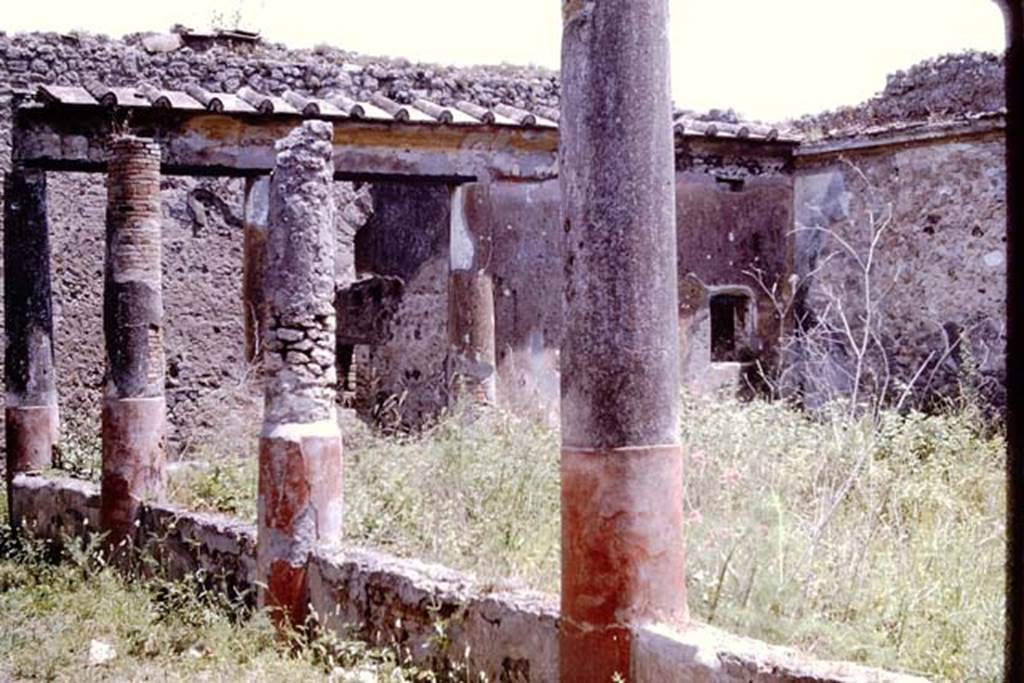
V.1.18 Pompeii. 1964.
Looking from north portico towards east side of peristyle “i”, and room “k” with a window, in the south-east corner. Photo by Stanley A. Jashemski.
Source: The Wilhelmina and Stanley A. Jashemski archive in the University of Maryland Library, Special Collections (See collection page) and made available under the Creative Commons Attribution-Non-Commercial License v.4. See Licence and use details.
J64f0898
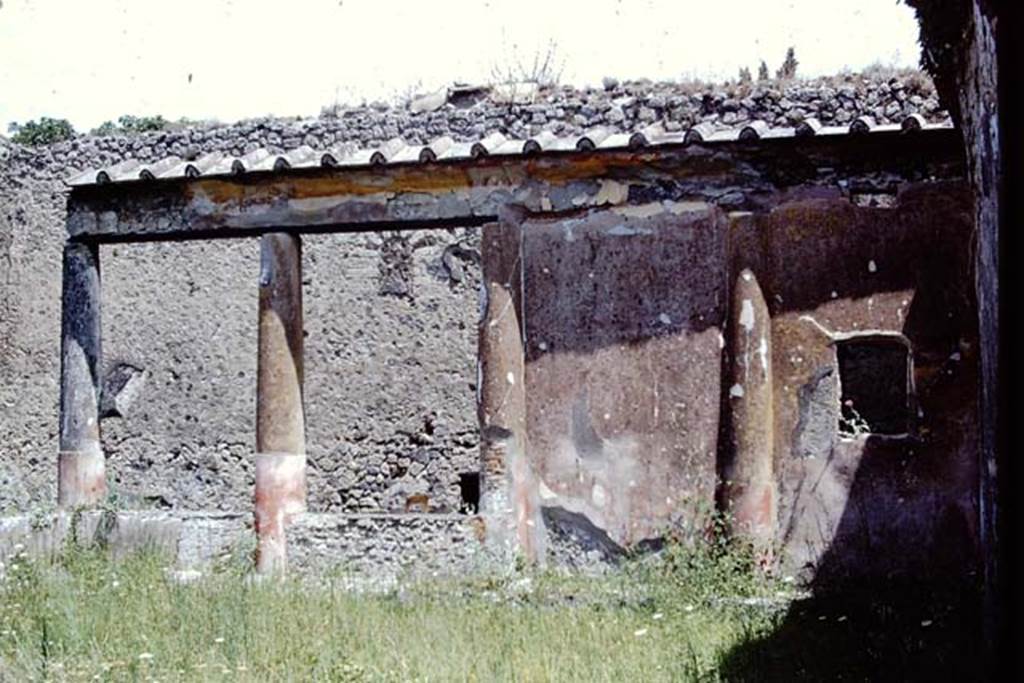
V.1.18 Pompeii. 1972.
East wall of peristyle “i”, with window into small room “k” in south-east corner, on right. Photo by Stanley A. Jashemski.
Source: The Wilhelmina and Stanley A. Jashemski archive in the University of Maryland Library, Special Collections (See collection page) and made available under the Creative Commons Attribution-Non-Commercial License v.4. See Licence and use details.
J72f0406
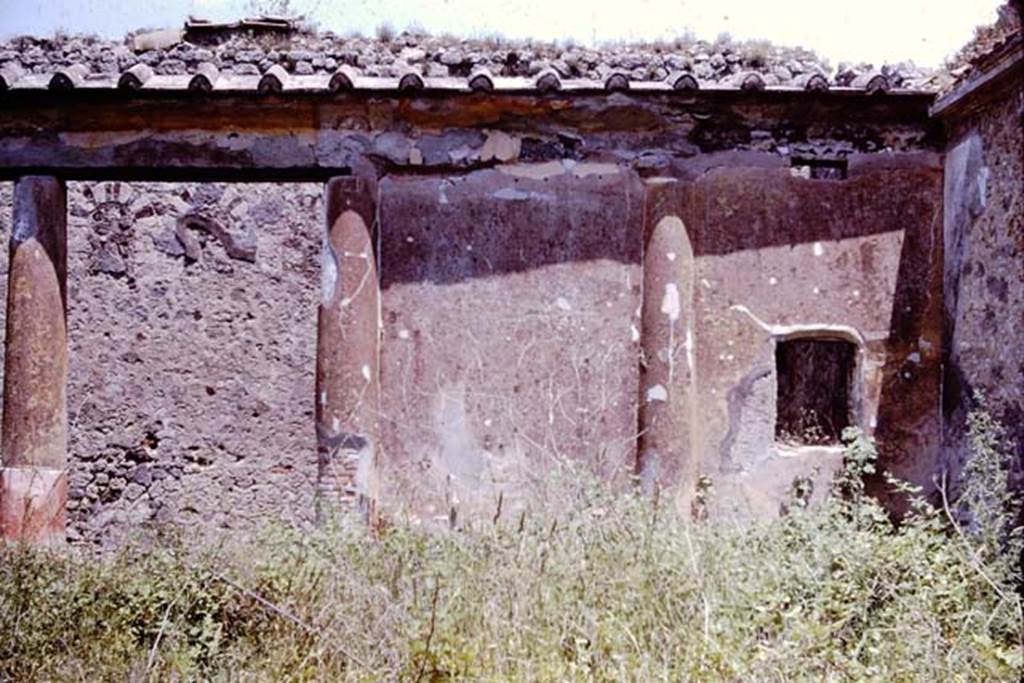
V.1.18 Pompeii. 1964.
East wall of peristyle “i”, with window into small room “k” in south-east corner. Photo by Stanley A. Jashemski.
Source: The Wilhelmina and Stanley A. Jashemski archive in the University of Maryland Library, Special Collections (See collection page) and made available under the Creative Commons Attribution-Non-Commercial License v.4. See Licence and use details.
J64f0903
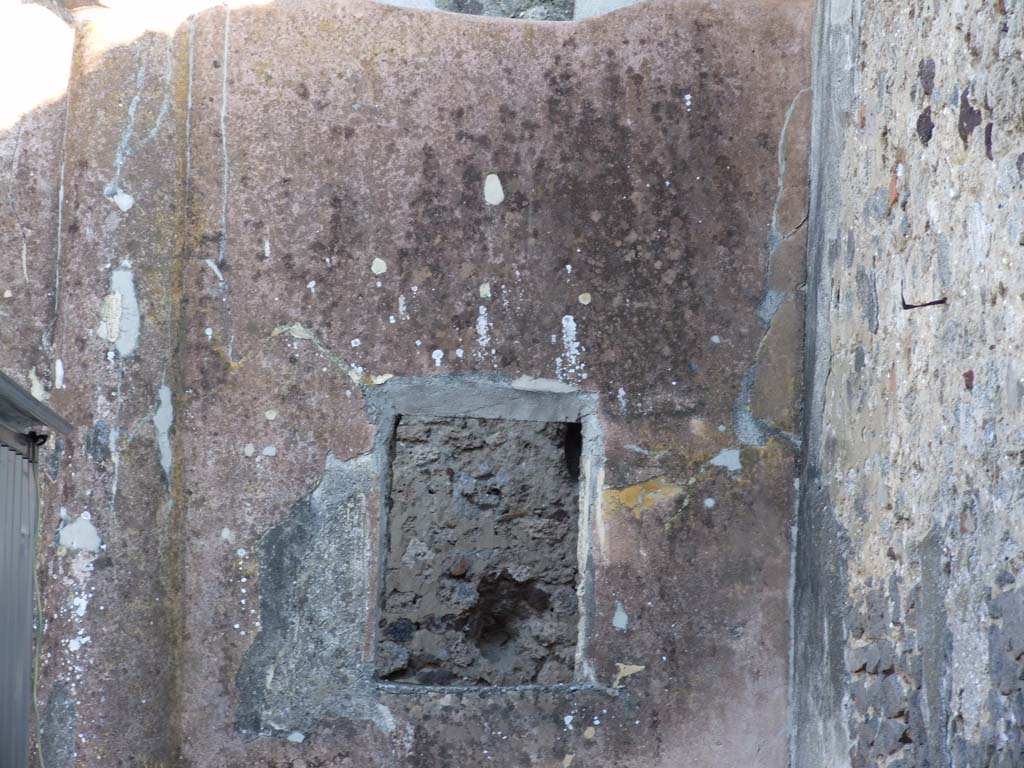
V.1.18 Pompeii. December 2007. Exterior wall with window of room “k”, in south-east corner of the peristyle “i”.
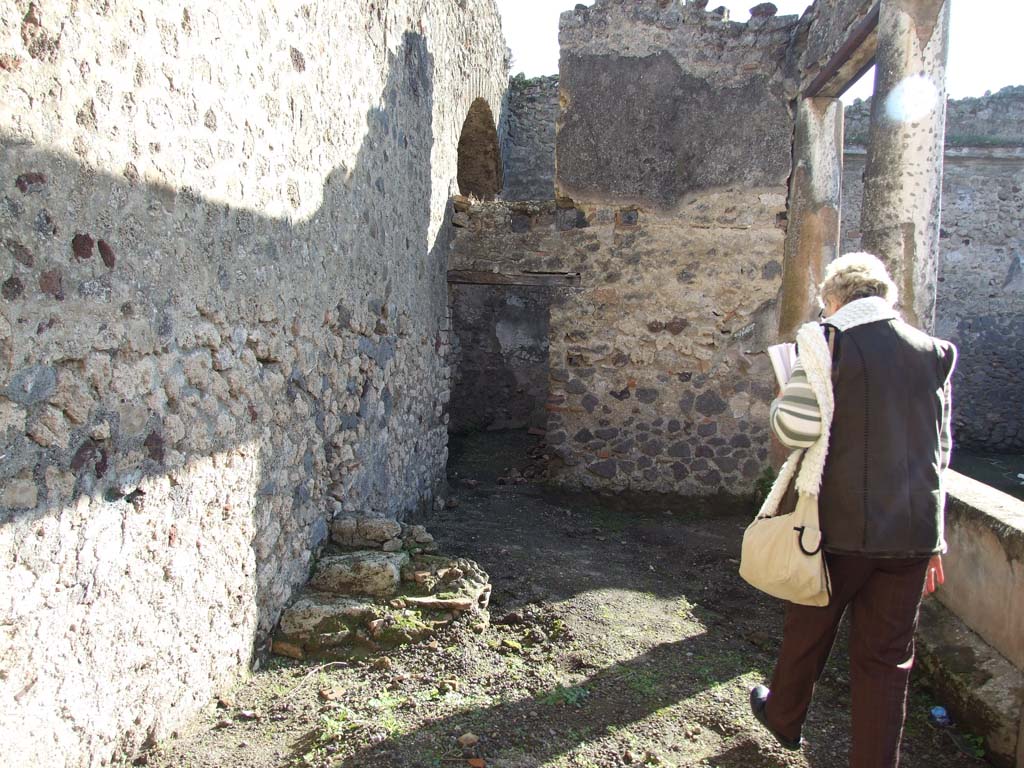
V.1.18 Pompeii. December 2007. Looking south along east side of peristyle to doorway to room “k”.
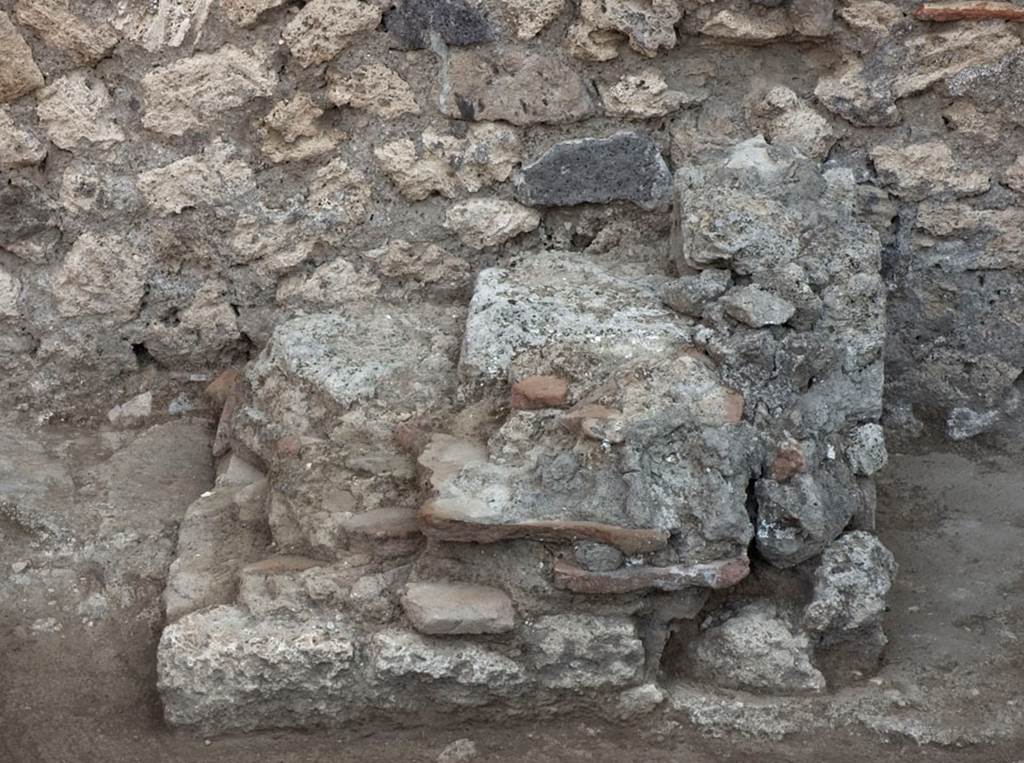
V.1.18 Pompeii. c.2005-2008.
Peristyle garden “i”, detail of remains of stairs on east portico. Photo by Hans Thorwid.
Photo courtesy of The Swedish Pompeii Project.
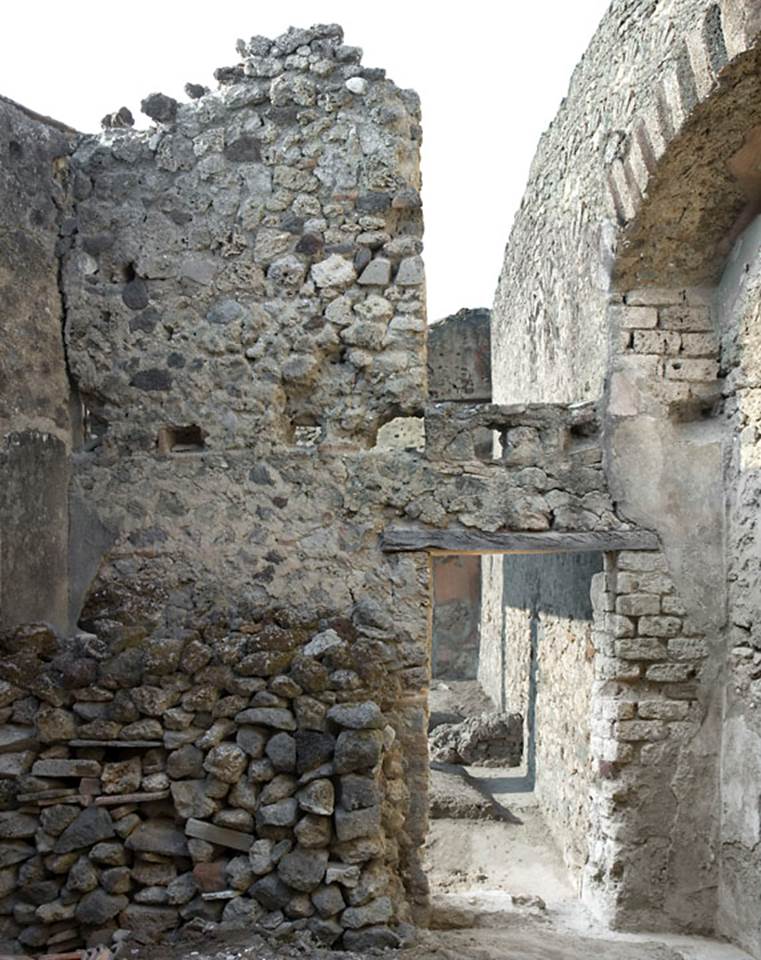
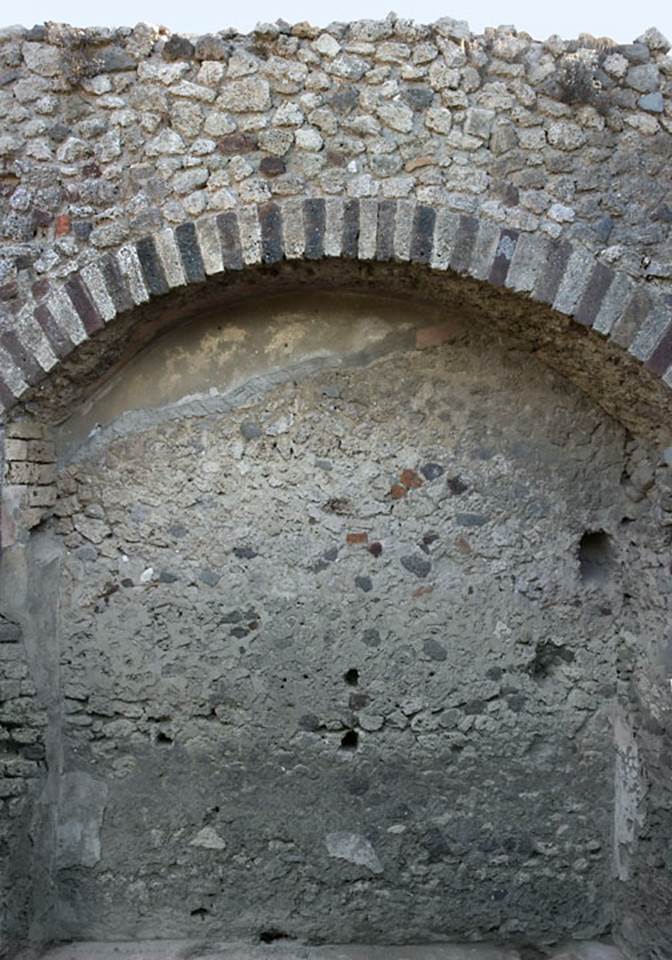
V.1.18 Pompeii. c.2005-2008.
Room “k”, north wall with doorway to east portico. Photo by Hans Thorwid.
Photo courtesy of The Swedish Pompeii Project.
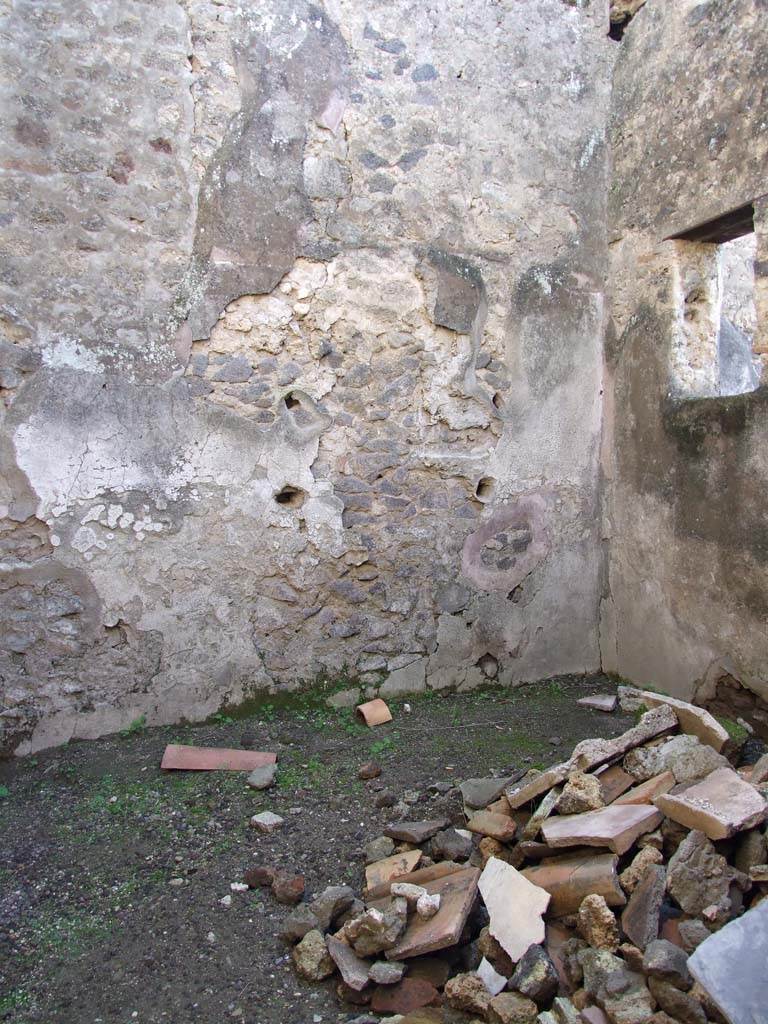
V.1.18 Pompeii. c.2005-2008.
Room “k”, detail on east wall. Photo by Hans Thorwid.
Photo courtesy of The Swedish Pompeii Project.
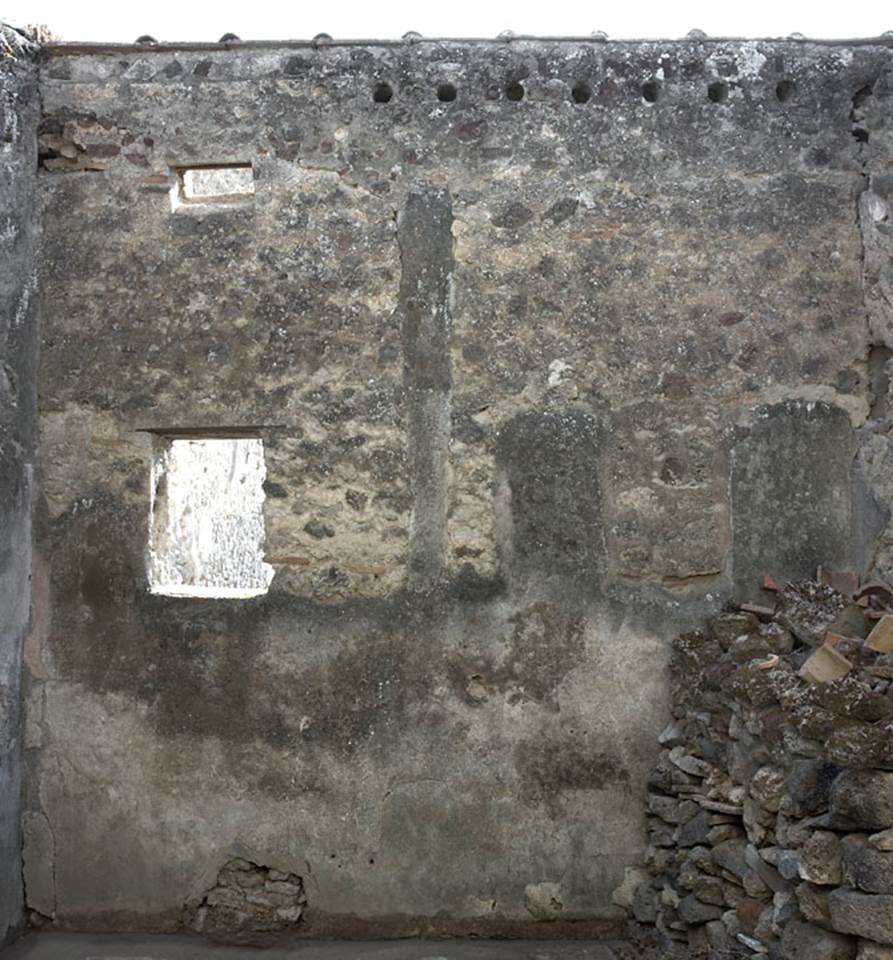
V.1.18 Pompeii. December 2007. Room “k”, south-west corner.
V.1.18 Pompeii. c.2005-2008.
Room “k”, west wall with window onto peristyle. Photo by Hans Thorwid.
Photo courtesy of The Swedish Pompeii Project.
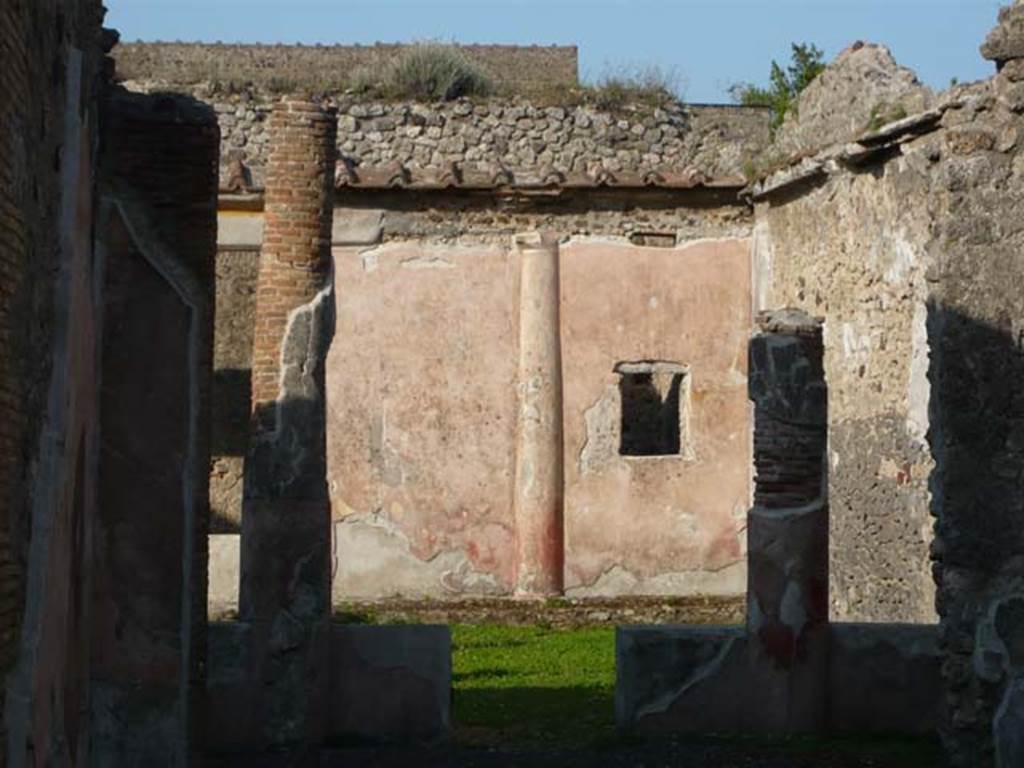
V.1.18 Pompeii. May 2012. Looking across peristyle towards east wall and window of room “k”. Photo courtesy of Buzz Ferebee.
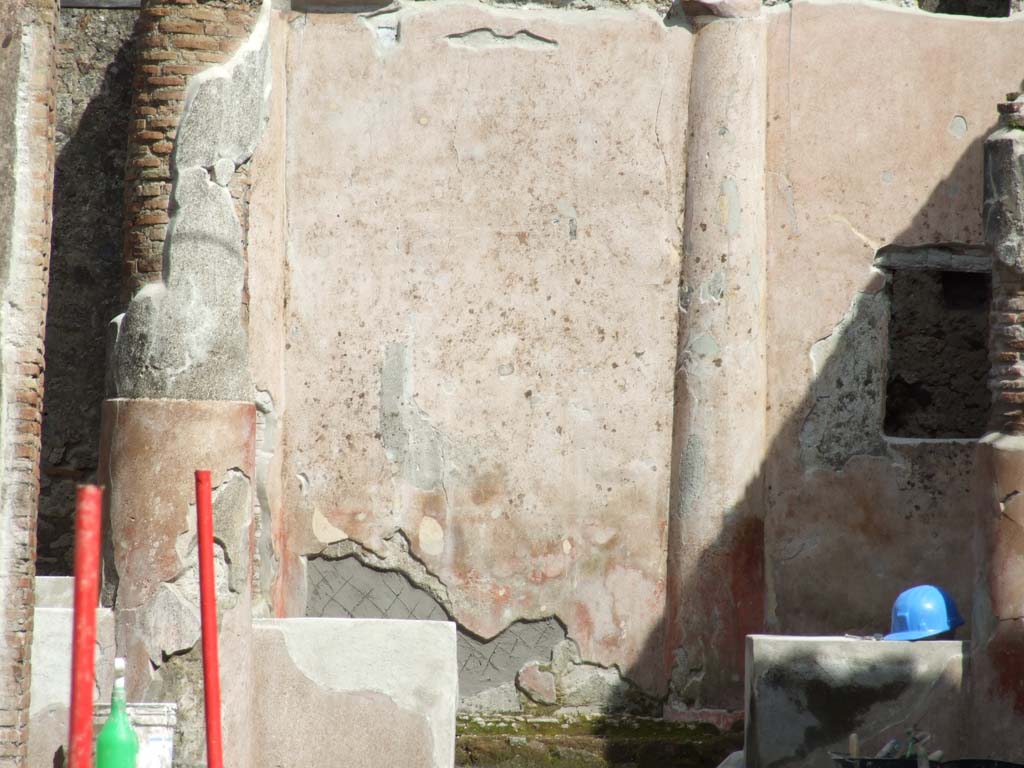
V.1.18 Pompeii. March 2009. East wall of peristyle garden “i”. Site of painting of a bull running with a leopard on his back.
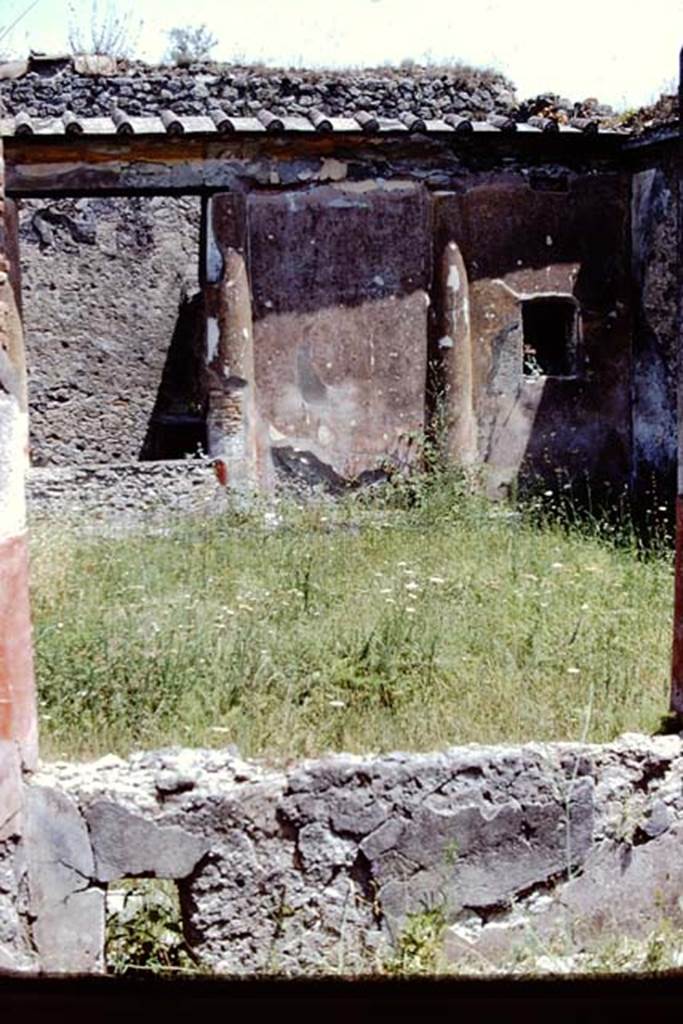
V.1.18 Pompeii. 1972.
Looking across peristyle garden “i” towards east wall, and room “k”. Photo by Stanley A. Jashemski.
Source: The Wilhelmina and Stanley A. Jashemski archive in the University of Maryland Library, Special Collections (See collection page) and made available under the Creative Commons Attribution-Non-Commercial License v.4. See Licence and use details.
J72f0405
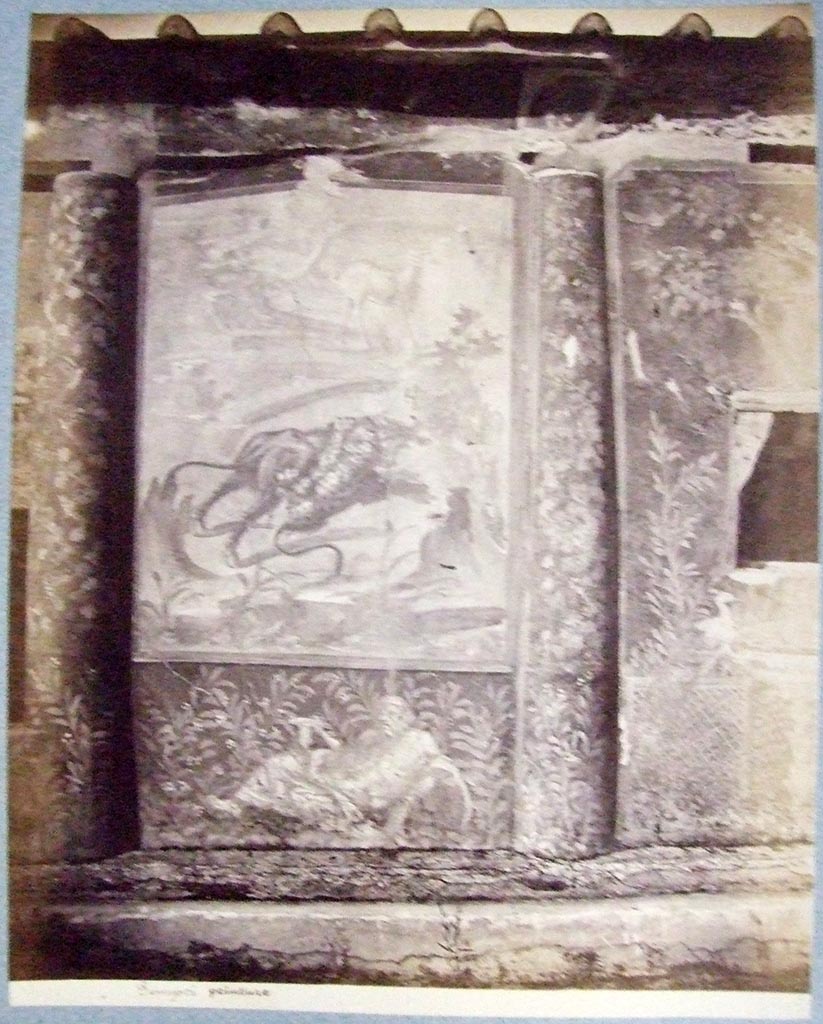
V.1.18 Pompeii. Painting on east wall of peristyle garden “i”.
A bull running to the right carrying a leopard which had attacked him. In the background are a gazelle and a tree.
Old undated photograph courtesy of the Society of Antiquaries, Fox Collection.
See Jashemski, W. F., 1993. The Gardens of Pompeii, Volume II: Appendices. New York: Caratzas. (p.334, T:388).
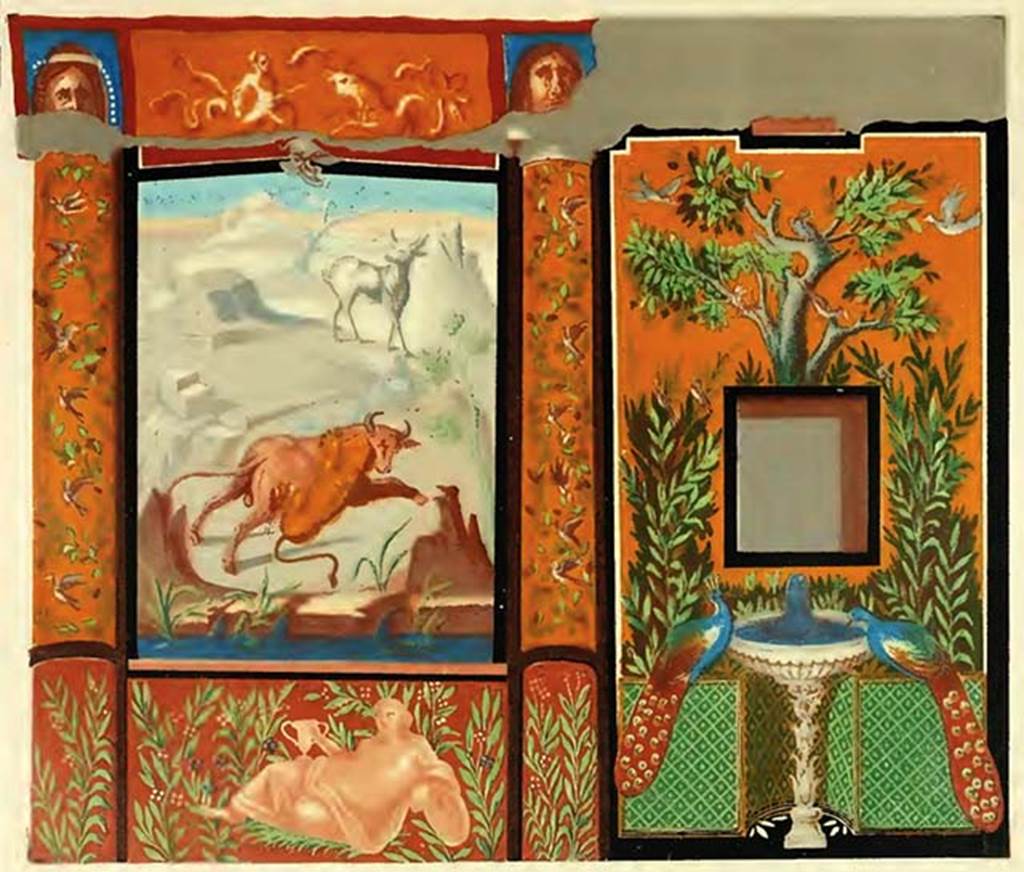
V.1.18 Pompeii. Painting on east wall of peristyle garden “i”.
See Presuhn E.,
1882. Pompeji: Die Neuesten Ausgrabungen
von 1874 bis 1881. Leipzig: Weigel. Abtheilung II, Taf II.
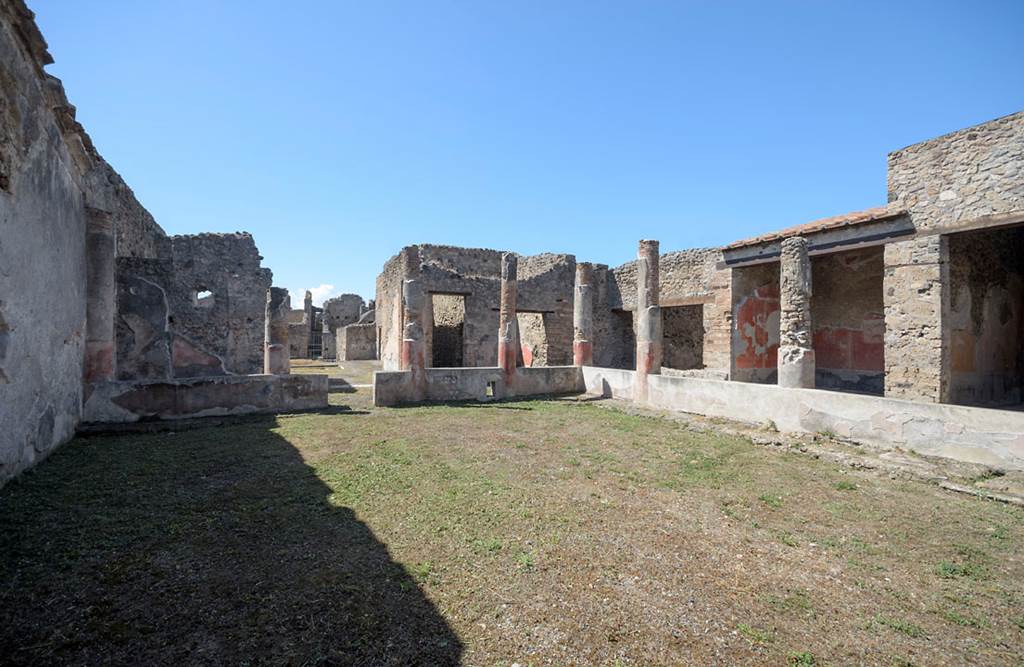
V.1.18 Pompeii. 2013.
Looking west across peristyle garden “i”, from outside of room “k” on east portico. Photo by Hans Thorwid.
Photo courtesy of The Swedish Pompeii Project.
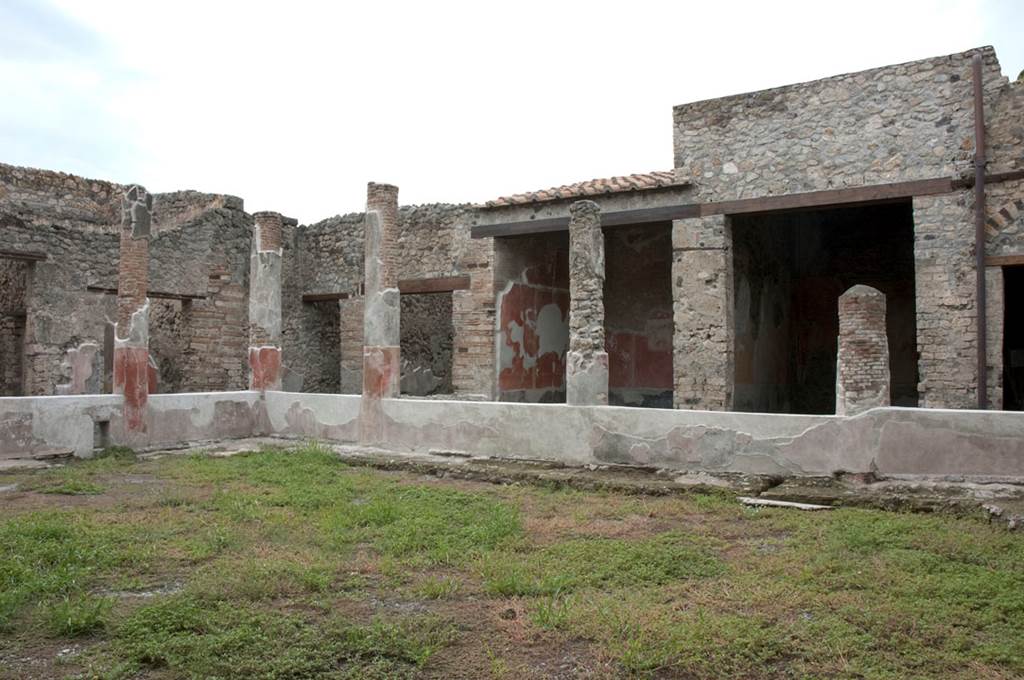
V.1.18 Pompeii. 2009.
Looking north-west across peristyle garden “i”, from east portico. Photo by Hans Thorwid.
Photo courtesy of The Swedish Pompeii Project.
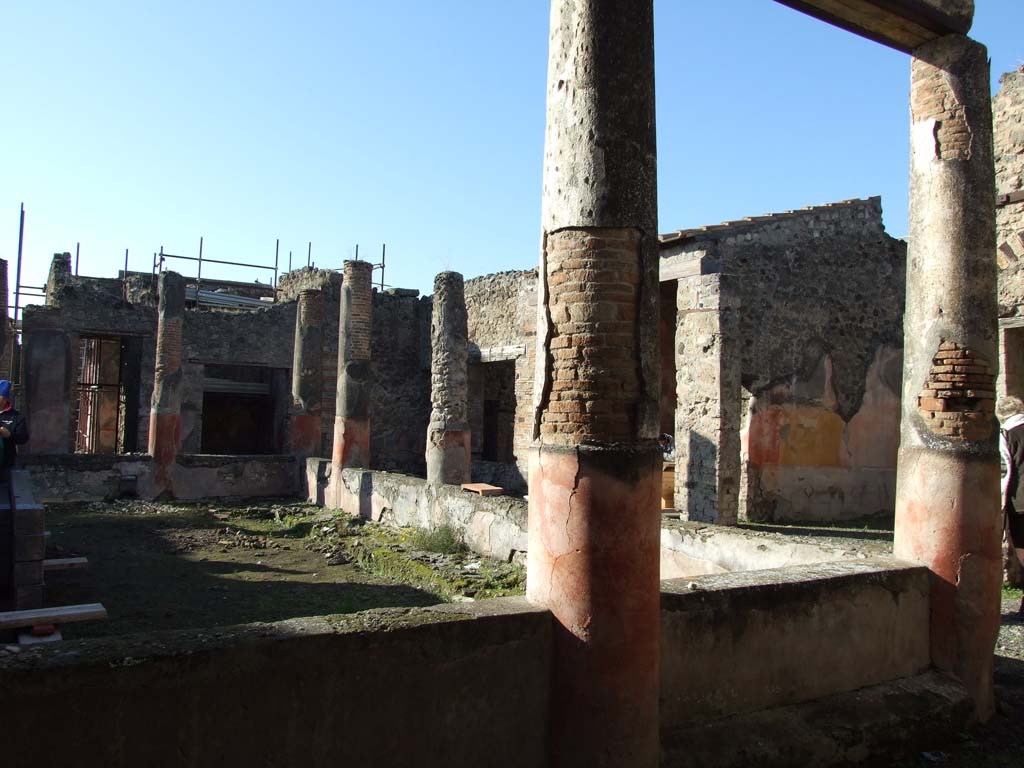
V.1.18 Pompeii. December 2007. Looking north-west across peristyle garden “i”, from east portico.
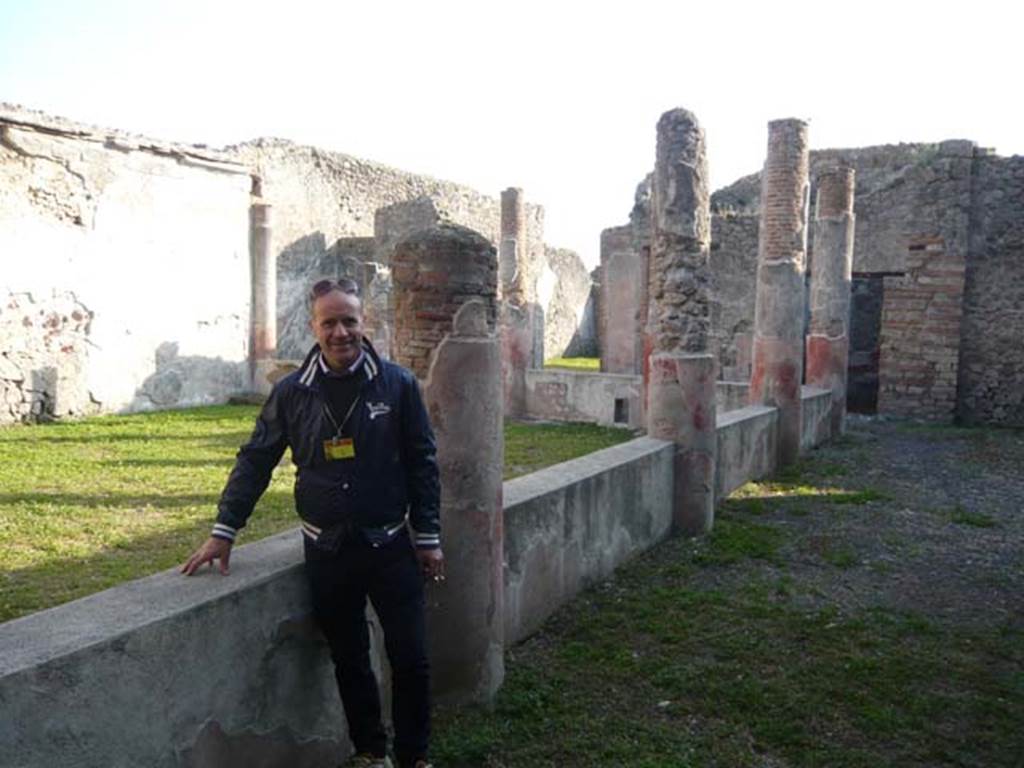
V.1.18 Pompeii. May 2012. Looking south along west portico of peristyle, from near exedra “y”. Photo courtesy of Buzz Ferebee.
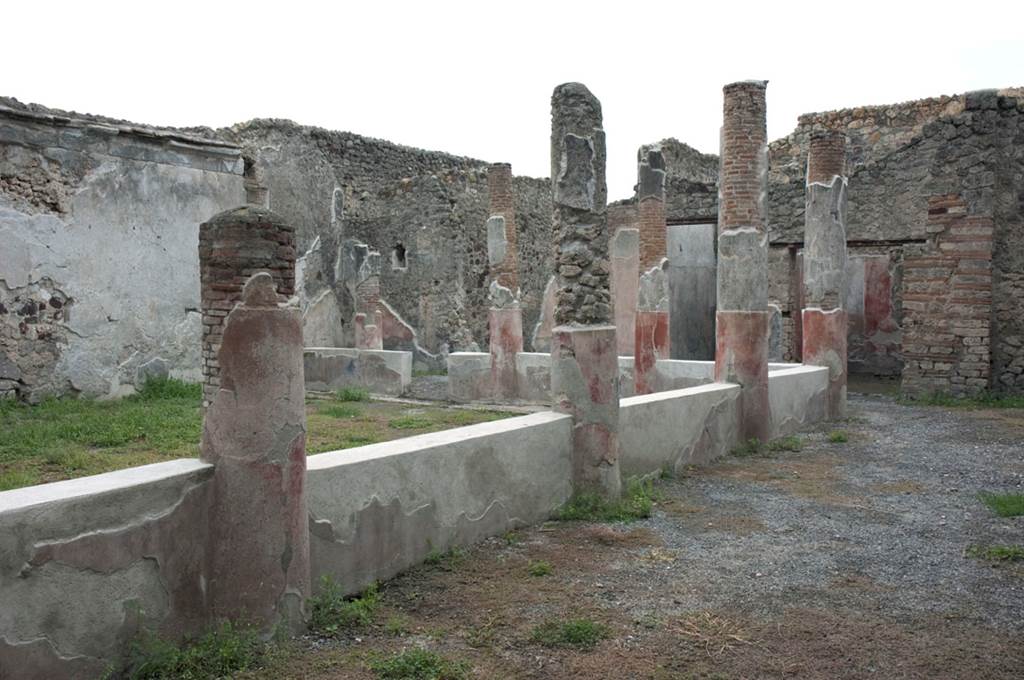
V.1.18 Pompeii. 2009.
Looking south along west portico of peristyle “i”, from near exedra “y”. Photo by Hans Thorwid.
Photo courtesy of The Swedish Pompeii Project.
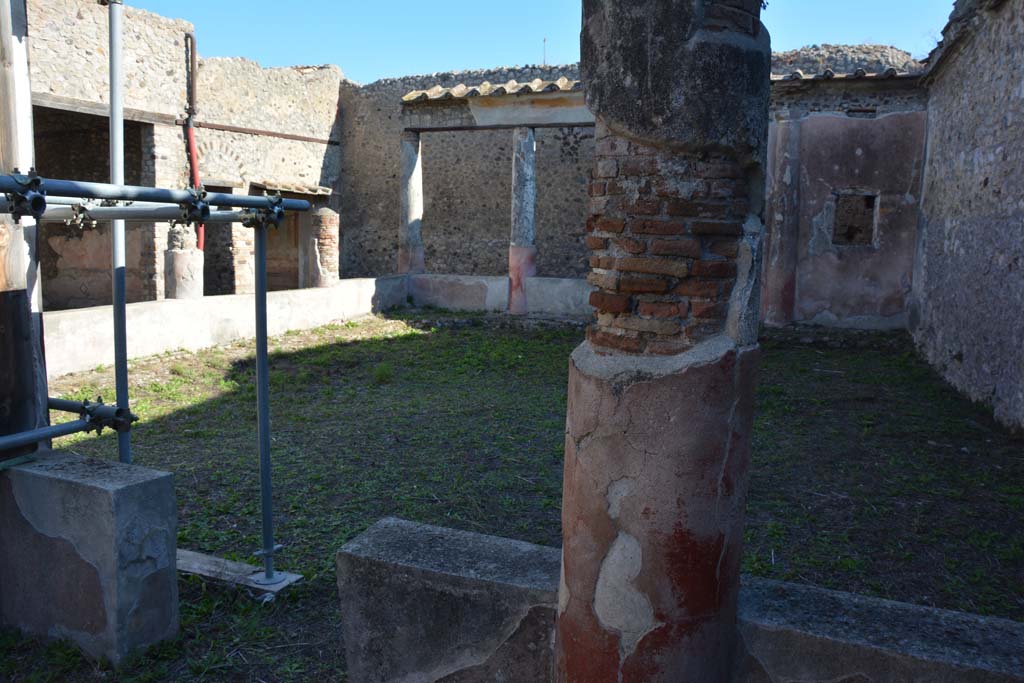
V.1.18 Pompeii. October 2019. Looking north-east across
peristyle “i”, from near tablinum.
Foto Annette Haug, ERC Grant 681269 DÉCOR.
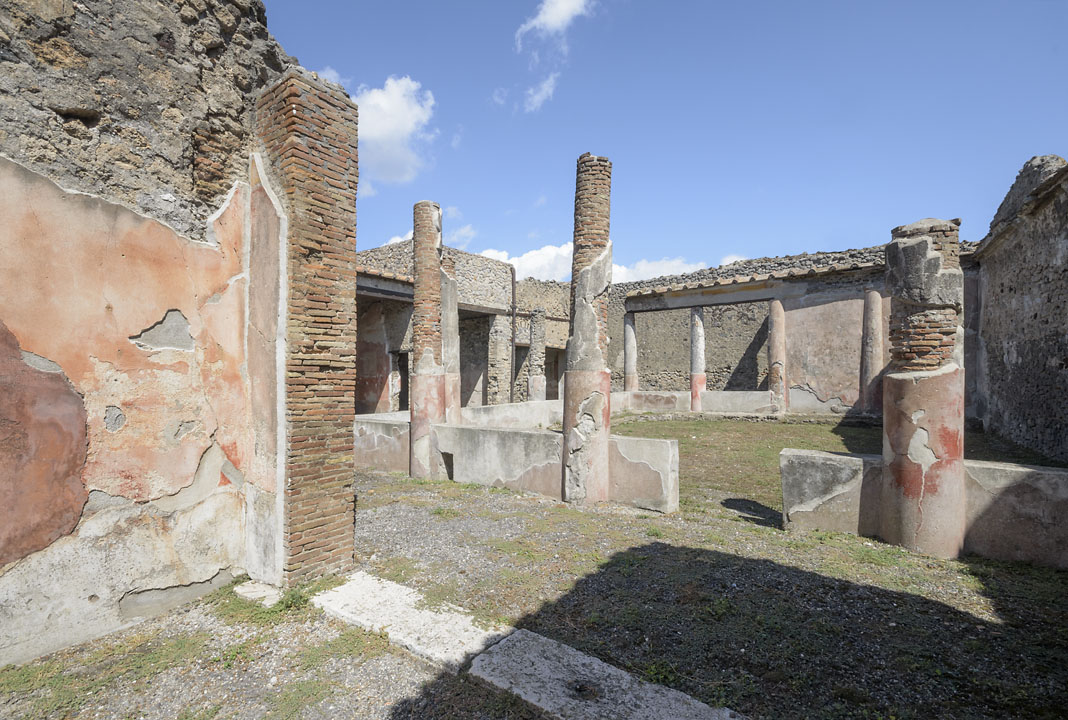
V.1.18 Pompeii. 2013. Peristyle “i”, looking north-east from tablinum “g”. Photo by Hans Thorwid.
Photo courtesy of The Swedish Pompeii Project.
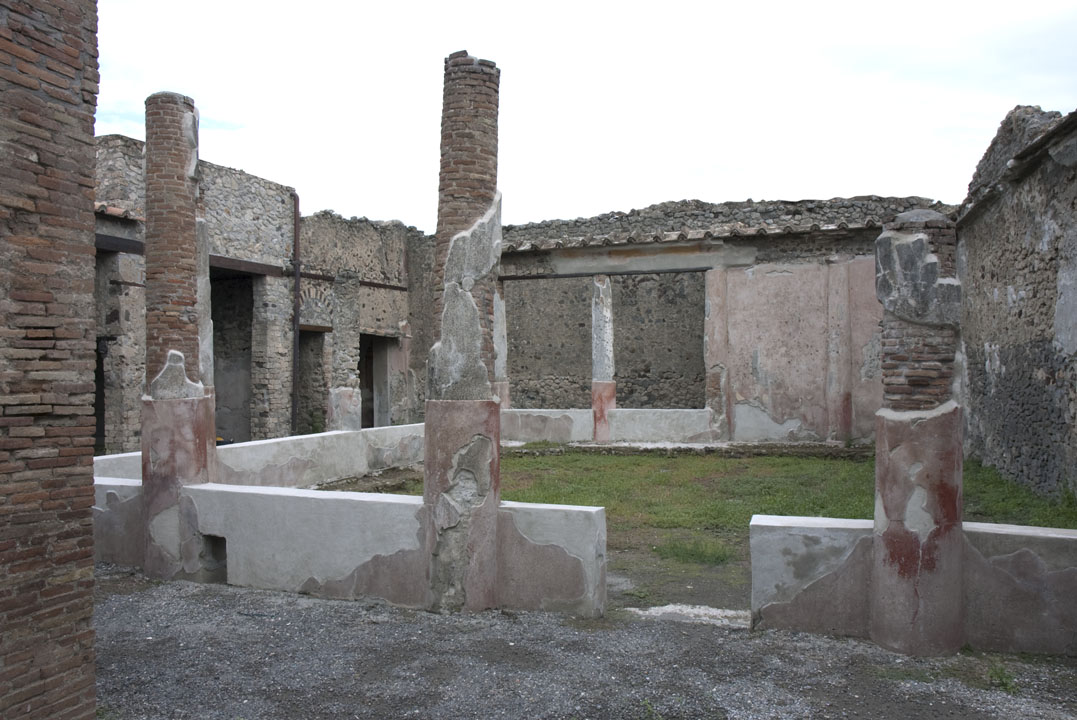
V.1.18 Pompeii. 2009. Peristyle “i”, looking east from tablinum “g”. Photo by Hans Thorwid.
Photo courtesy of The Swedish Pompeii Project.
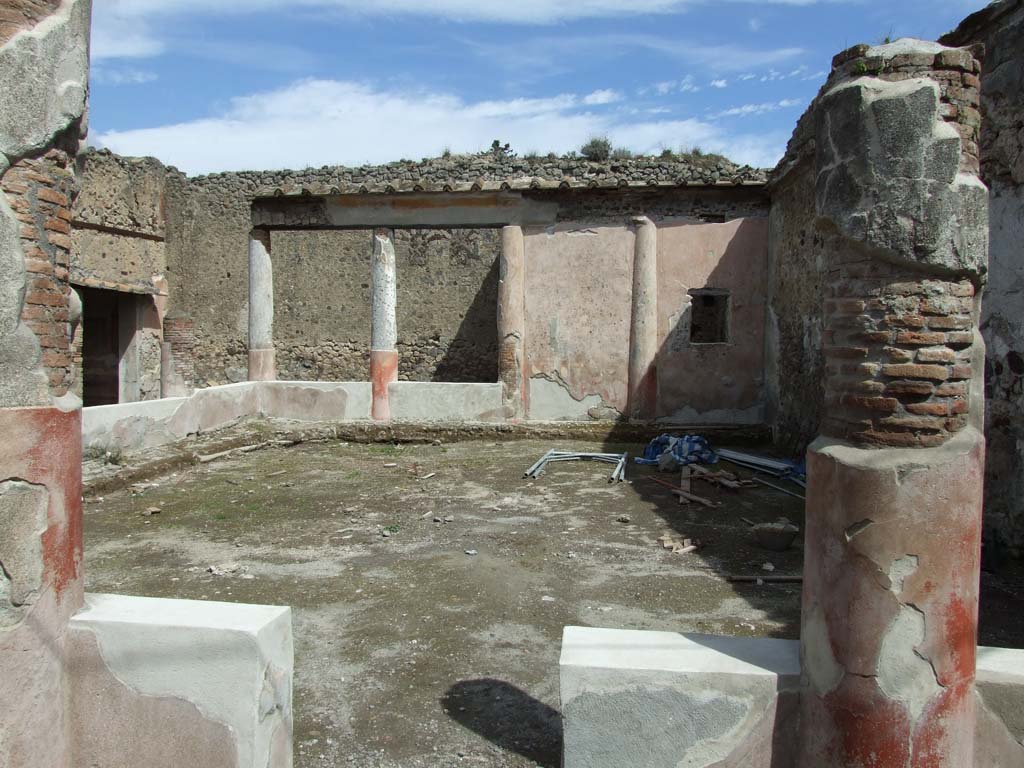
V.1.18 Pompeii. March 2009. Peristyle “i”, looking east from tablinum “g”.
According to Jashemski, the peristyle had a portico on the west, north and part of the east sides.
It was supported by nine columns and two-engaged stucco-covered brick columns.
The columns were red below, and white above, and were connected by a low wall.
The entrance to the garden was on the west side.
The garden painting on the east side was visible from the entrance.
See Jashemski, W. F., 1993. The Gardens of Pompeii, Volume II: Appendices. New York: Caratzas. (p.108, no.165)
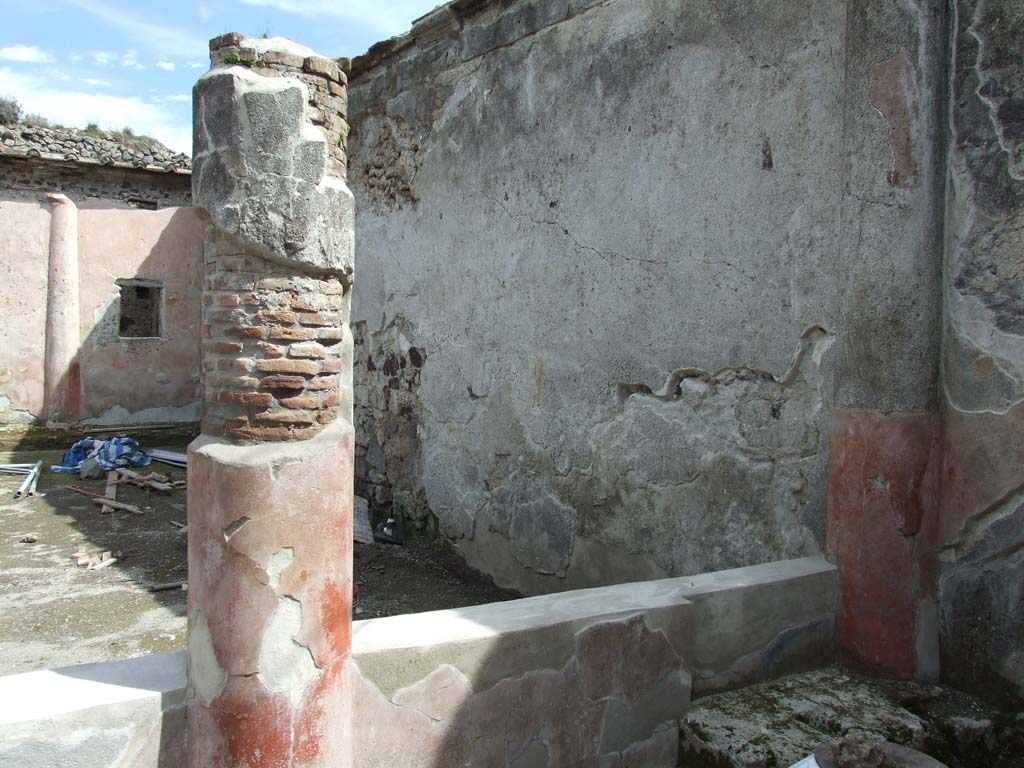
V.1.18 Pompeii. March 2009. Peristyle garden “i” south wall, from tablinum “g”.
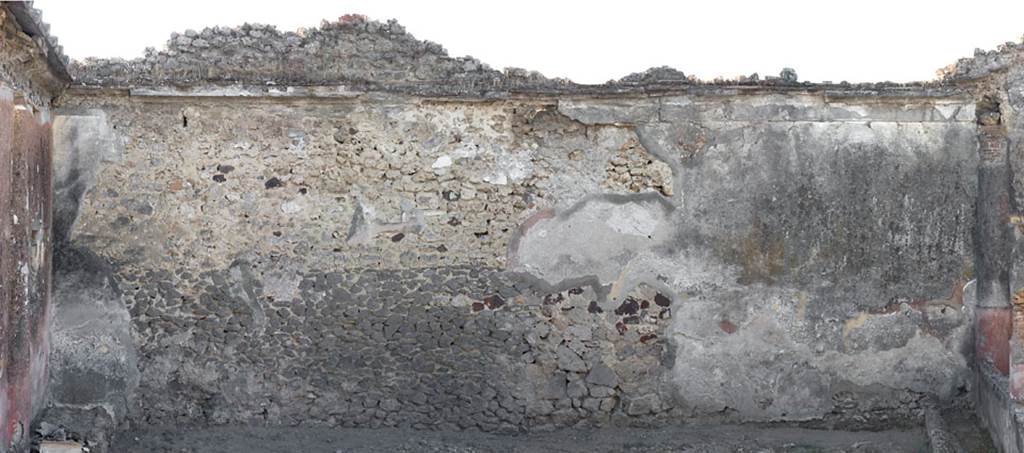
V.1.18 Pompeii. 2009. South wall of peristyle garden “i”. Photo by Hans Thorwid.
Photo courtesy of The Swedish Pompeii Project.
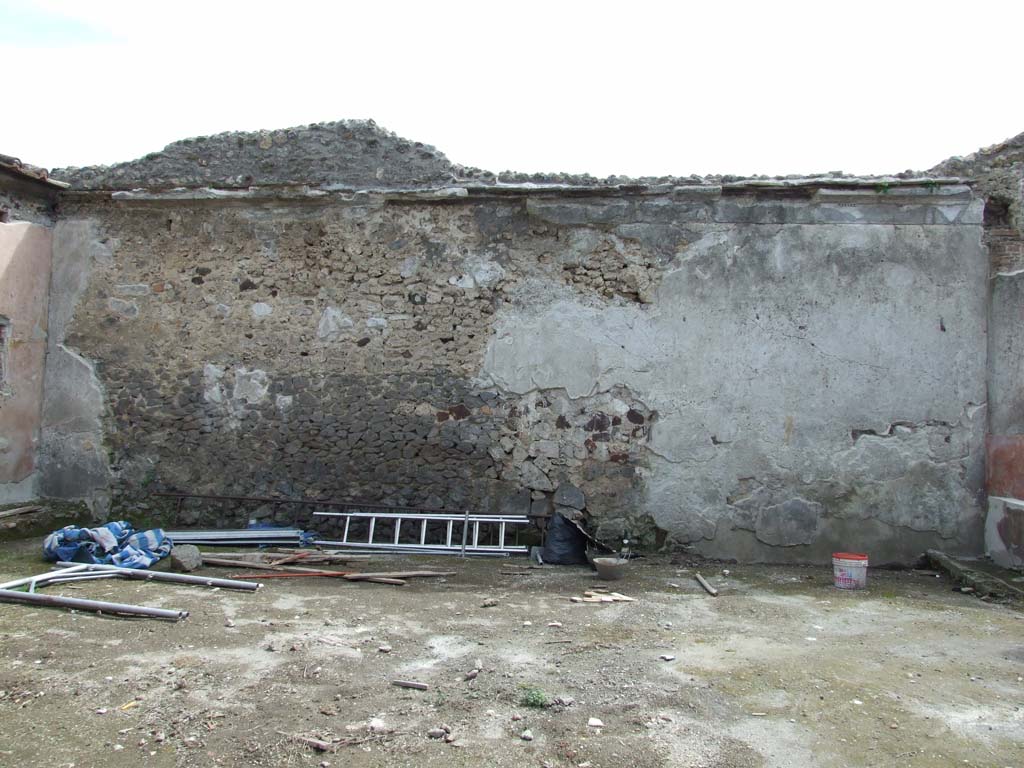
V.1.18 Pompeii. March 2009. South wall of peristyle garden “i”.
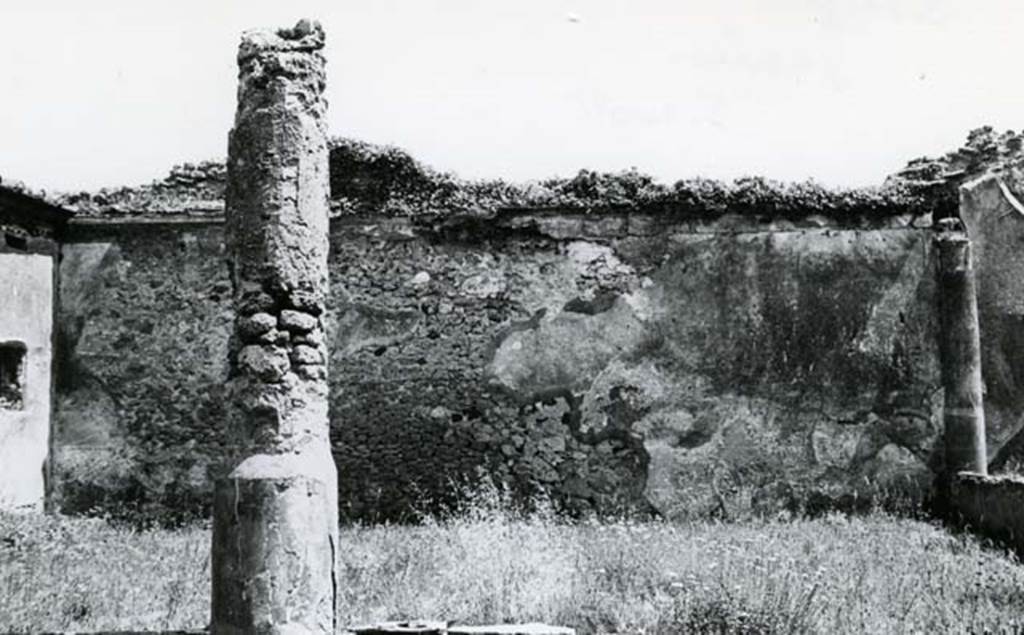
V.1.18 Pompeii. 1972. House of the Epigrams, garden and S wall. Photo courtesy of Anne Laidlaw.
American Academy in Rome, Photographic Archive. Laidlaw collection _P_72_25_9.
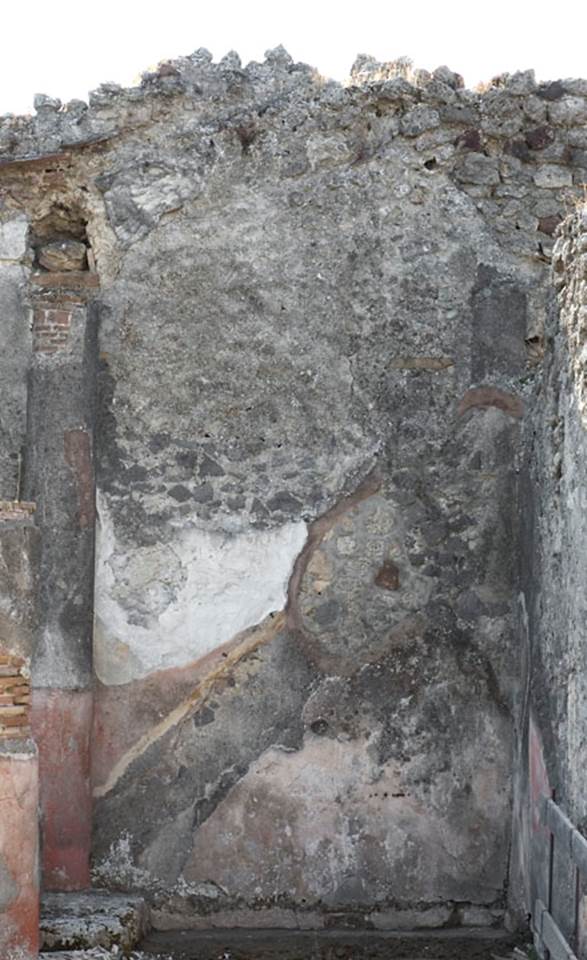
V.1.18 Pompeii. 2009.
Peristyle garden “i”, looking towards south wall of west portico with remains of stairs, lower left.
Photo by Hans Thorwid.
Photo courtesy of The Swedish Pompeii Project.
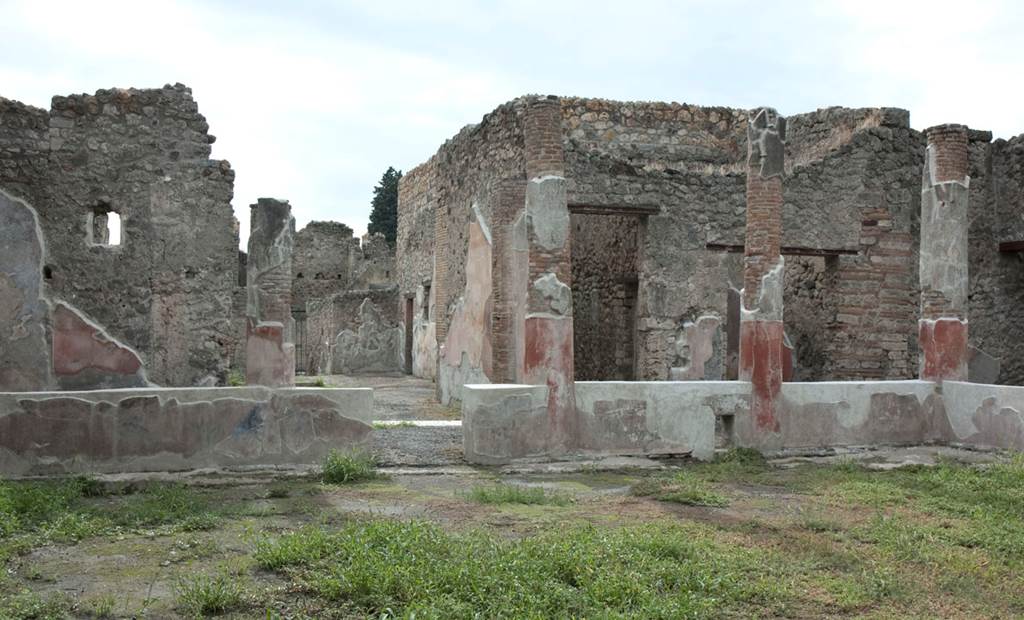
V.1.18 Pompeii. 2009. Peristyle garden “i”, looking west to tablinum “g”. Photo by Hans Thorwid.
Photo courtesy of The Swedish Pompeii Project.
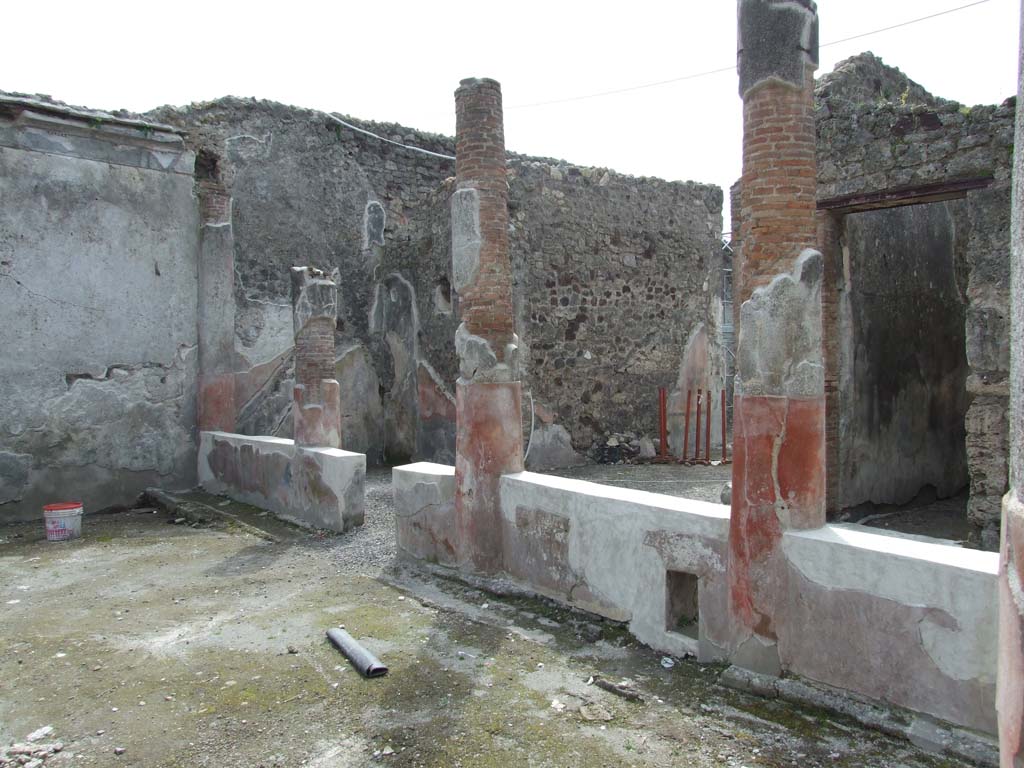
V.1.18 Pompeii. March 2009. Peristyle garden “i”, looking south-west to tablinum “g”.
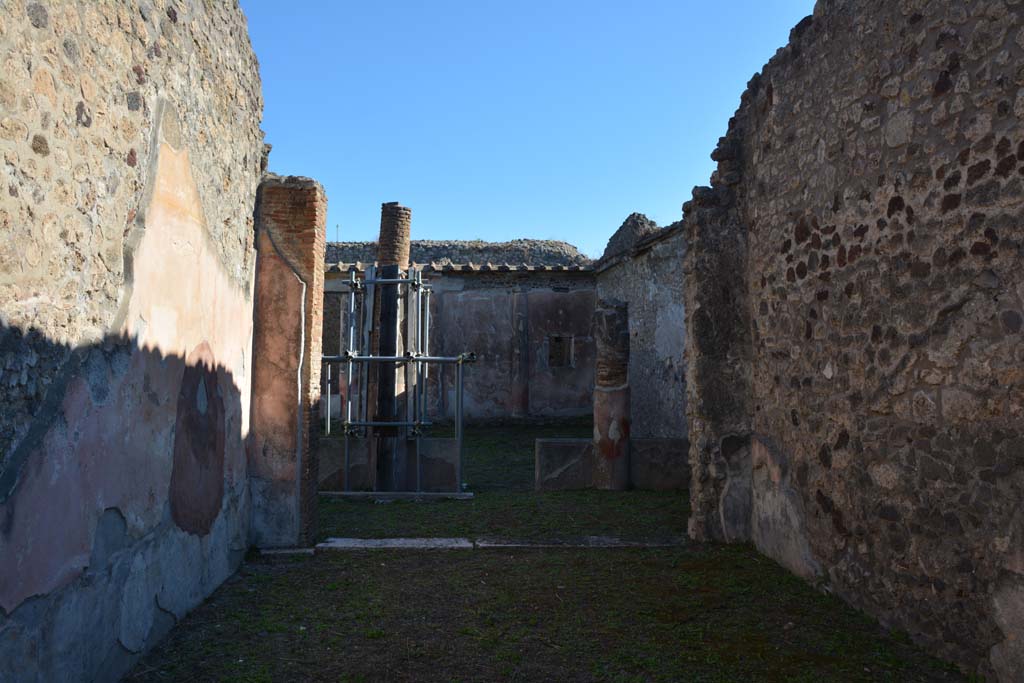
V.1.18 Pompeii. October 2019. Looking east from tablinum
“g” towards peristyle “i”.
Foto Annette Haug, ERC Grant 681269 DÉCOR.
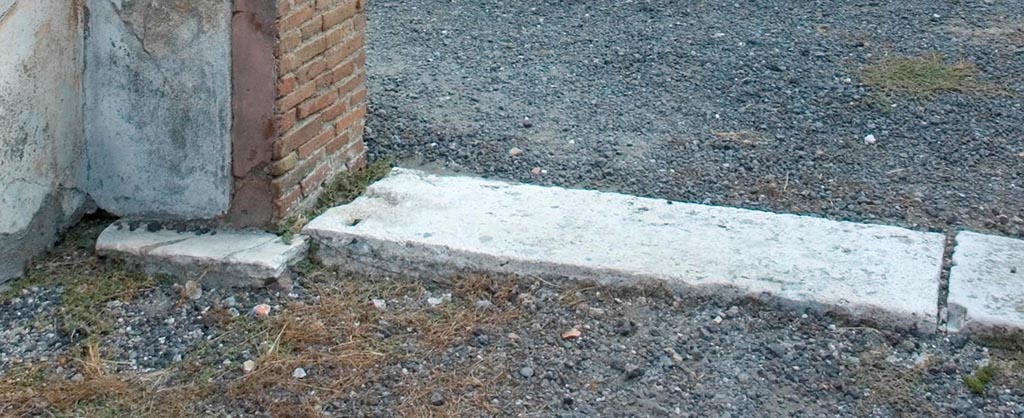
V.1.18 Pompeii. c.2005-2008. Tablinum “g”, doorway threshold at north end of east side. Photo by Hans Thorwid.
Photo courtesy of The Swedish Pompeii Project.
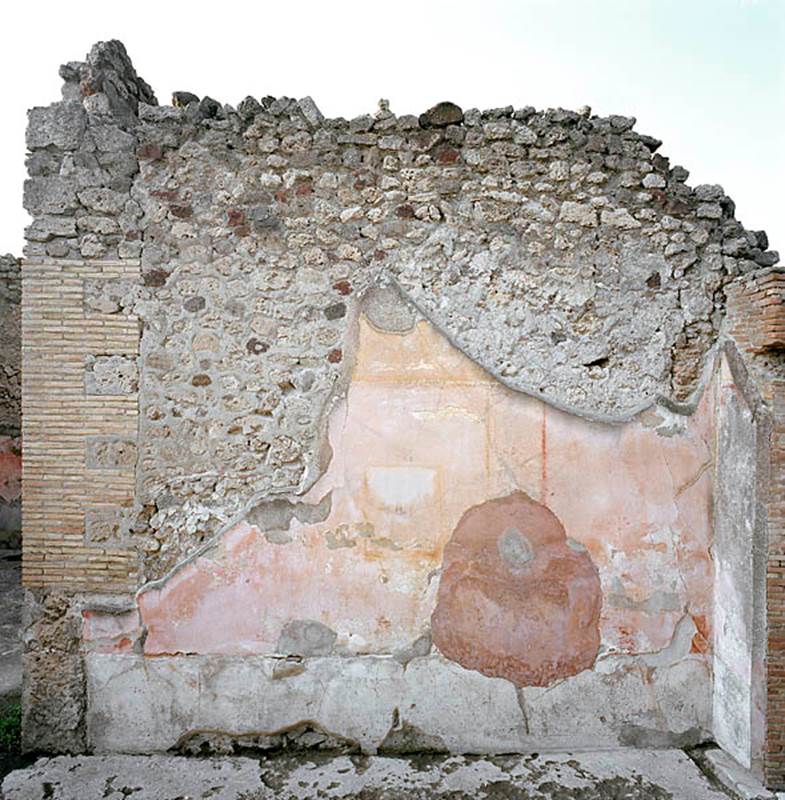
V.1.18 Pompeii. c.2005-2008. Tablinum “g”, north wall. Photo by Hans Thorwid.
Photo courtesy of The Swedish Pompeii Project.

V.1.18 Pompeii. c.2005-2008. Tablinum “g”, zoccolo (socle) of north wall. Photo by Hans Thorwid.
Photo courtesy of The Swedish Pompeii Project.
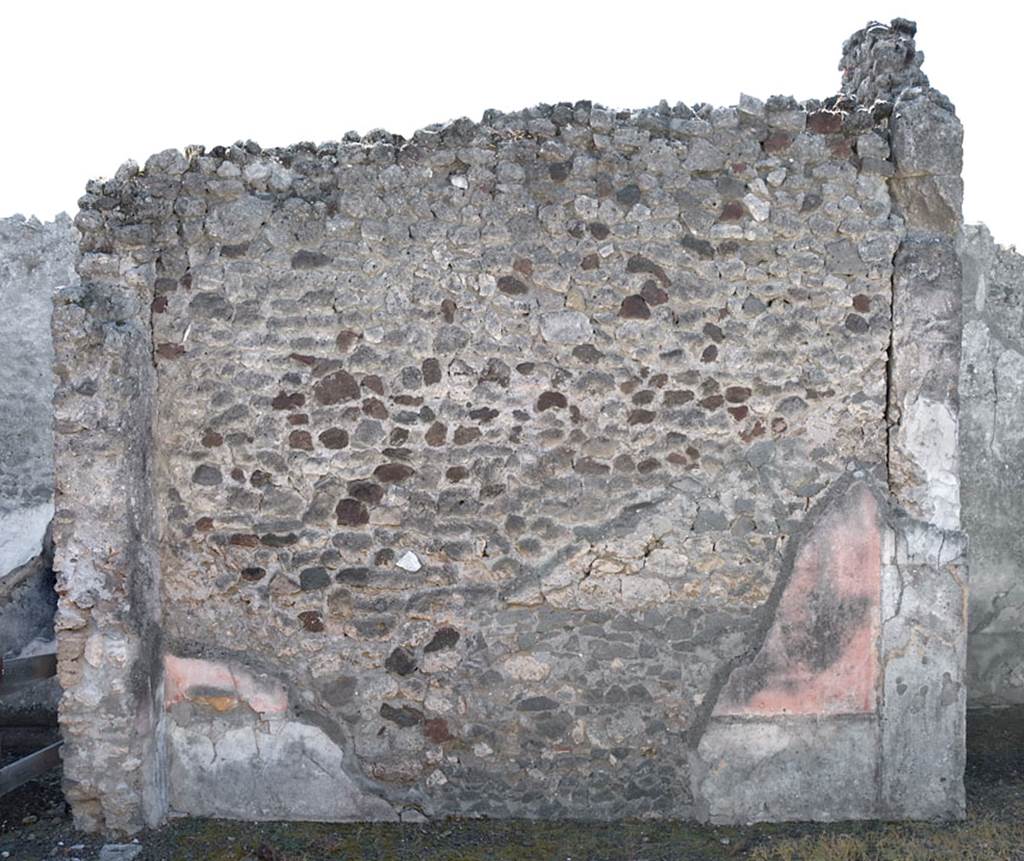
V.1.18 Pompeii. c.2005-2008. Tablinum “g”, south wall. Photo by Hans Thorwid.
Photo courtesy of The Swedish Pompeii Project.

V.1.18 Pompeii. Tablinum “g”, south wall.
Fresco with ribbon wound in a garland of flowers, grapes, fruit and corn, and held up by a cupid.
Now in Naples Archaeological Museum. Inventory number 8525.
According to Sogliano – this was from the tablinum, on a yellow background –
A heavy garland of
flowers wrapped in a ribbon was supported by a naked Cupid, of which only one
was preserved.
(Bull. Inst. 1877, p.23)
See Sogliano,
A., 1879. Le pitture murali campane scoverte negli anni 1867-79. Napoli: Giannini. (p.63, no.365).
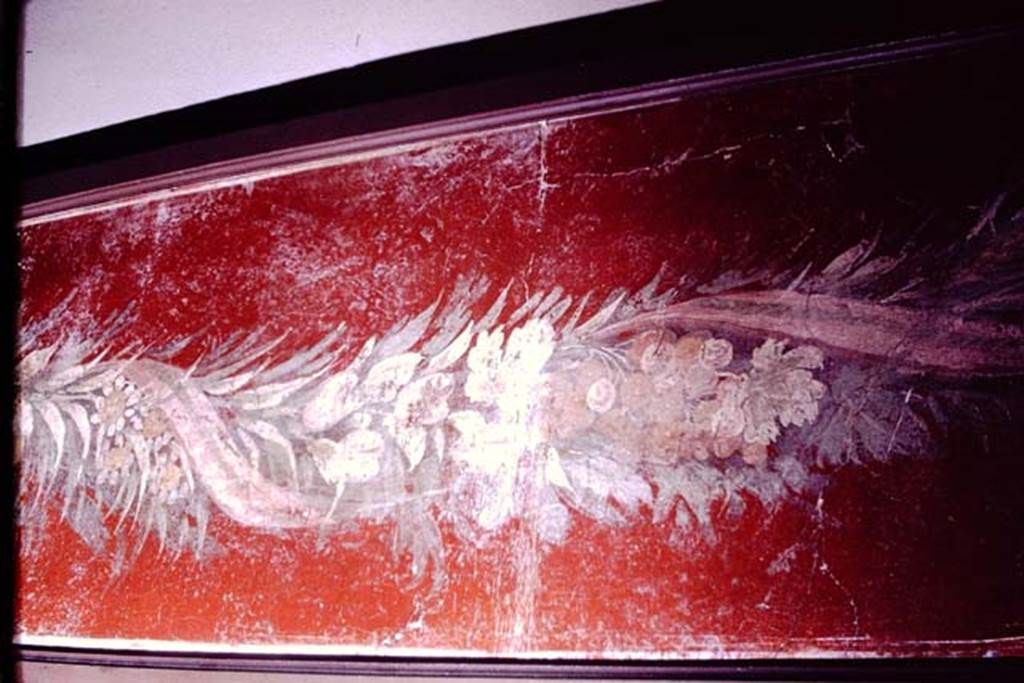
V.1.18 Pompeii. 1966.
Tablinum “g”, south wall. Detail of fresco with ribbon wound in a garland. Photo by Stanley A. Jashemski.
Source: The Wilhelmina and Stanley A. Jashemski archive in the University of Maryland Library, Special Collections (See collection page) and made available under the Creative Commons Attribution-Non-Commercial License v.4. See Licence and use details.
J66f0790
Now in Naples Archaeological Museum. Inventory number 8525.

V.1.18 Pompeii. Old undated photograph. Tablinum “g”, south wall. Fresco with ribbon wound in a garland and cupid.
Now in Naples Archaeological Museum. Inventory number 8526.
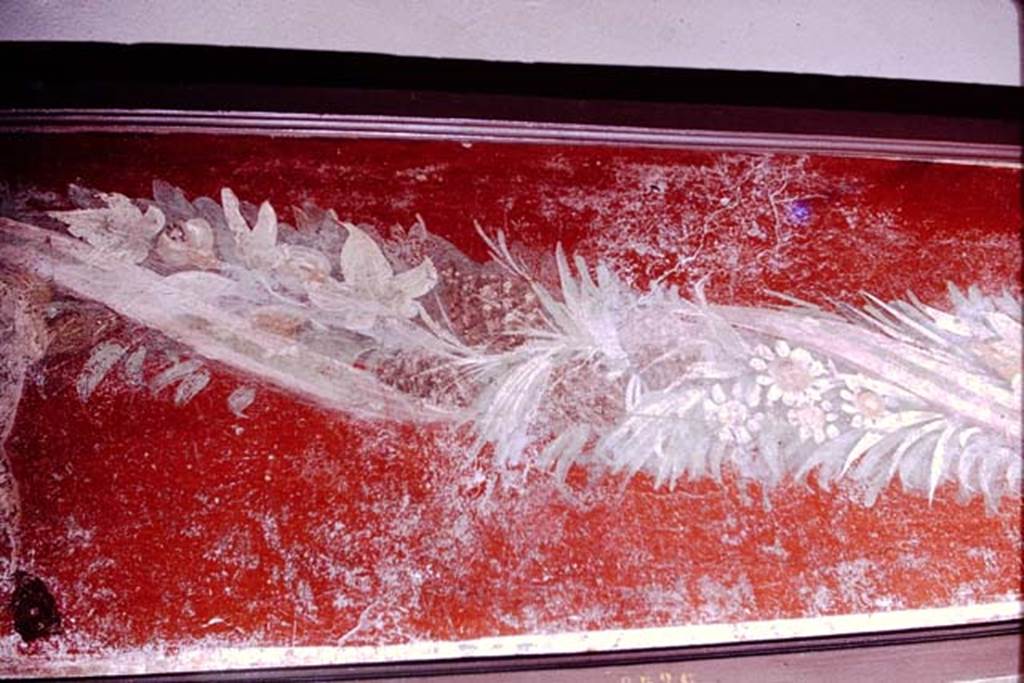
V.1.18 Pompeii. 1966. Tablinum “g”, south wall. Detail of fresco with ribbon wound in a garland. Photo by Stanley A. Jashemski.
Source: The Wilhelmina and Stanley A. Jashemski archive in the University of Maryland Library, Special Collections (See collection page) and made available under the Creative Commons Attribution-Non-Commercial License v.4. See Licence and use details.
J66f0792
Now in Naples Archaeological Museum. Inventory number 8526.
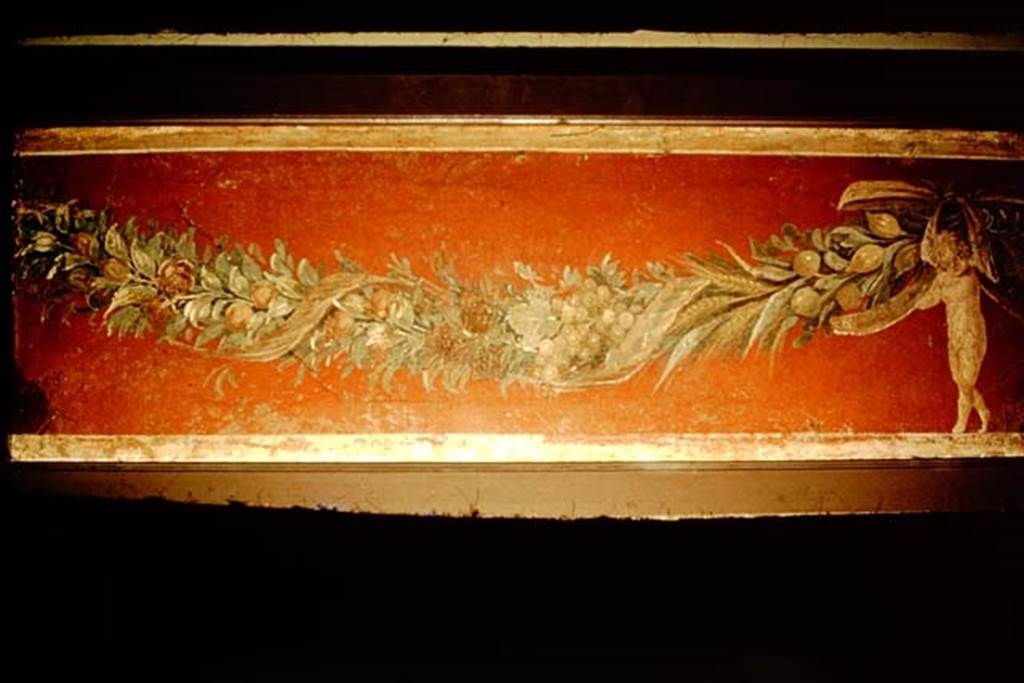
V.1.18 Pompeii. 1966. This photo was taken along with the other two above.
It appears to be of the same decoration but is not shown in PPM like the other two and may not be from this house.
Photo by Stanley A. Jashemski.
Source: The Wilhelmina and Stanley A. Jashemski archive in the University of Maryland Library, Special Collections (See collection page) and made available under the Creative Commons Attribution-Non-Commercial License v.4. See Licence and use details.
J66f0787
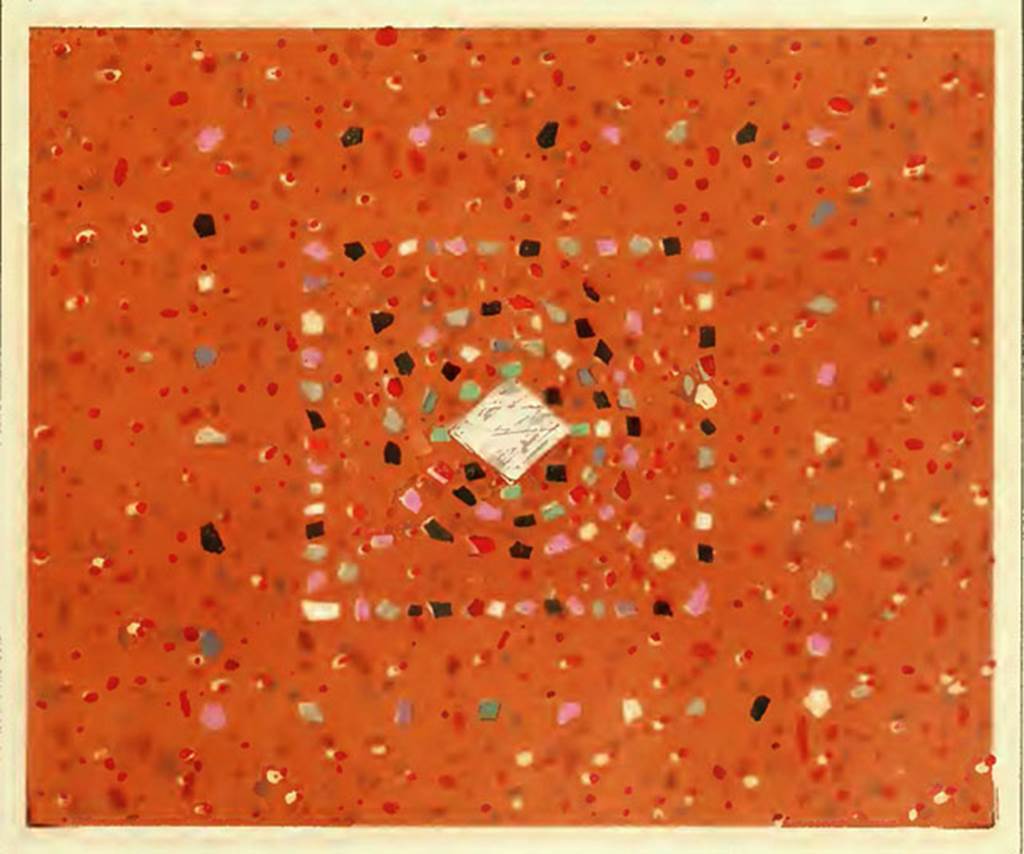
V.1.18 Pompeii. Tablinum “g”. Red screed floor inlaid with coloured marble chips in the middle.
According to Presuhn;
“To the right of tablinum is a bedroom “f” with crude walls. From the decoration of the tablinum unfortunately little remains; black intermediate fields separated red and yellow wall panels, like the atrium, decorated in second style. (Pr. Wandd. p. 13). A panel by “g”, although badly damaged, is still recognizable; Venus and Adonis are shown here: with a pretty crying Cupid, who survived the destruction of the image until now.
On the one side field a cupid leads a greyhound on a leash. on the other side, a cupid has killed a boar; in the yellow top wall The Cupid carried a beautiful garland. The red screed floor of the tablinum has an ornament inlaid with coloured marble chips in the middle.”
„Rechts vom
Tablinum ist ein Schlafzimmer (e) mit rohen Wänden. Von der Decoration des
TabIinum ist leider wenig erhalten; schwarze Zwischenfelder trennten rothe und
gelbe Wandfelder. gleich dem Atrium im Stil der zweiten Epoche componirt (Pr.
Wandd. p. 13). Ein Tafelbild (bei f). obgleich sehr zerstört. ist noch
erkennbar; Venus und Adonis sind hier dargestellt (vgl. HeIbig, Wandgemälde
329-345): mit einem hübschen weinenden Amor, der die Zerstörung des Bildes bis
jetzt überdauert hat.
Auf dem einen
Seitenfelde führt ein Amoretto einen Windhund an der Leine. auf dem anderen
steht er bei einem erlegten Eber; in der gelben Oberwand tragt er eine
prächtige Guirlande (Pr. Wandd. Tafel XIX). Der rothe Estrich-Fussboden des
Tablinums hat in der Mitte eine Verzierung mit eingelegten bunten
Marmorstückchen (Tafel IlI unten) .“
See Presuhn E.,
1882. Pompeji: Die Neuesten Ausgrabungen
von 1874 bis 1881. Leipzig: Weigel. Abtheilung II, p. 3-4, Taf III, lower.
See Presuhn E,
1877. Die pompejanischen
Wanddecorationen. Leipzig: Weigel, Taf. XIX.
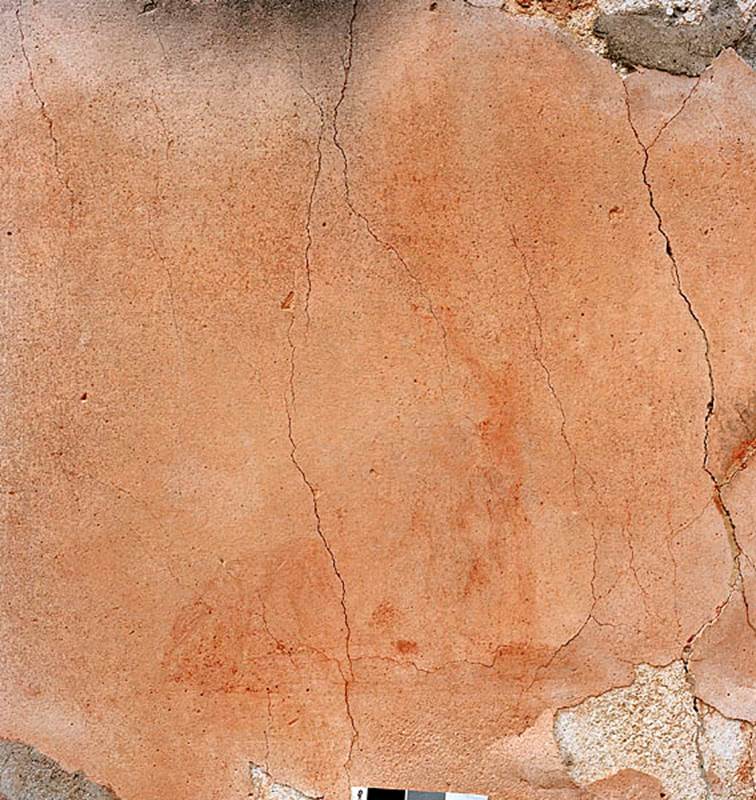
V.1.18 Pompeii. c.2005-2008.
Tablinum “g”, middle zone of north wall, detail of remaining decoration towards east end, (see below).
Photo by Hans Thorwid.
Photo courtesy of The Swedish Pompeii Project.
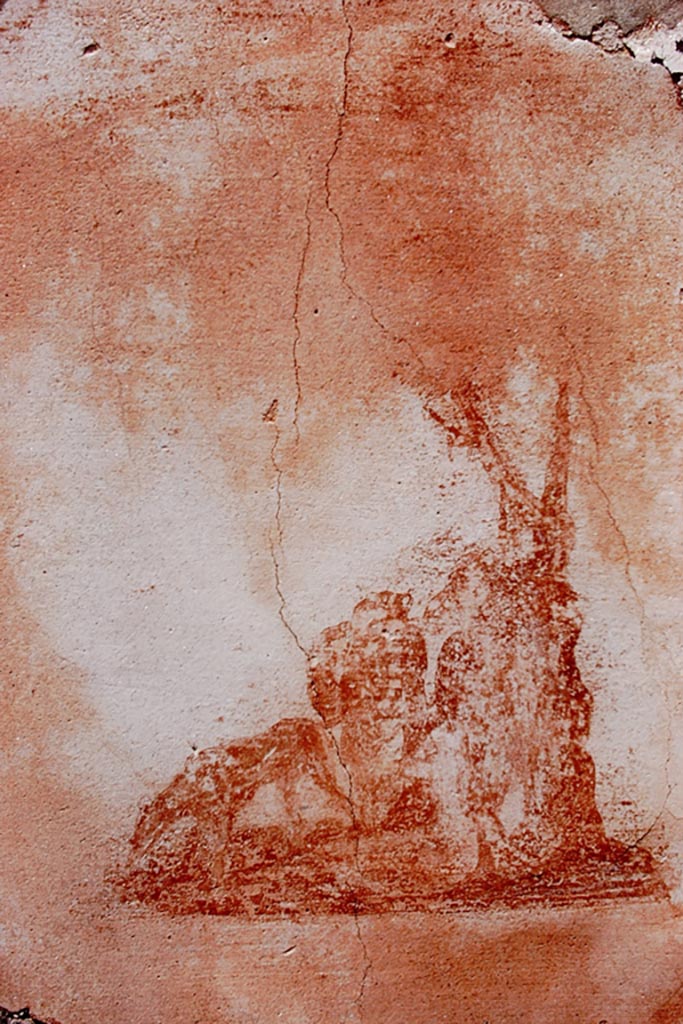
V.1.18
Pompeii. 1972.
Tablinum “g”,
small painting of a drinking hunting dog, held on a lead by a cupid leaning
against a tree, from north wall of tablinum.
Photo by
Stanley A. Jashemski.
Source: The
Wilhelmina and Stanley A. Jashemski archive in the University of Maryland
Library, Special Collections (See collection page) and made available under the Creative
Commons Attribution-Non-Commercial License v.4. See Licence
and use details.
J72f0407
See Sogliano, A., 1879. Le pitture murali campane
scoverte negli anni 1867-79. Napoli: Giannini. (p.63, no.362 for above and below, on left).
(p.64, no.367
for below, on right).
Also found in
tablinum “g”, but nearly vanished, were “Cupids joking around”: Three Cupids
are trying to raise a large round shield, attribute of Mars. Two of them are
standing; the third, who was sitting, was in the act of mirroring himself in
the shield.) (Bull. Inst. 1877, p.23).
See Sogliano, A., 1879. Le pitture murali campane
scoverte negli anni 1867-79. Napoli: Giannini. (p.61, no.352 not photographed here).
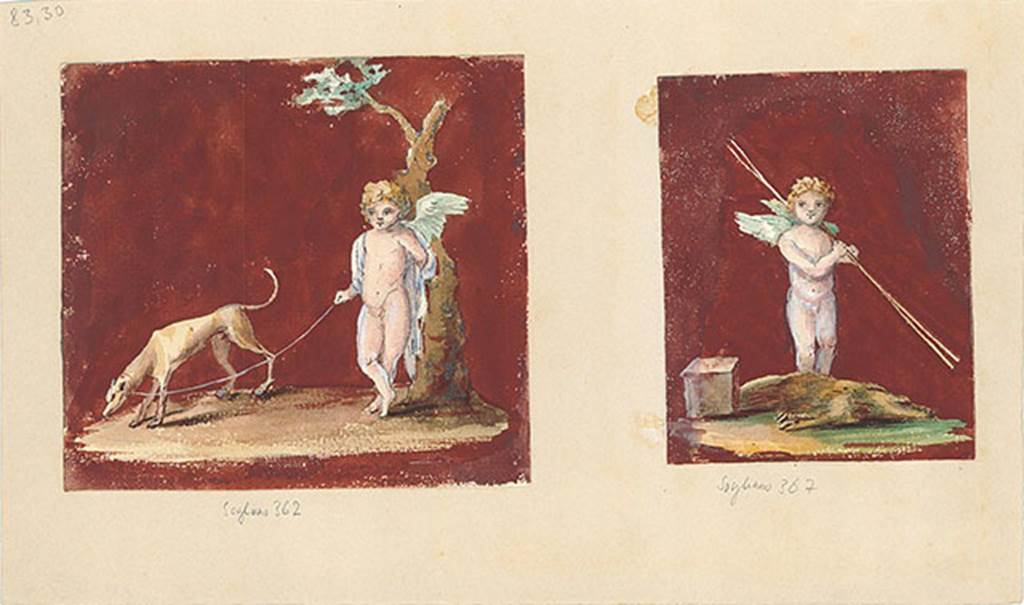
V.1.18 Pompeii. Tablinum “g”. Copies of two wall paintings of cupids in hunting scenes.
On one side field a cupid leads a greyhound on a leash and on the other side, a cupid has killed in a boar;
DAIR 83.30. Photo
© Deutsches Archäologisches Institut, Abteilung Rom, Arkiv.
See http://arachne.uni-koeln.de/item/marbilder/5022206

V.1.18 Pompeii. Copy of wall painting of a cupid carrying a beautiful garland, tablinum “g”, yellow top wall.
See Presuhn E.,
1877. Die Pompejanischen
Wanddecorationen, Leipzig: Weigel, Tafel XIX.
See Presuhn E.,
1882. Pompeji: Die Neuesten Ausgrabungen
von 1874 bis 1881. Leipzig: Weigel. Abtheilung II.
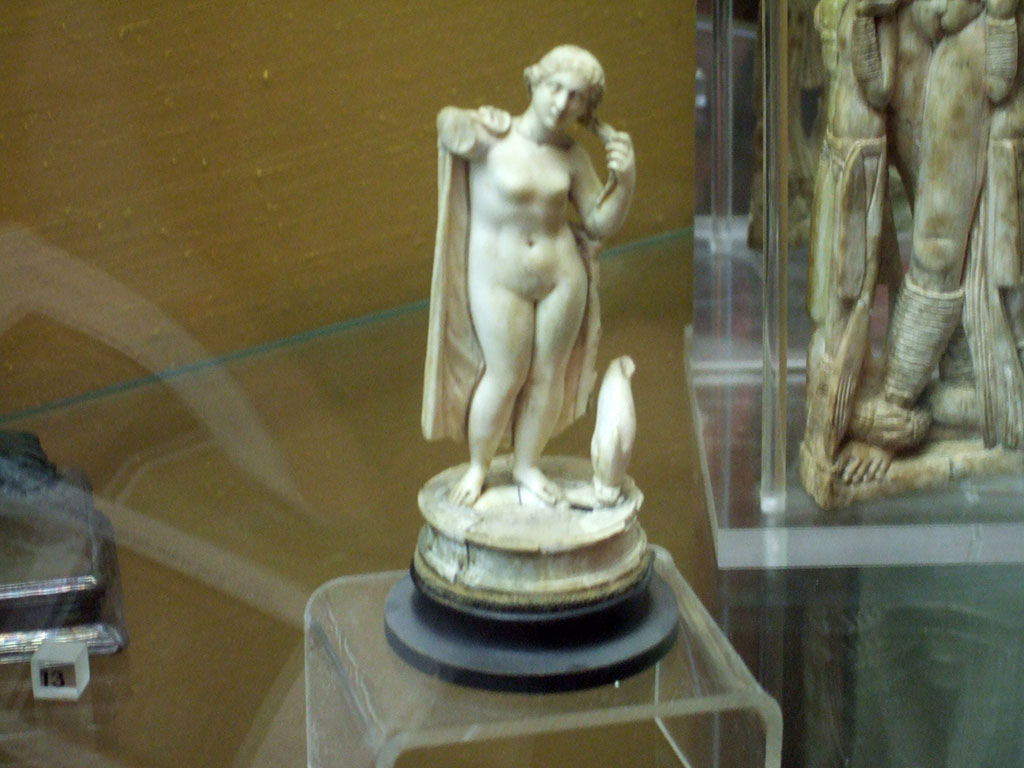
Ivory statuette of Venus Anadyomene with dolphin found in V.1.18 Pompeii.
Now in Naples Archaeological Museum. Inventory number 110924.
According to the note in Boyce, two statuettes were found in the tablinum “g”.
One was this ivory figurine of Venus with a mantle over her shoulders and a dolphin at her feet.
Also found was a bronze figure of Jupiter. He held a thunderbolt in his left hand, and a silver sceptre in his right, at his feet stood an eagle.
See Boyce G. K., 1937. Corpus of the Lararia of Pompeii. Rome: MAAR 14. (p.32, note 2)
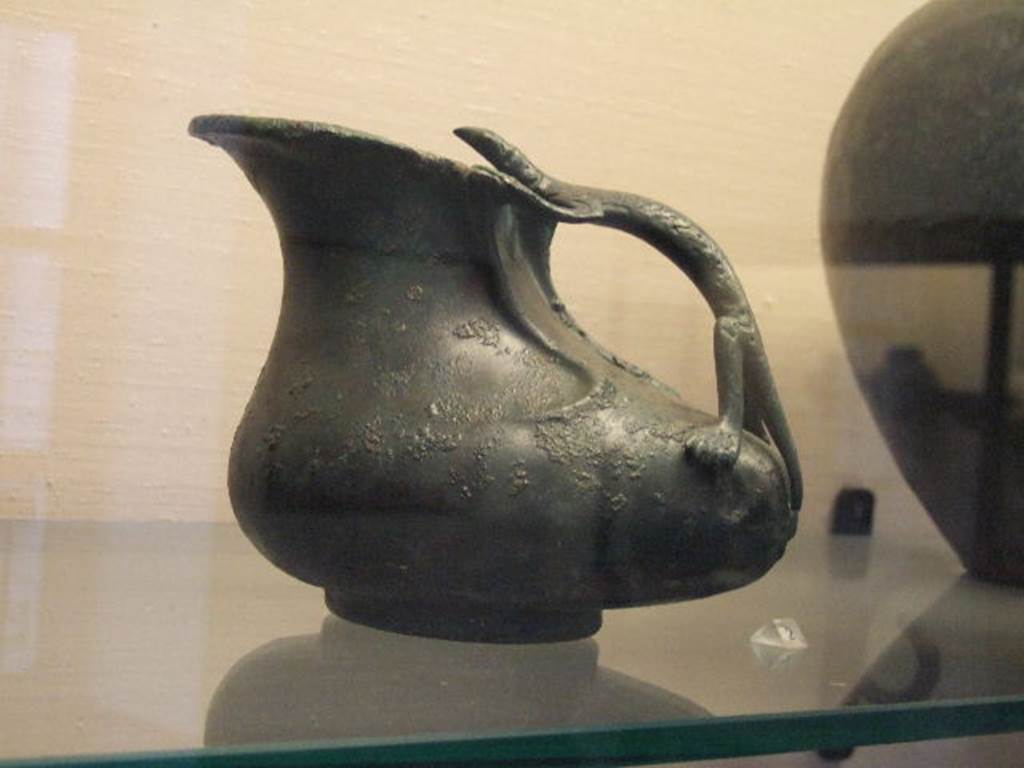
V.1.18 Pompeii. Found in tablinum “g”, an Askos, a vessel used to pour small quantities of liquids such as oil.
Now in Naples Archaeological Museum. Inventory number 111563.
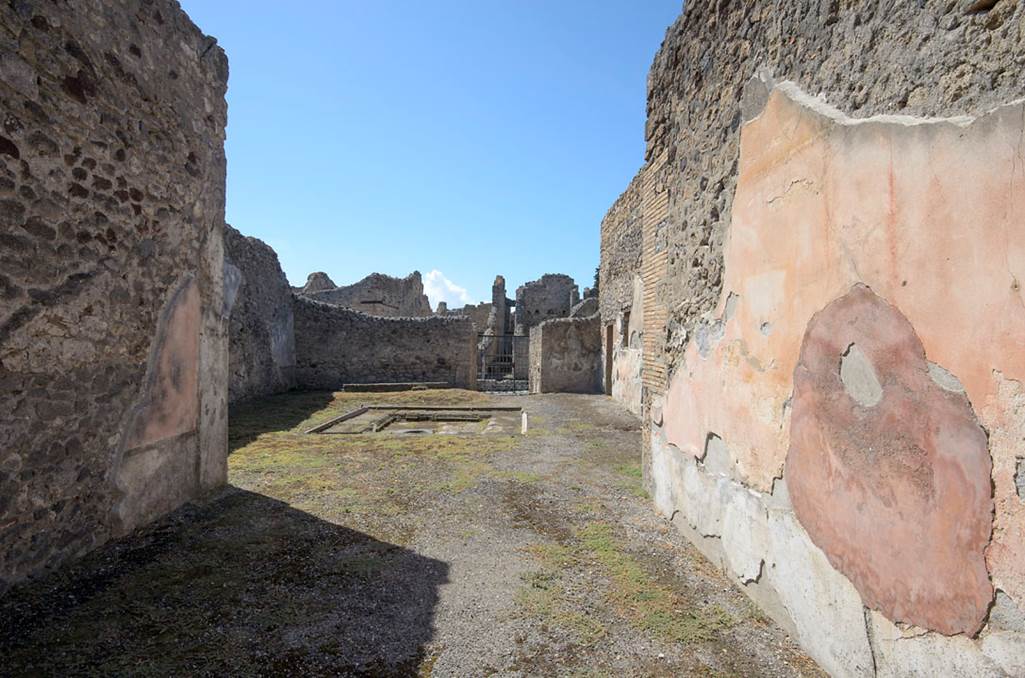
Photo courtesy of The Swedish Pompeii Project.
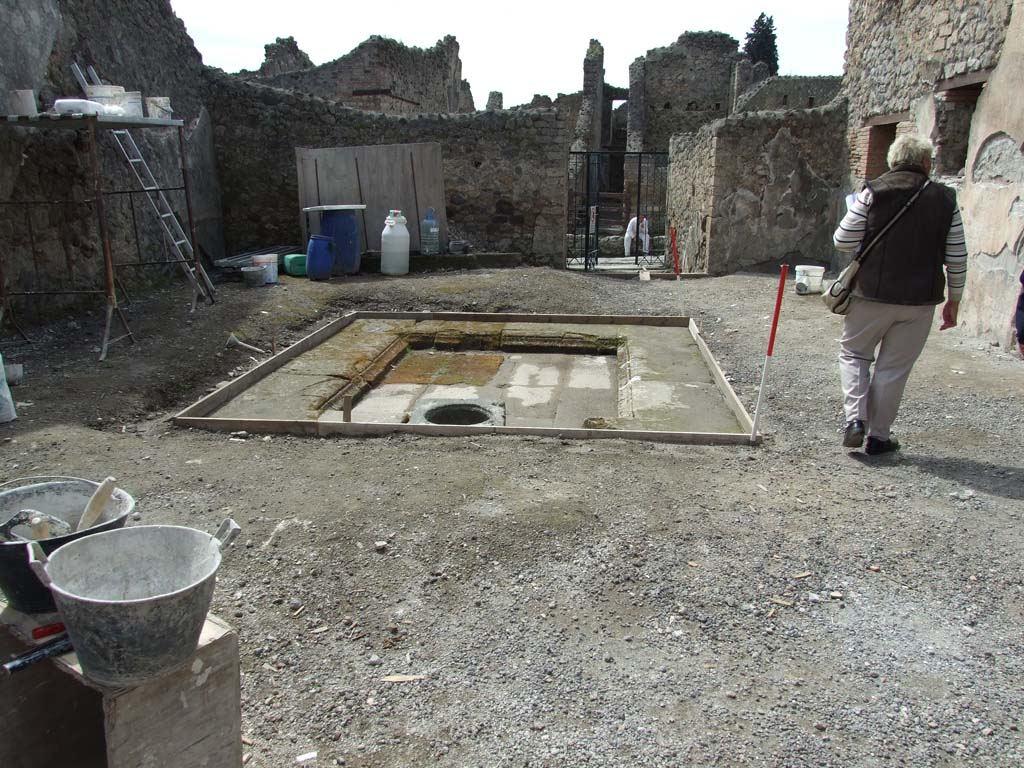
V.1.18 Pompeii. March 2009. Looking west from tablinum “g” towards impluvium in atrium “b”.
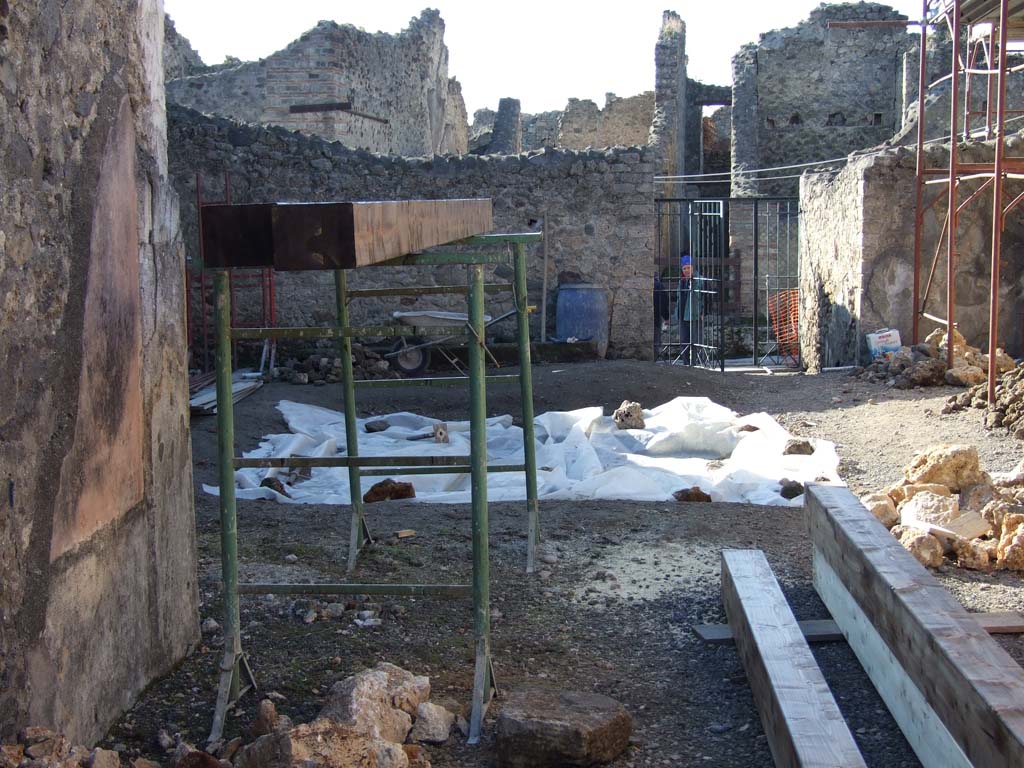
V.1.18 Pompeii. December 2007. Tablinum “g”, looking west into atrium “b”.
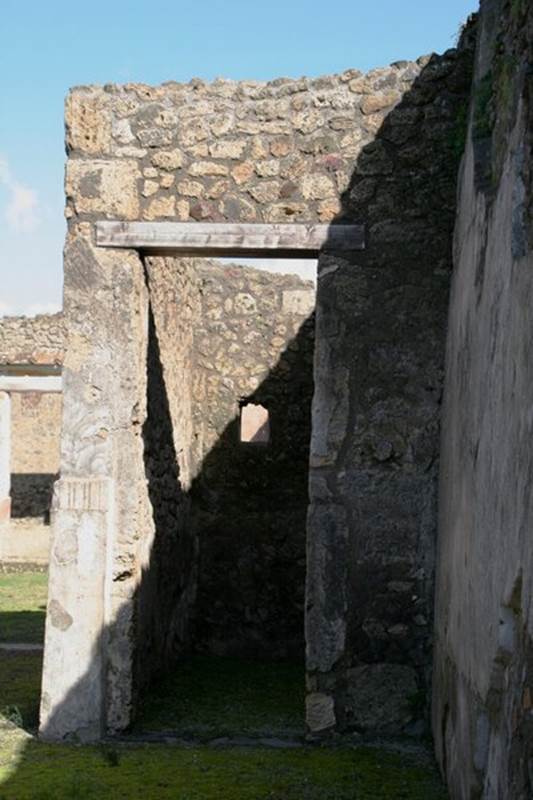
Looking towards doorway to room “f” in east wall in south-east corner of atrium. Photo by Thomas Staub.
Photo courtesy of The Swedish Pompeii Project.
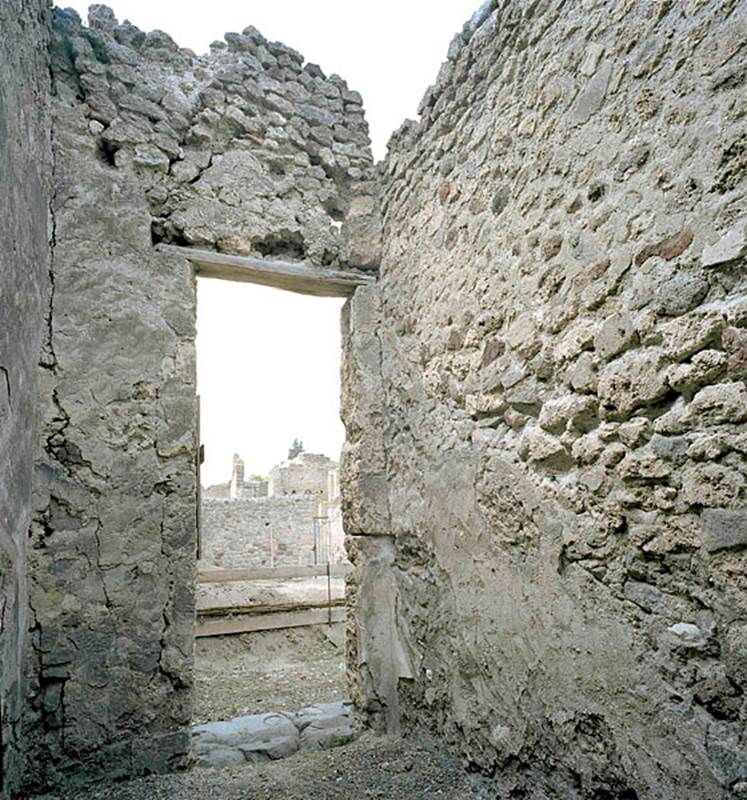
V.1.18 Pompeii. c.2005-2008.
Room “f”, looking towards north-west corner with doorway to atrium in west wall. Photo by Thomas Staub.
Photo courtesy of The Swedish Pompeii Project.
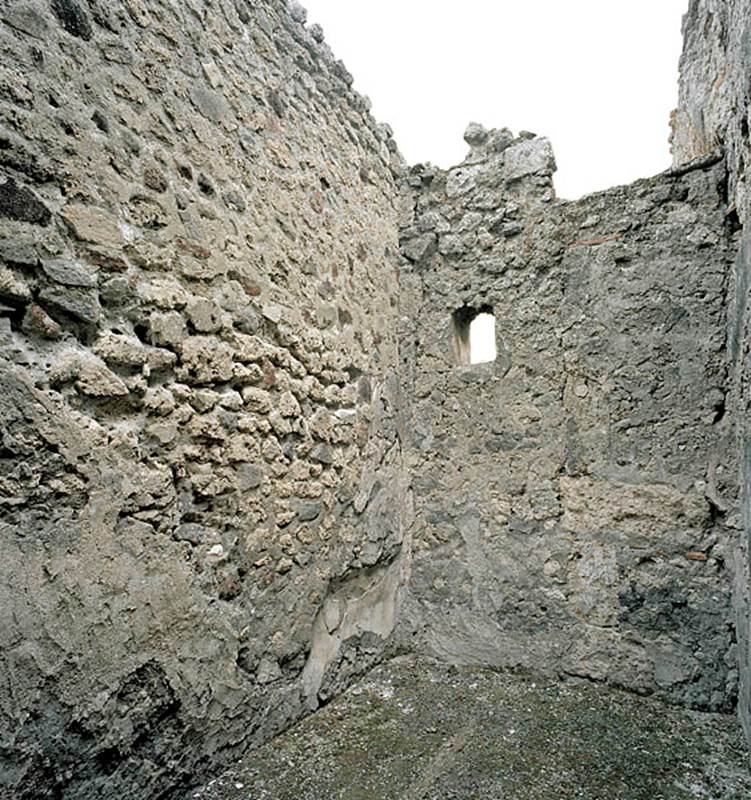
V.1.18 Pompeii. c.2005-2008.
Room “f”, looking towards north-east corner with window in east wall. Photo by Thomas Staub.
Photo courtesy of The Swedish Pompeii Project.
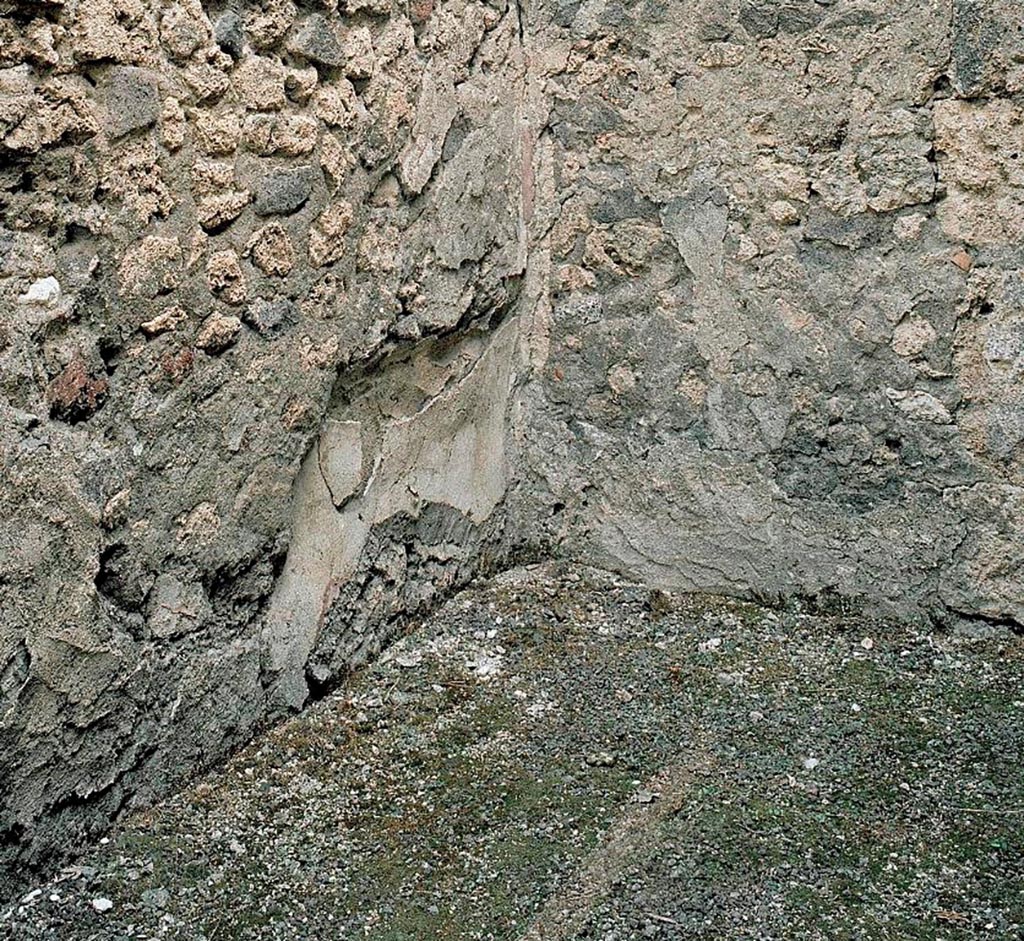
V.1.18 Pompeii. c.2005-2008.
Room “f”, recess/niche in north wall in north-east corner. Photo by Thomas Staub.
Photo courtesy of The Swedish Pompeii Project.
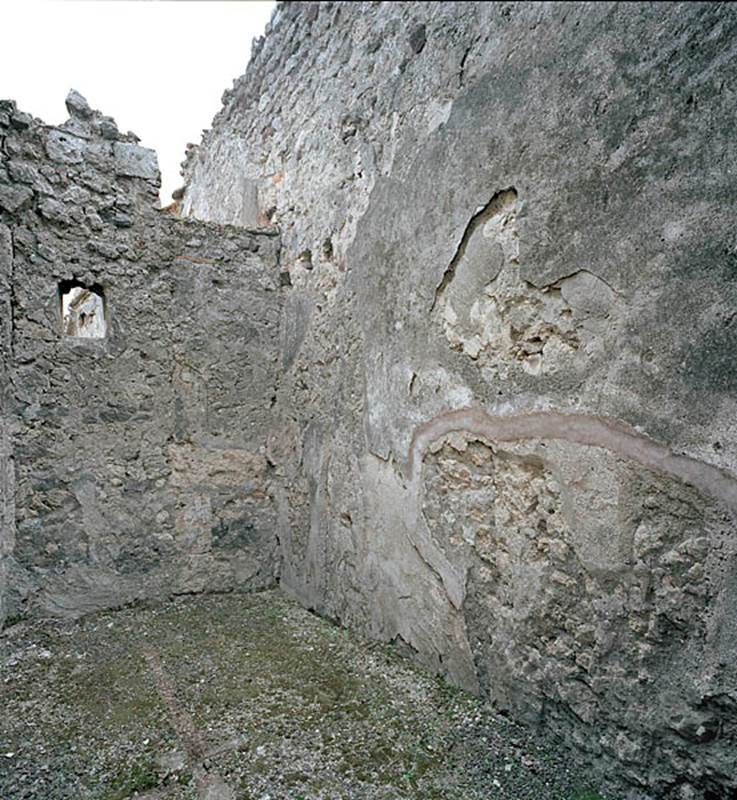
V.1.18 Pompeii. c.2005-2008.
Room “f”, looking towards south-east corner with window in east wall. Photo by Thomas Staub.
Photo courtesy of The Swedish Pompeii Project.
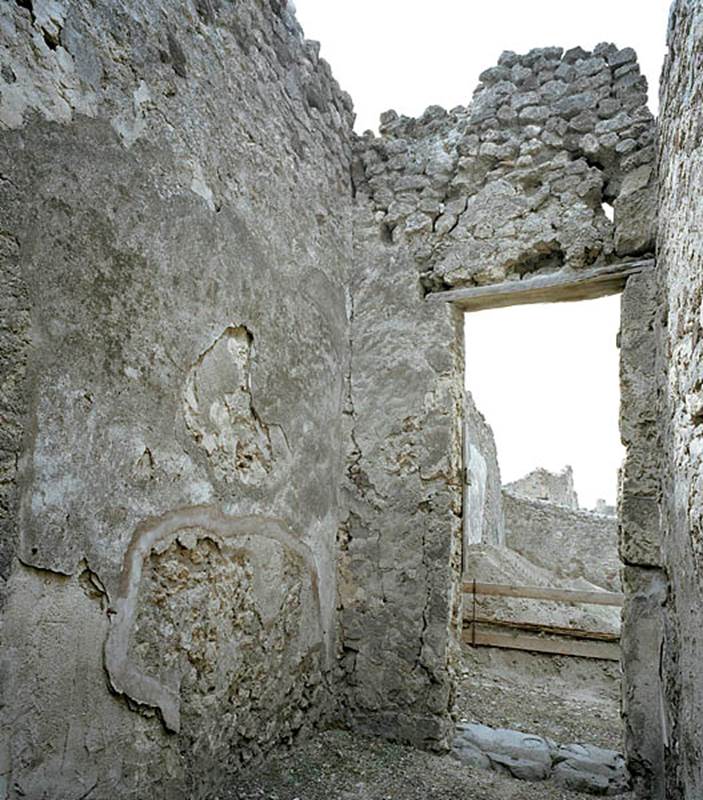
V.1.18 Pompeii. c.2005-2008.
Room “f”, looking towards south-west corner with doorway in west wall to atrium. Photo by Thomas Staub.
Photo courtesy of The Swedish Pompeii Project.
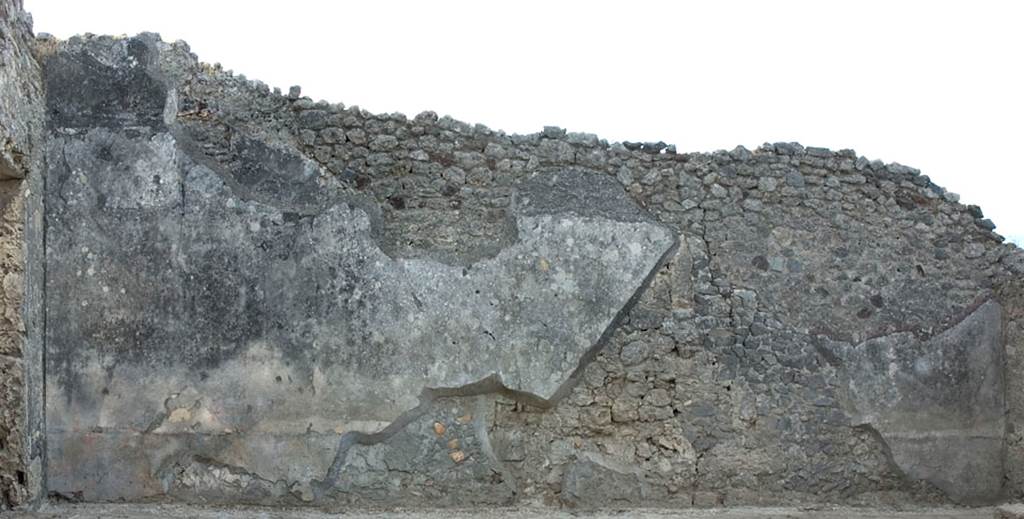
V.1.18 Pompeii. c.2005-2008.
Looking towards south wall of the atrium in the south-east corner. Photo by Hans Thorwid.
Photo courtesy of The Swedish Pompeii Project.
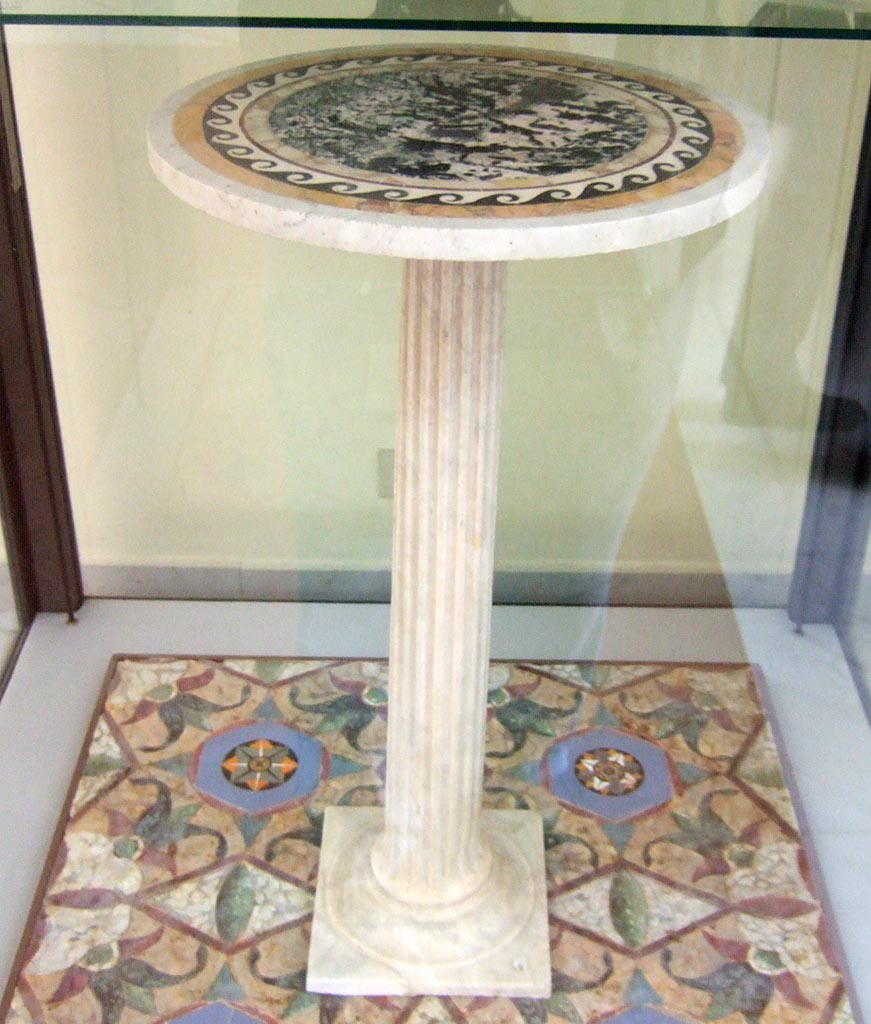
Marble table found in V.1.18 Pompeii. Now in Naples Archaeological Museum. Inventory number 120530.

V.1.18 Pompeii. September 2024. Marble table. Photo
courtesy of Giuseppe Ciaramella.
According to the information card –
Inventory number – 120530.
The table consists of a white marble top, decorated by polychrome inlay with a green marble tondo surrounded by a black marble wave pattern, placed on a small column which is not an original feature.
(Second–third quarter of the 1st century AD).
(Tavolo marmoreo. Tavolo composto da un piano in
marmo bianco decorato da commessi policromi, con tondo in marmo verde
circondato da un motivo a onda corrente in marmo nero, su colonnina di sostegno
non pertinente. Secondo – terzo quarto del I secolo d.C.)
Part 1 Part 2 Part 3 Part 4 Plan